Mindful Meals Veggie Prep

  
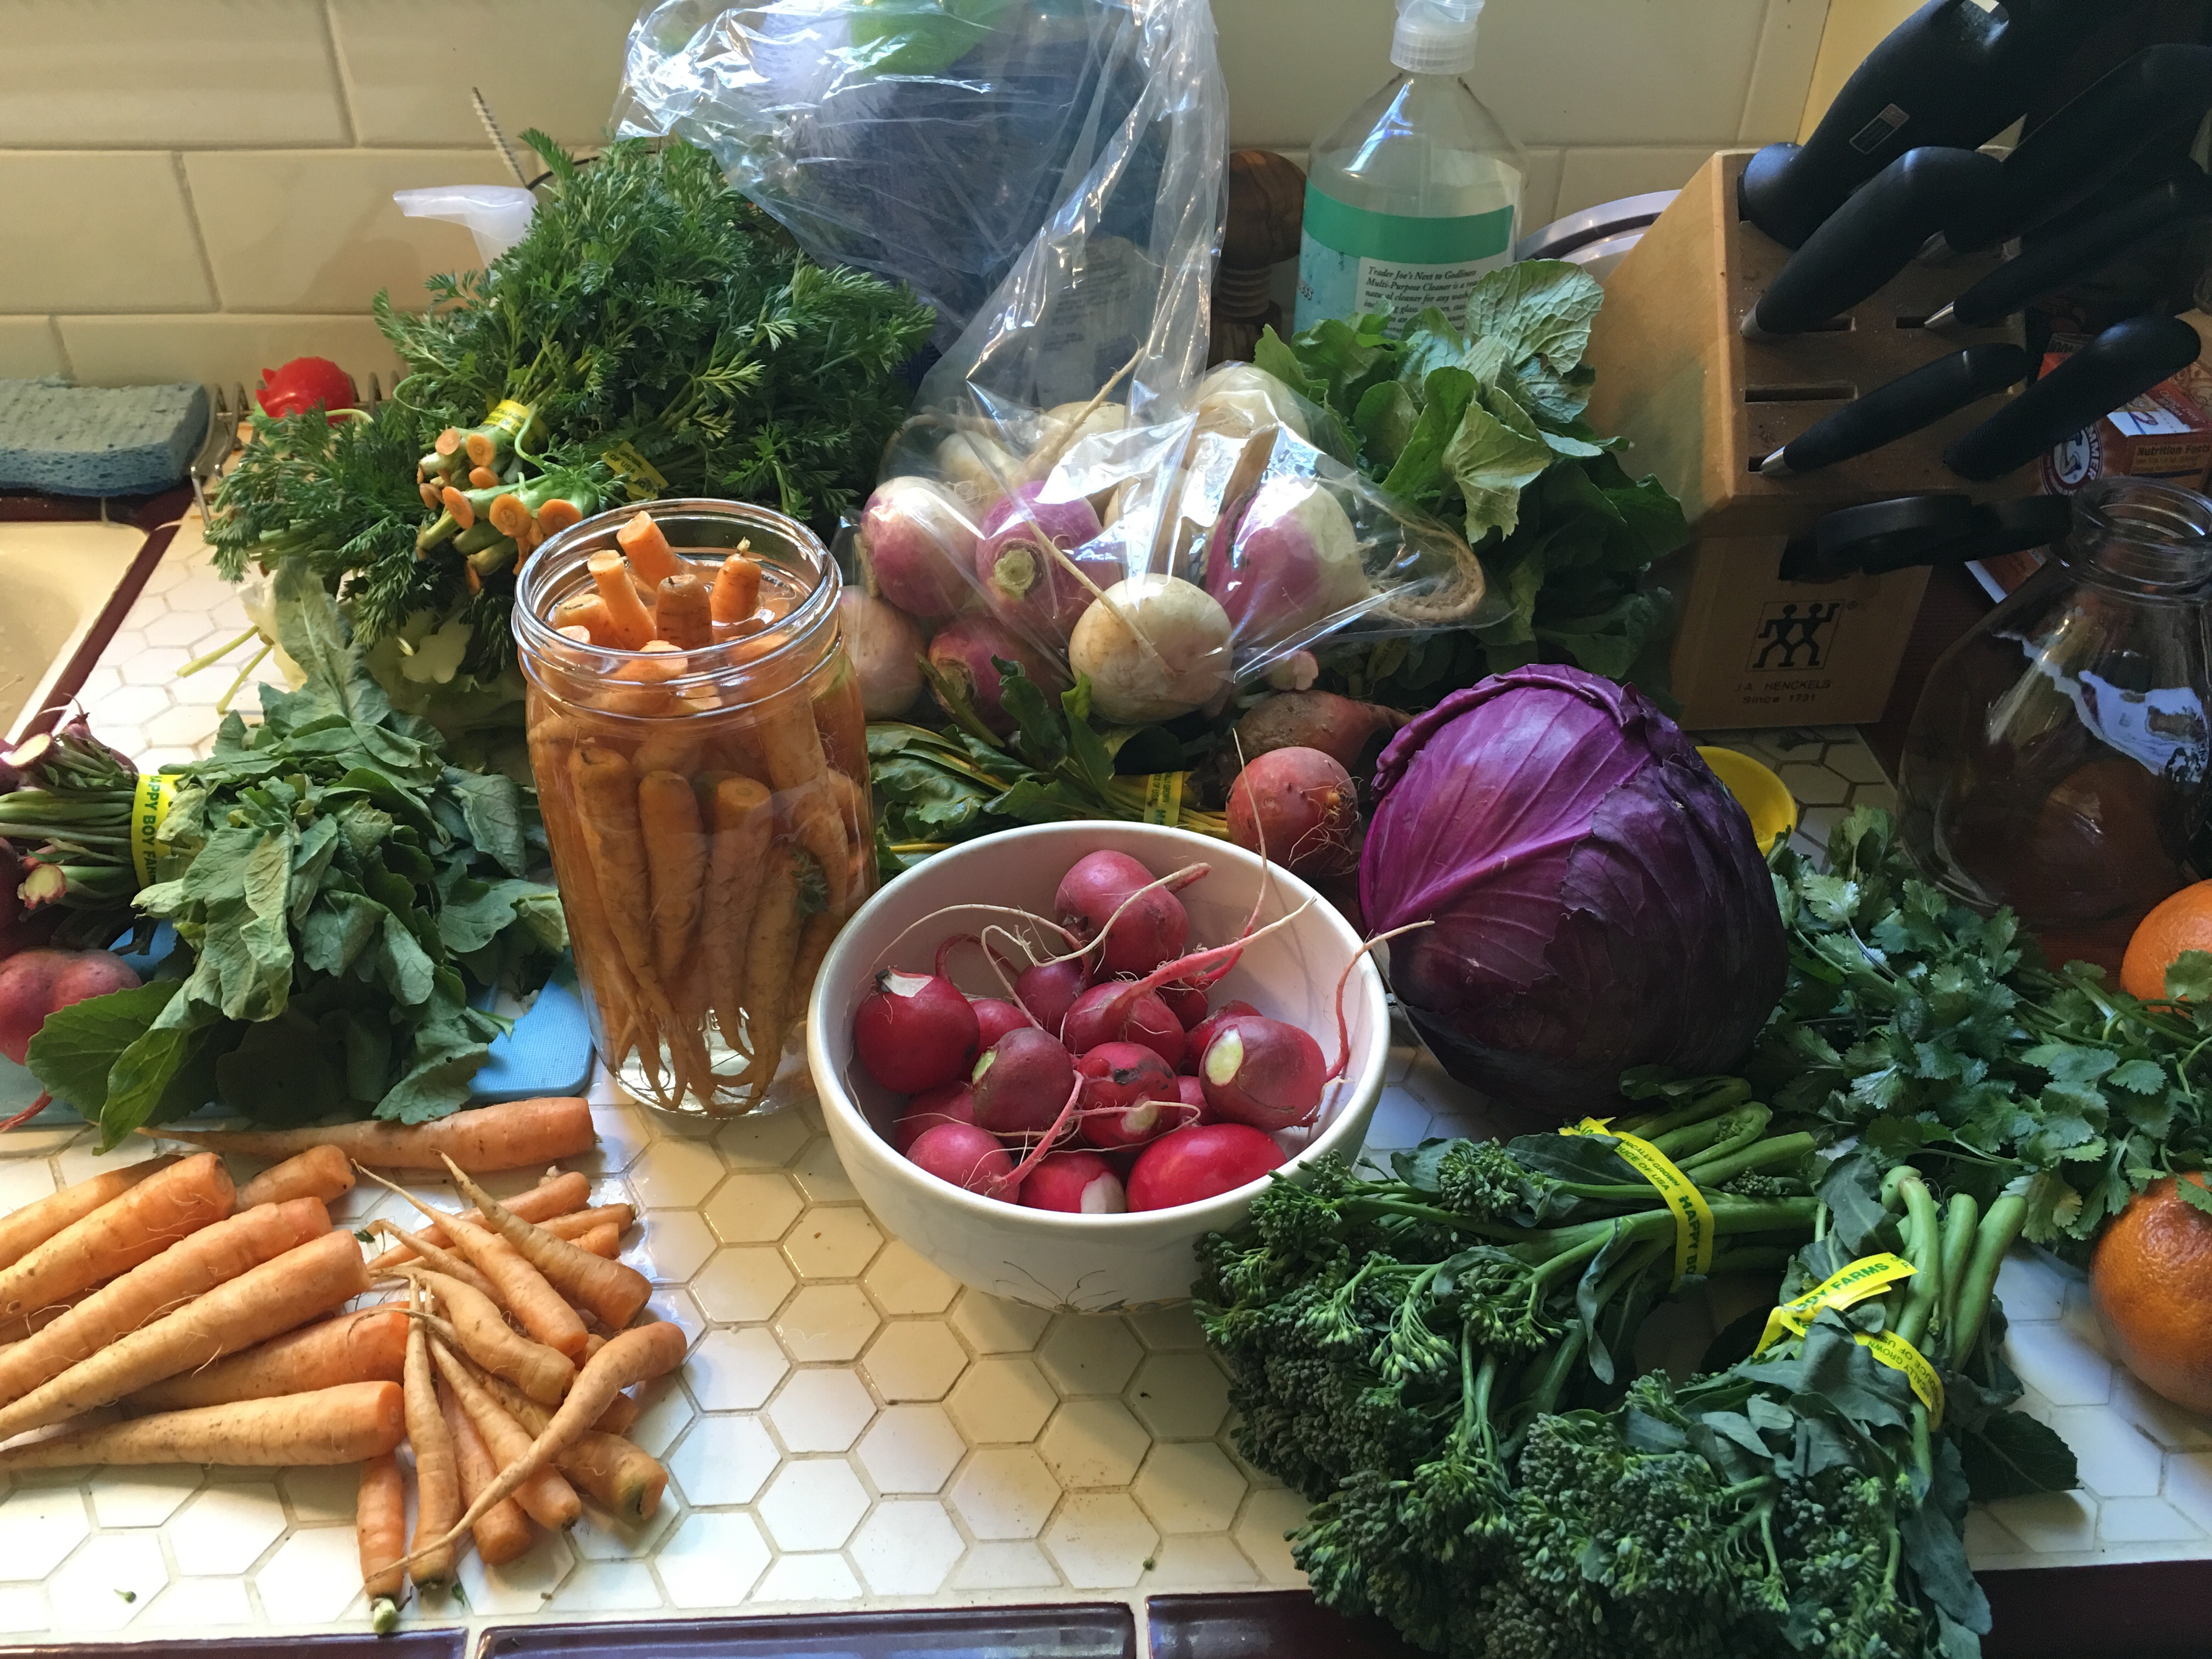
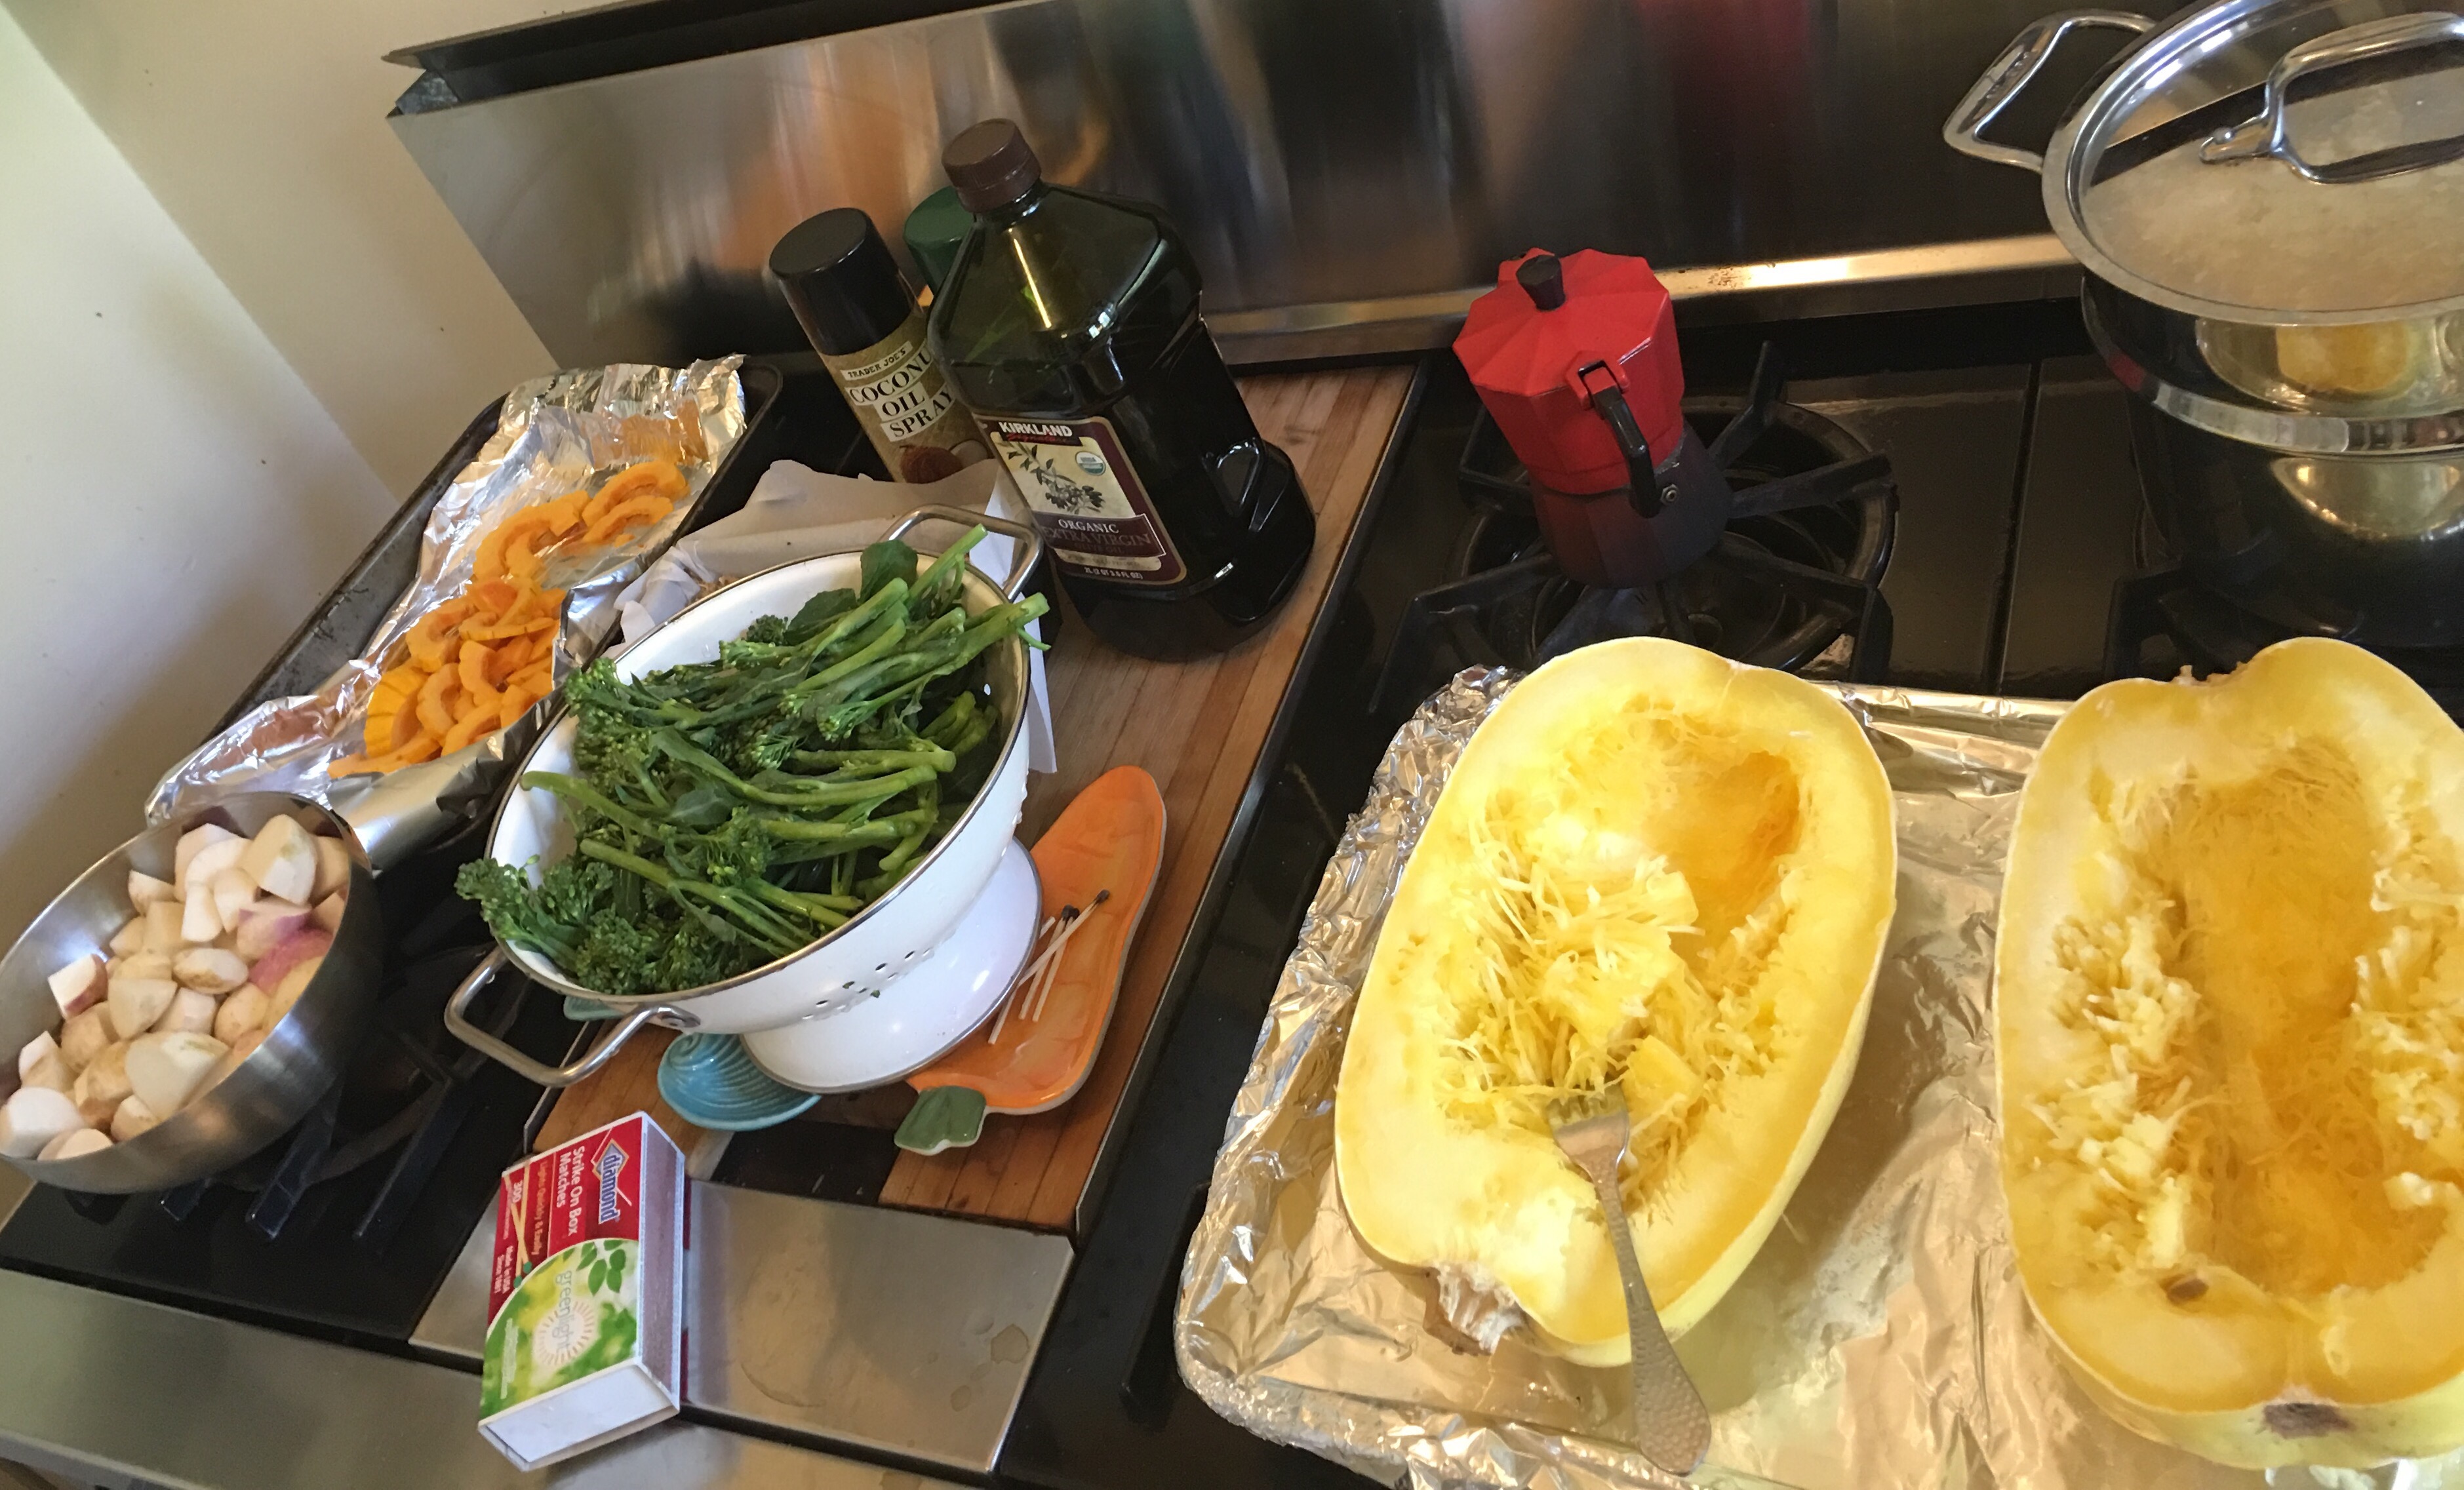
The first step of eating mindfully for me is preparing elements of meals in advance so they can just be thrown together easily(I had a hard boiled egg over microwaved broccolini for breakfast today). This week I cooked a gigantic spaghetti squash, as it is a great non-grain base for bowls of protein, sautéed greens, and healthy sauces. 
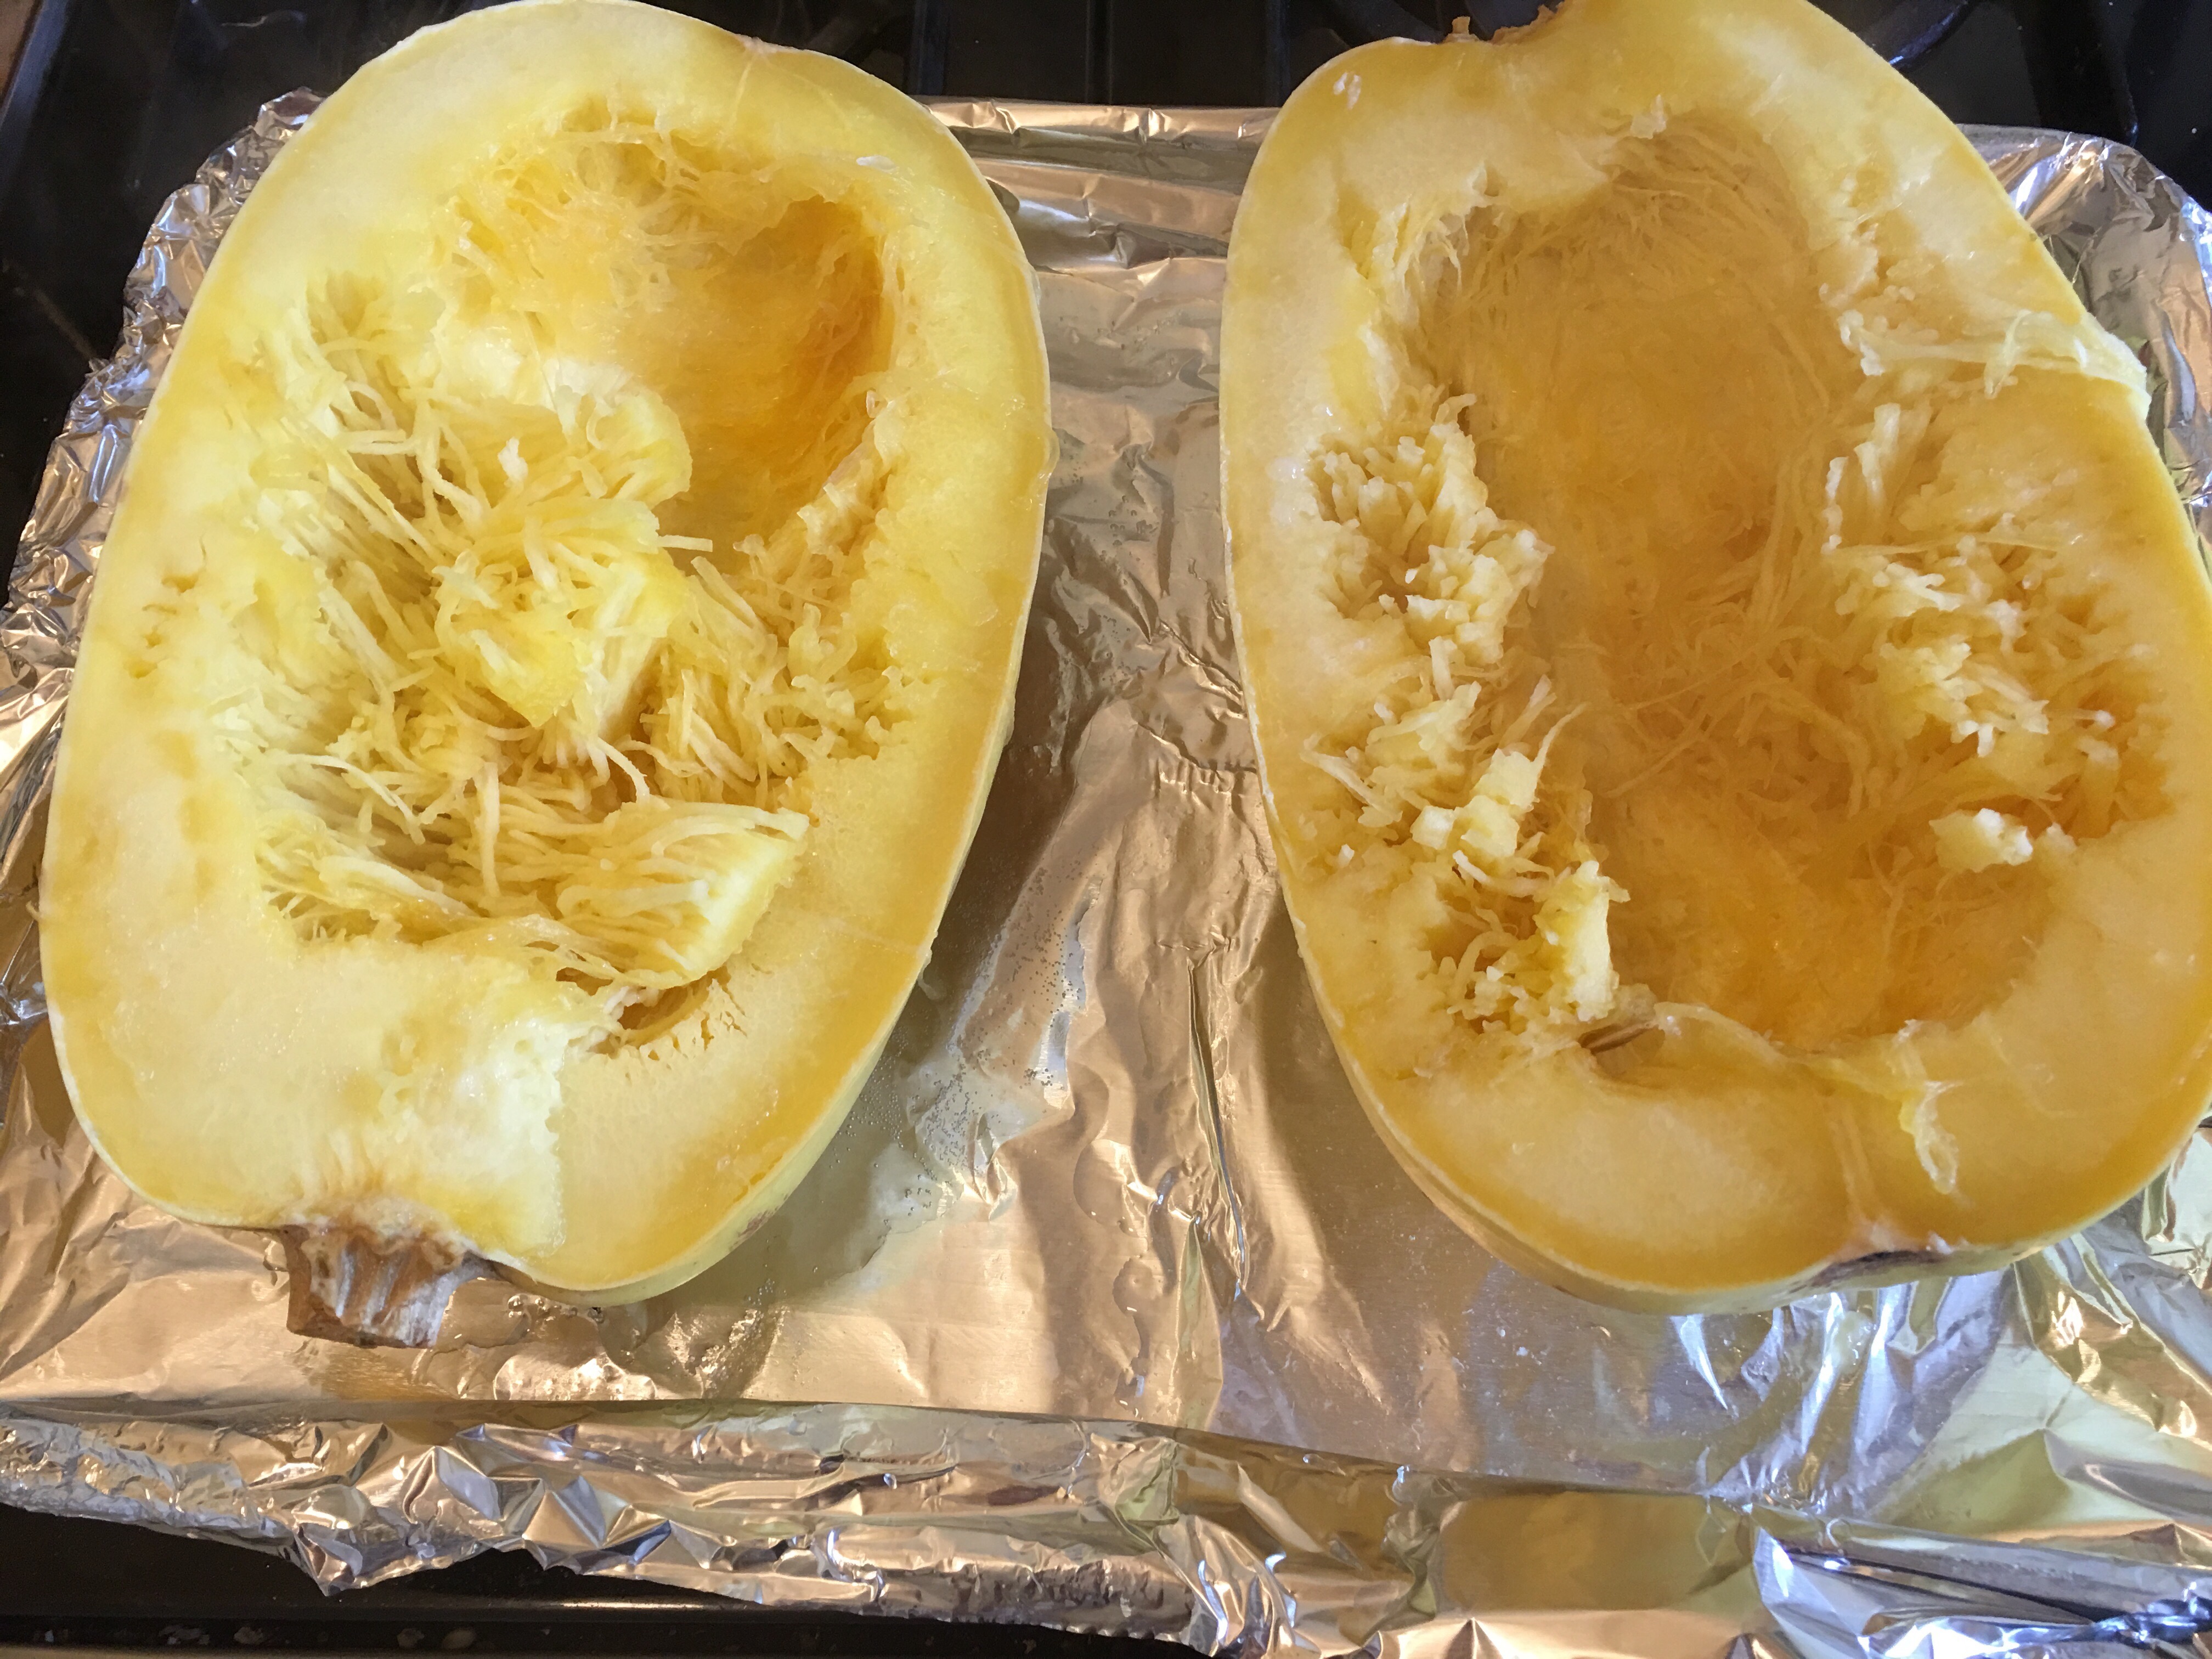
Spaghetti Squash

1 spaghetti squash, halved lengthwise

 Place on a rimmed baking sheet, cut side down, in 1/2″ water. Place in a 400 degree oven for 25-30 minutes depending on how big your squash is. Over-cooked spaghetti squash is icky, so test your squash after 20-25 minutes. If it shreds easily into spaghetti, it is ready! I shred it all and put it into containers in the fridge.

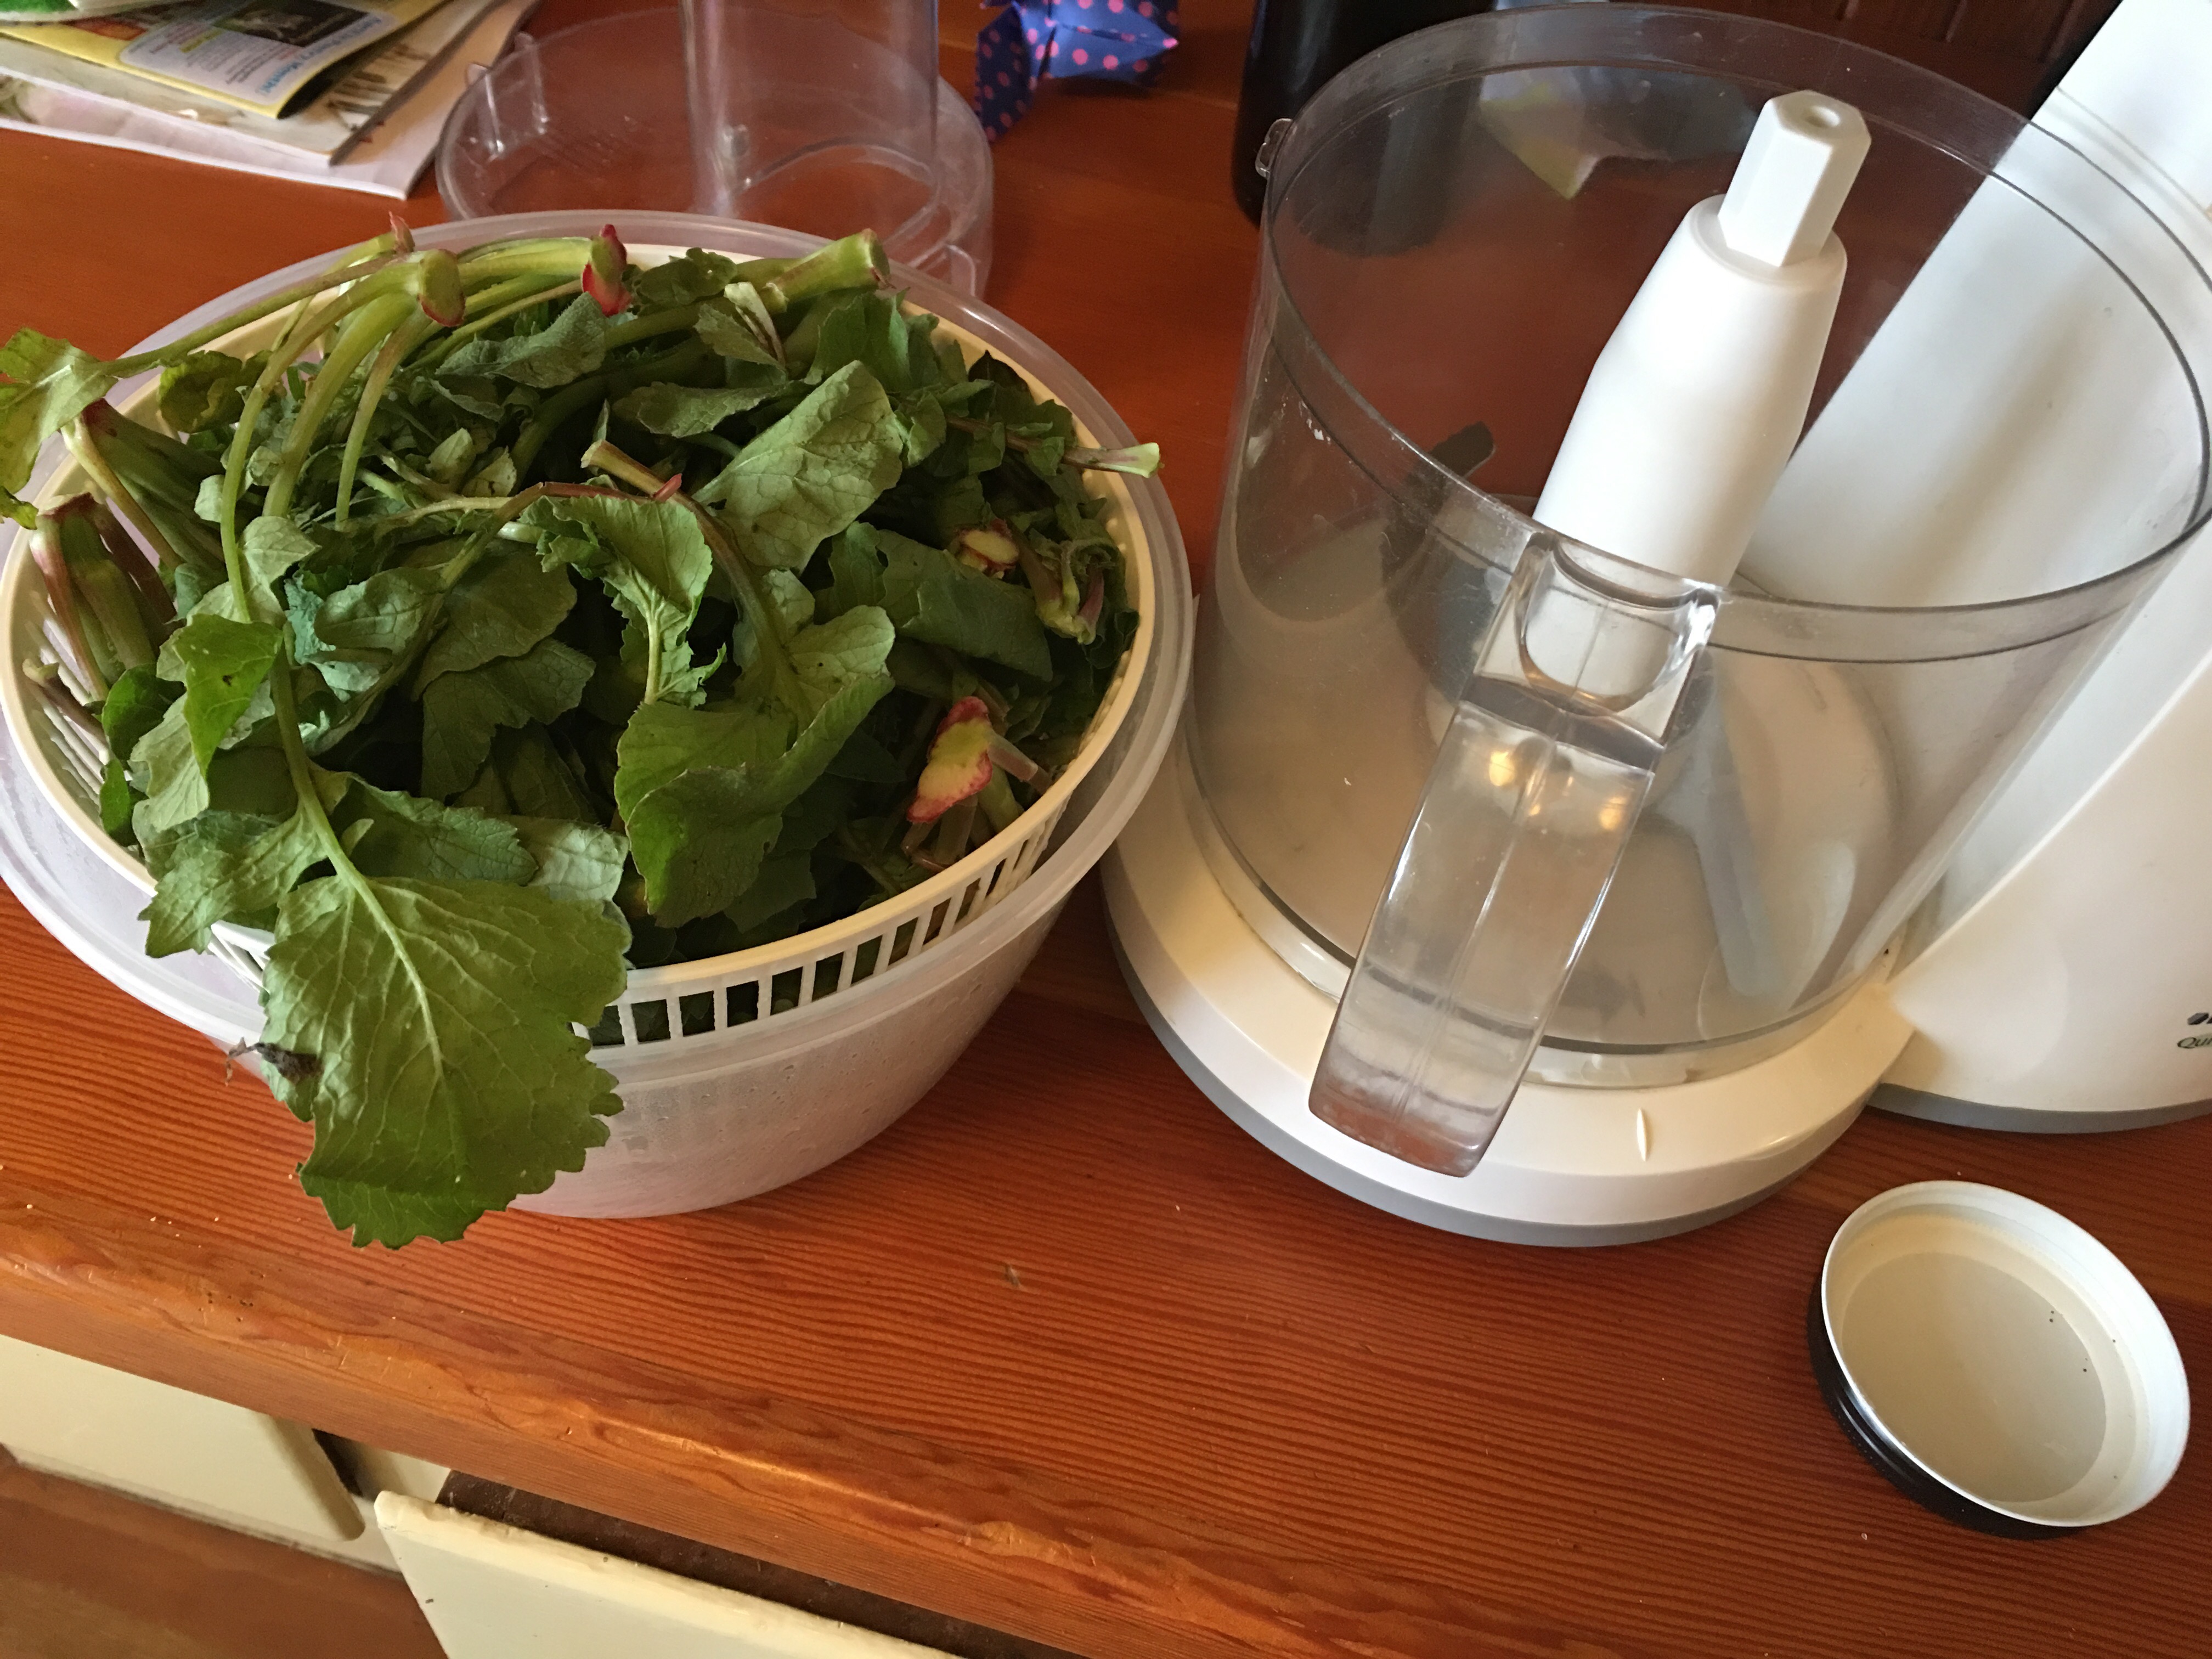
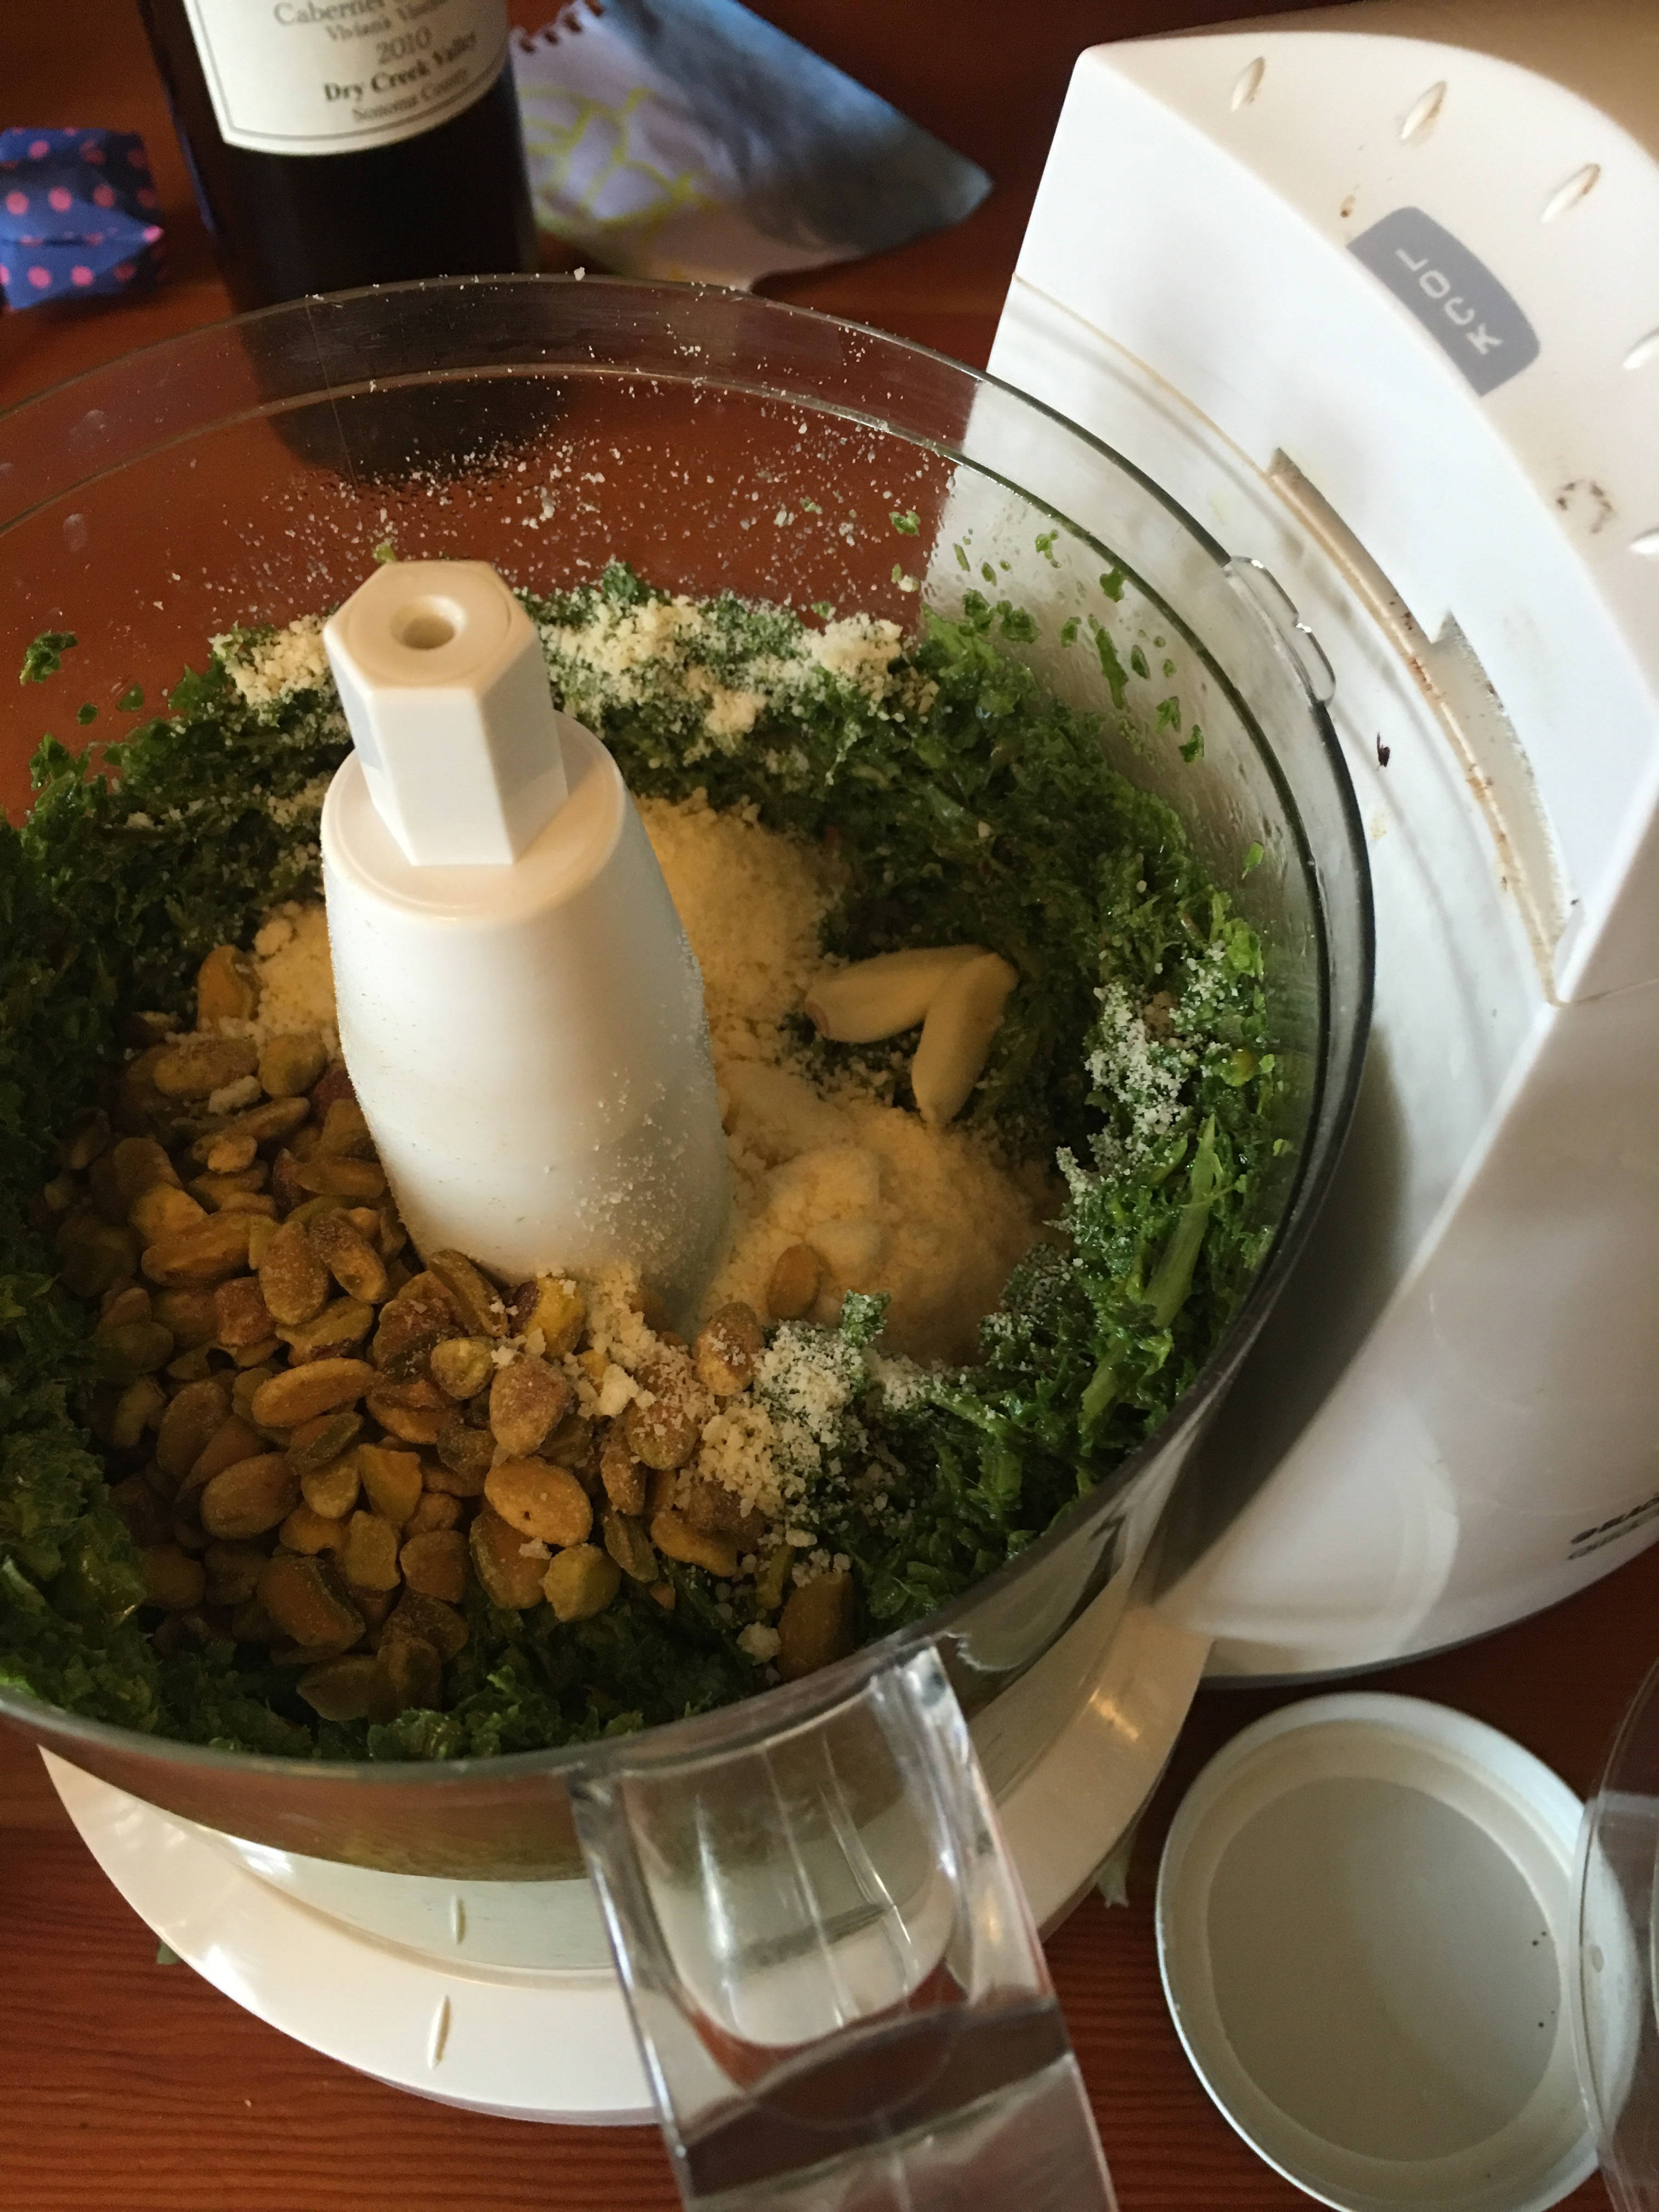
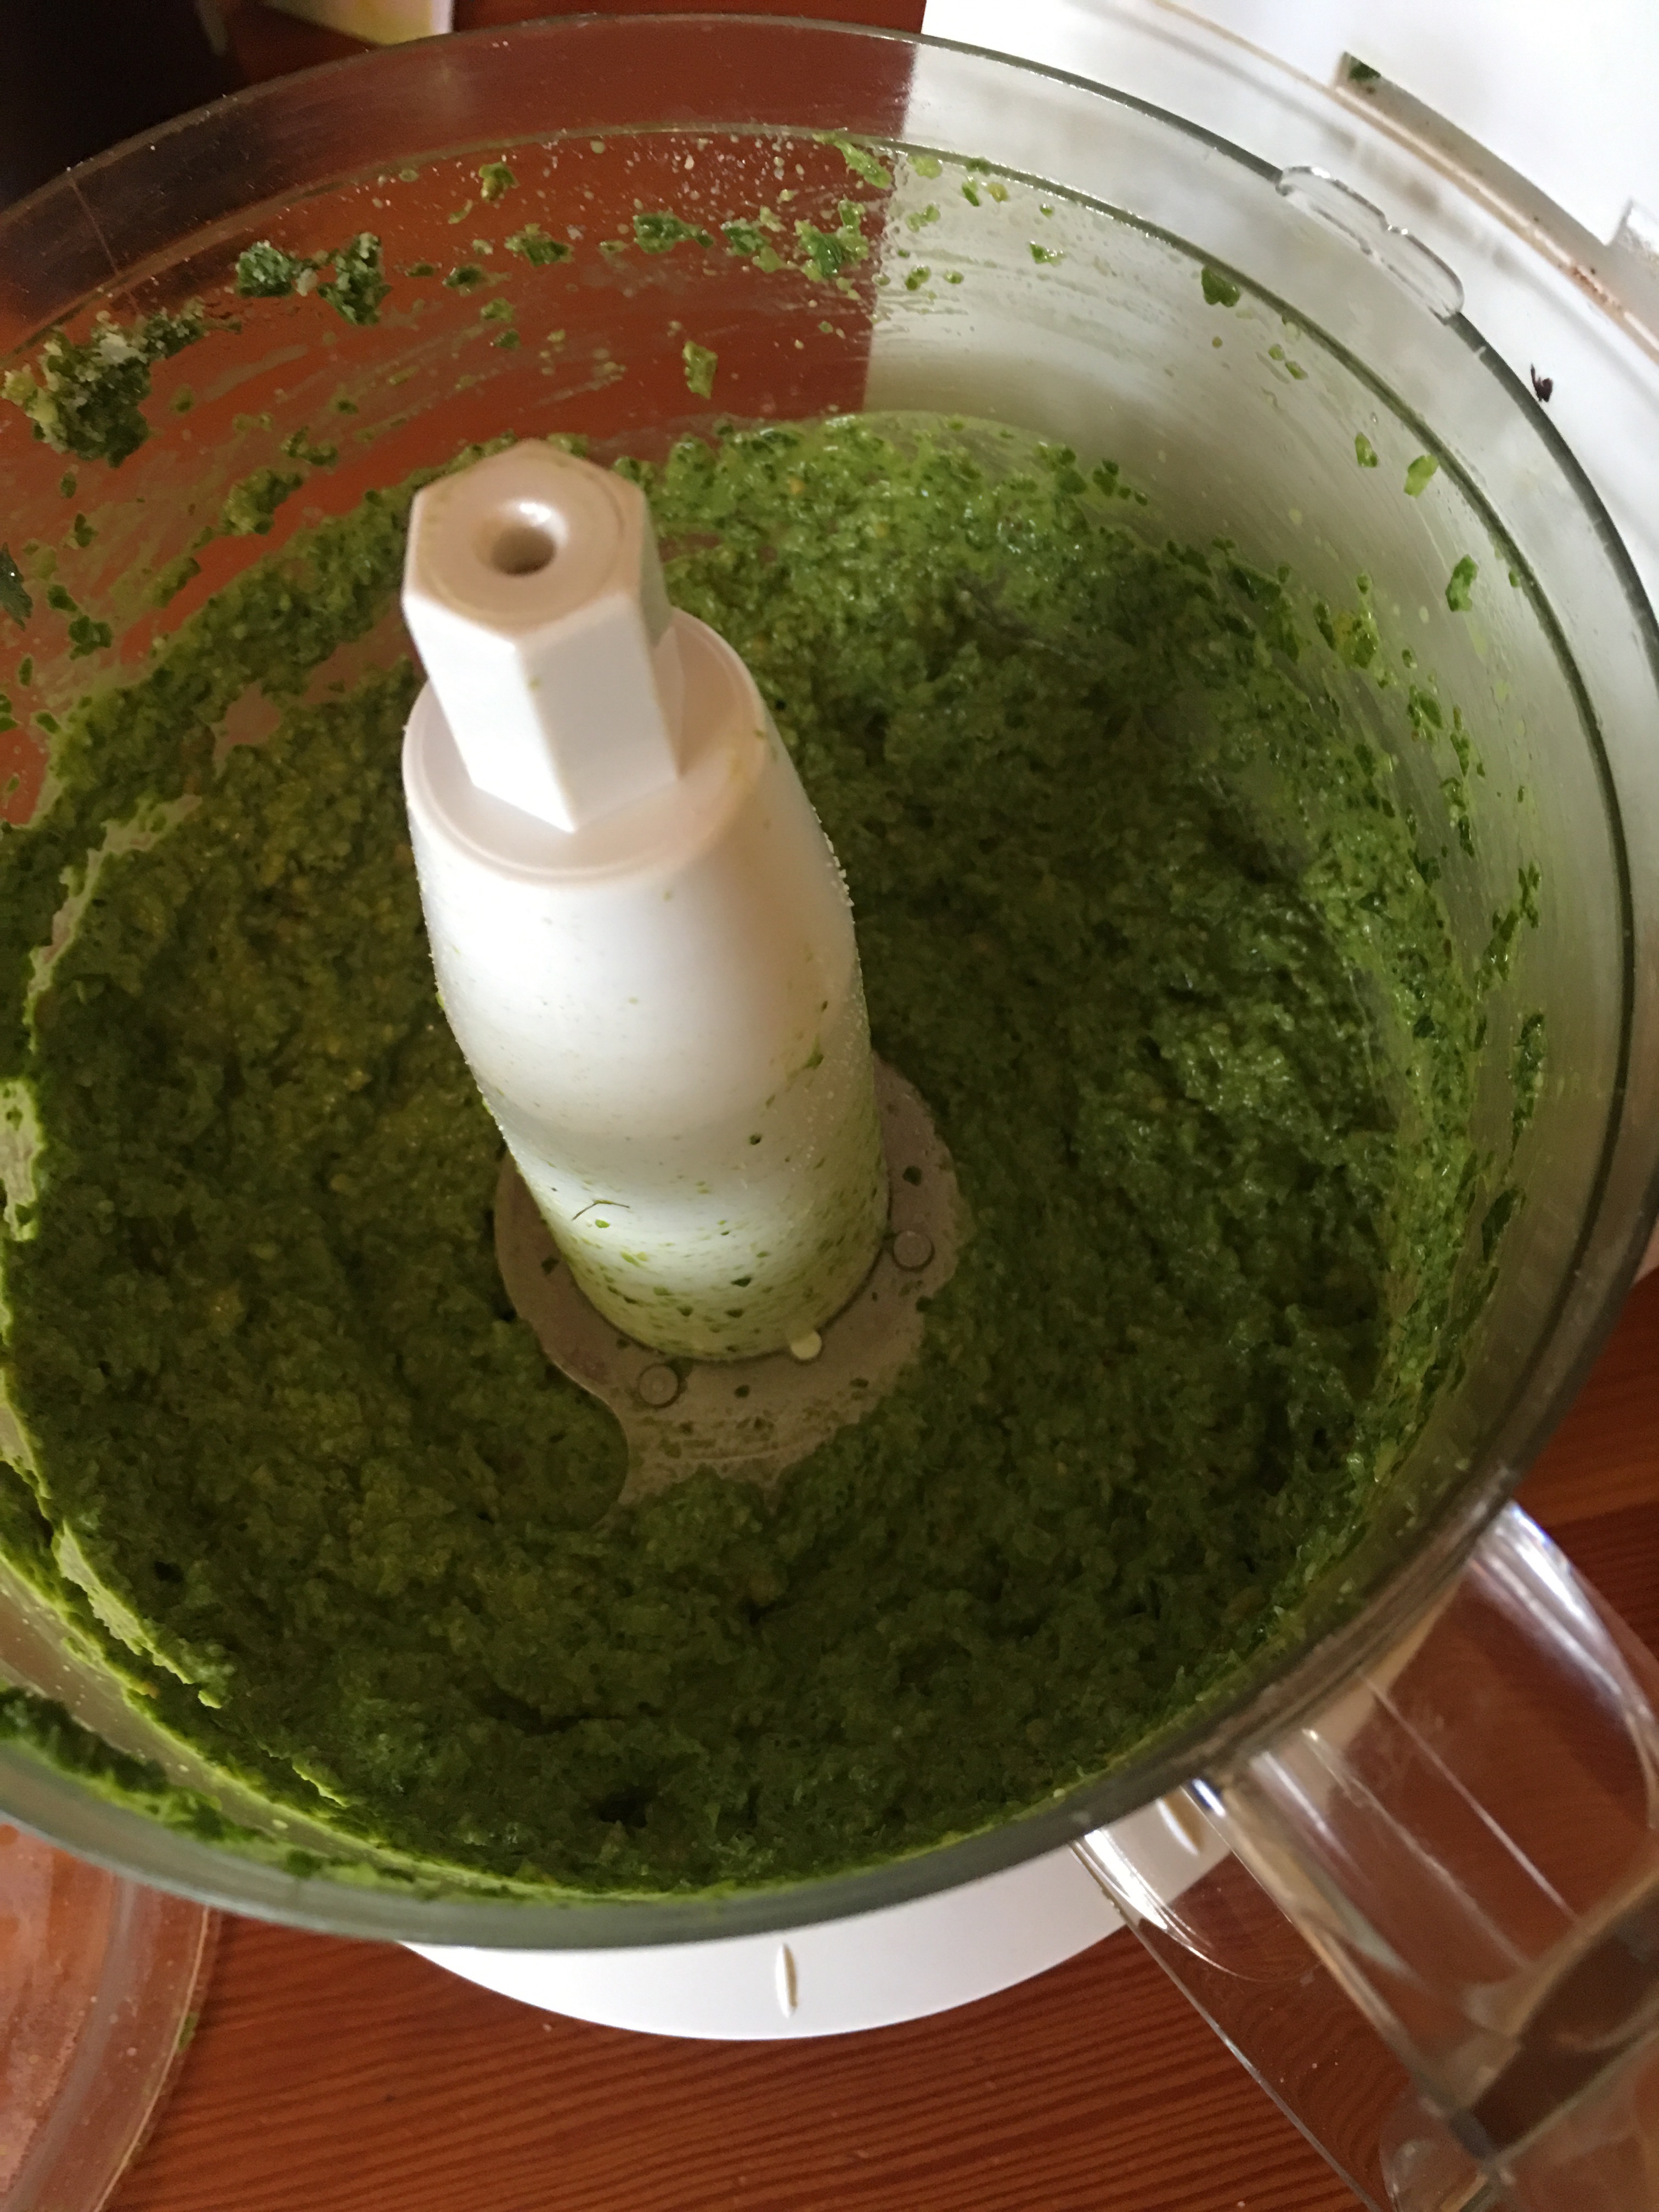
 I roasted a pan of turnips, and steamed and sautéed a few bunches of broccolini with oil and garlic. In addition, I used the tops of radishes from the farmer’s market to make radish & pistachio pesto, which makes a great dip, sauce, or spread.  

    
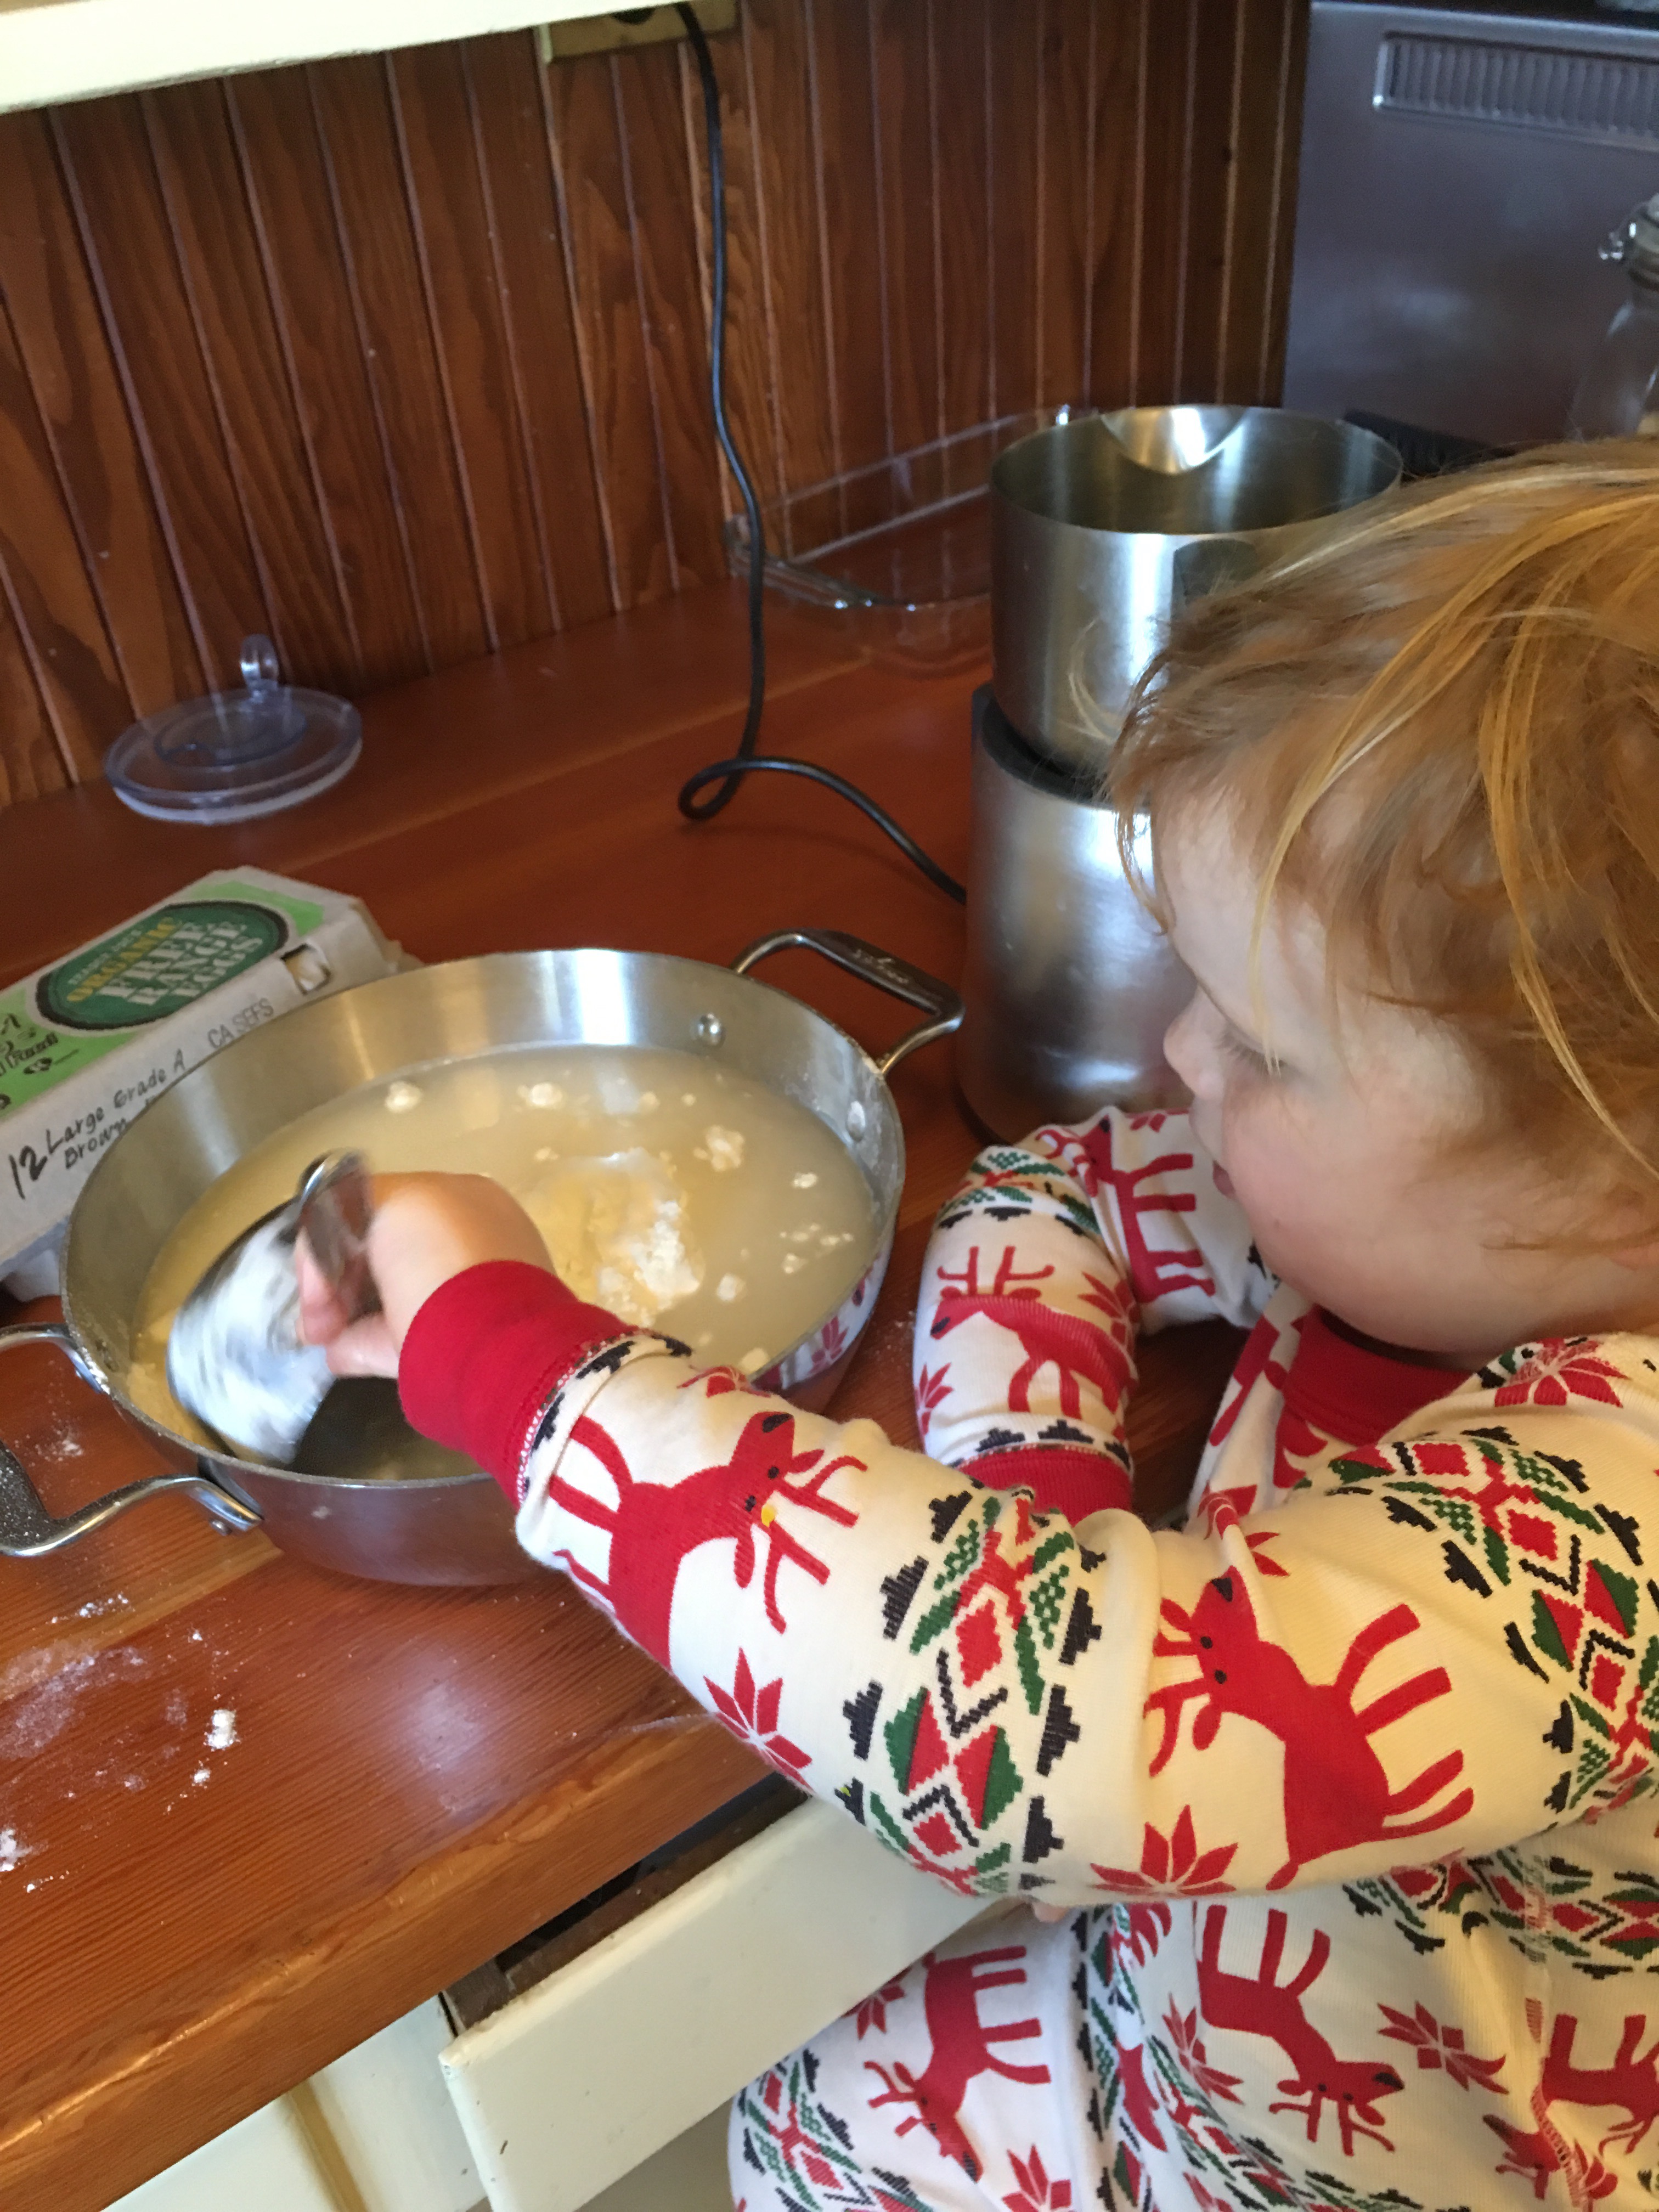
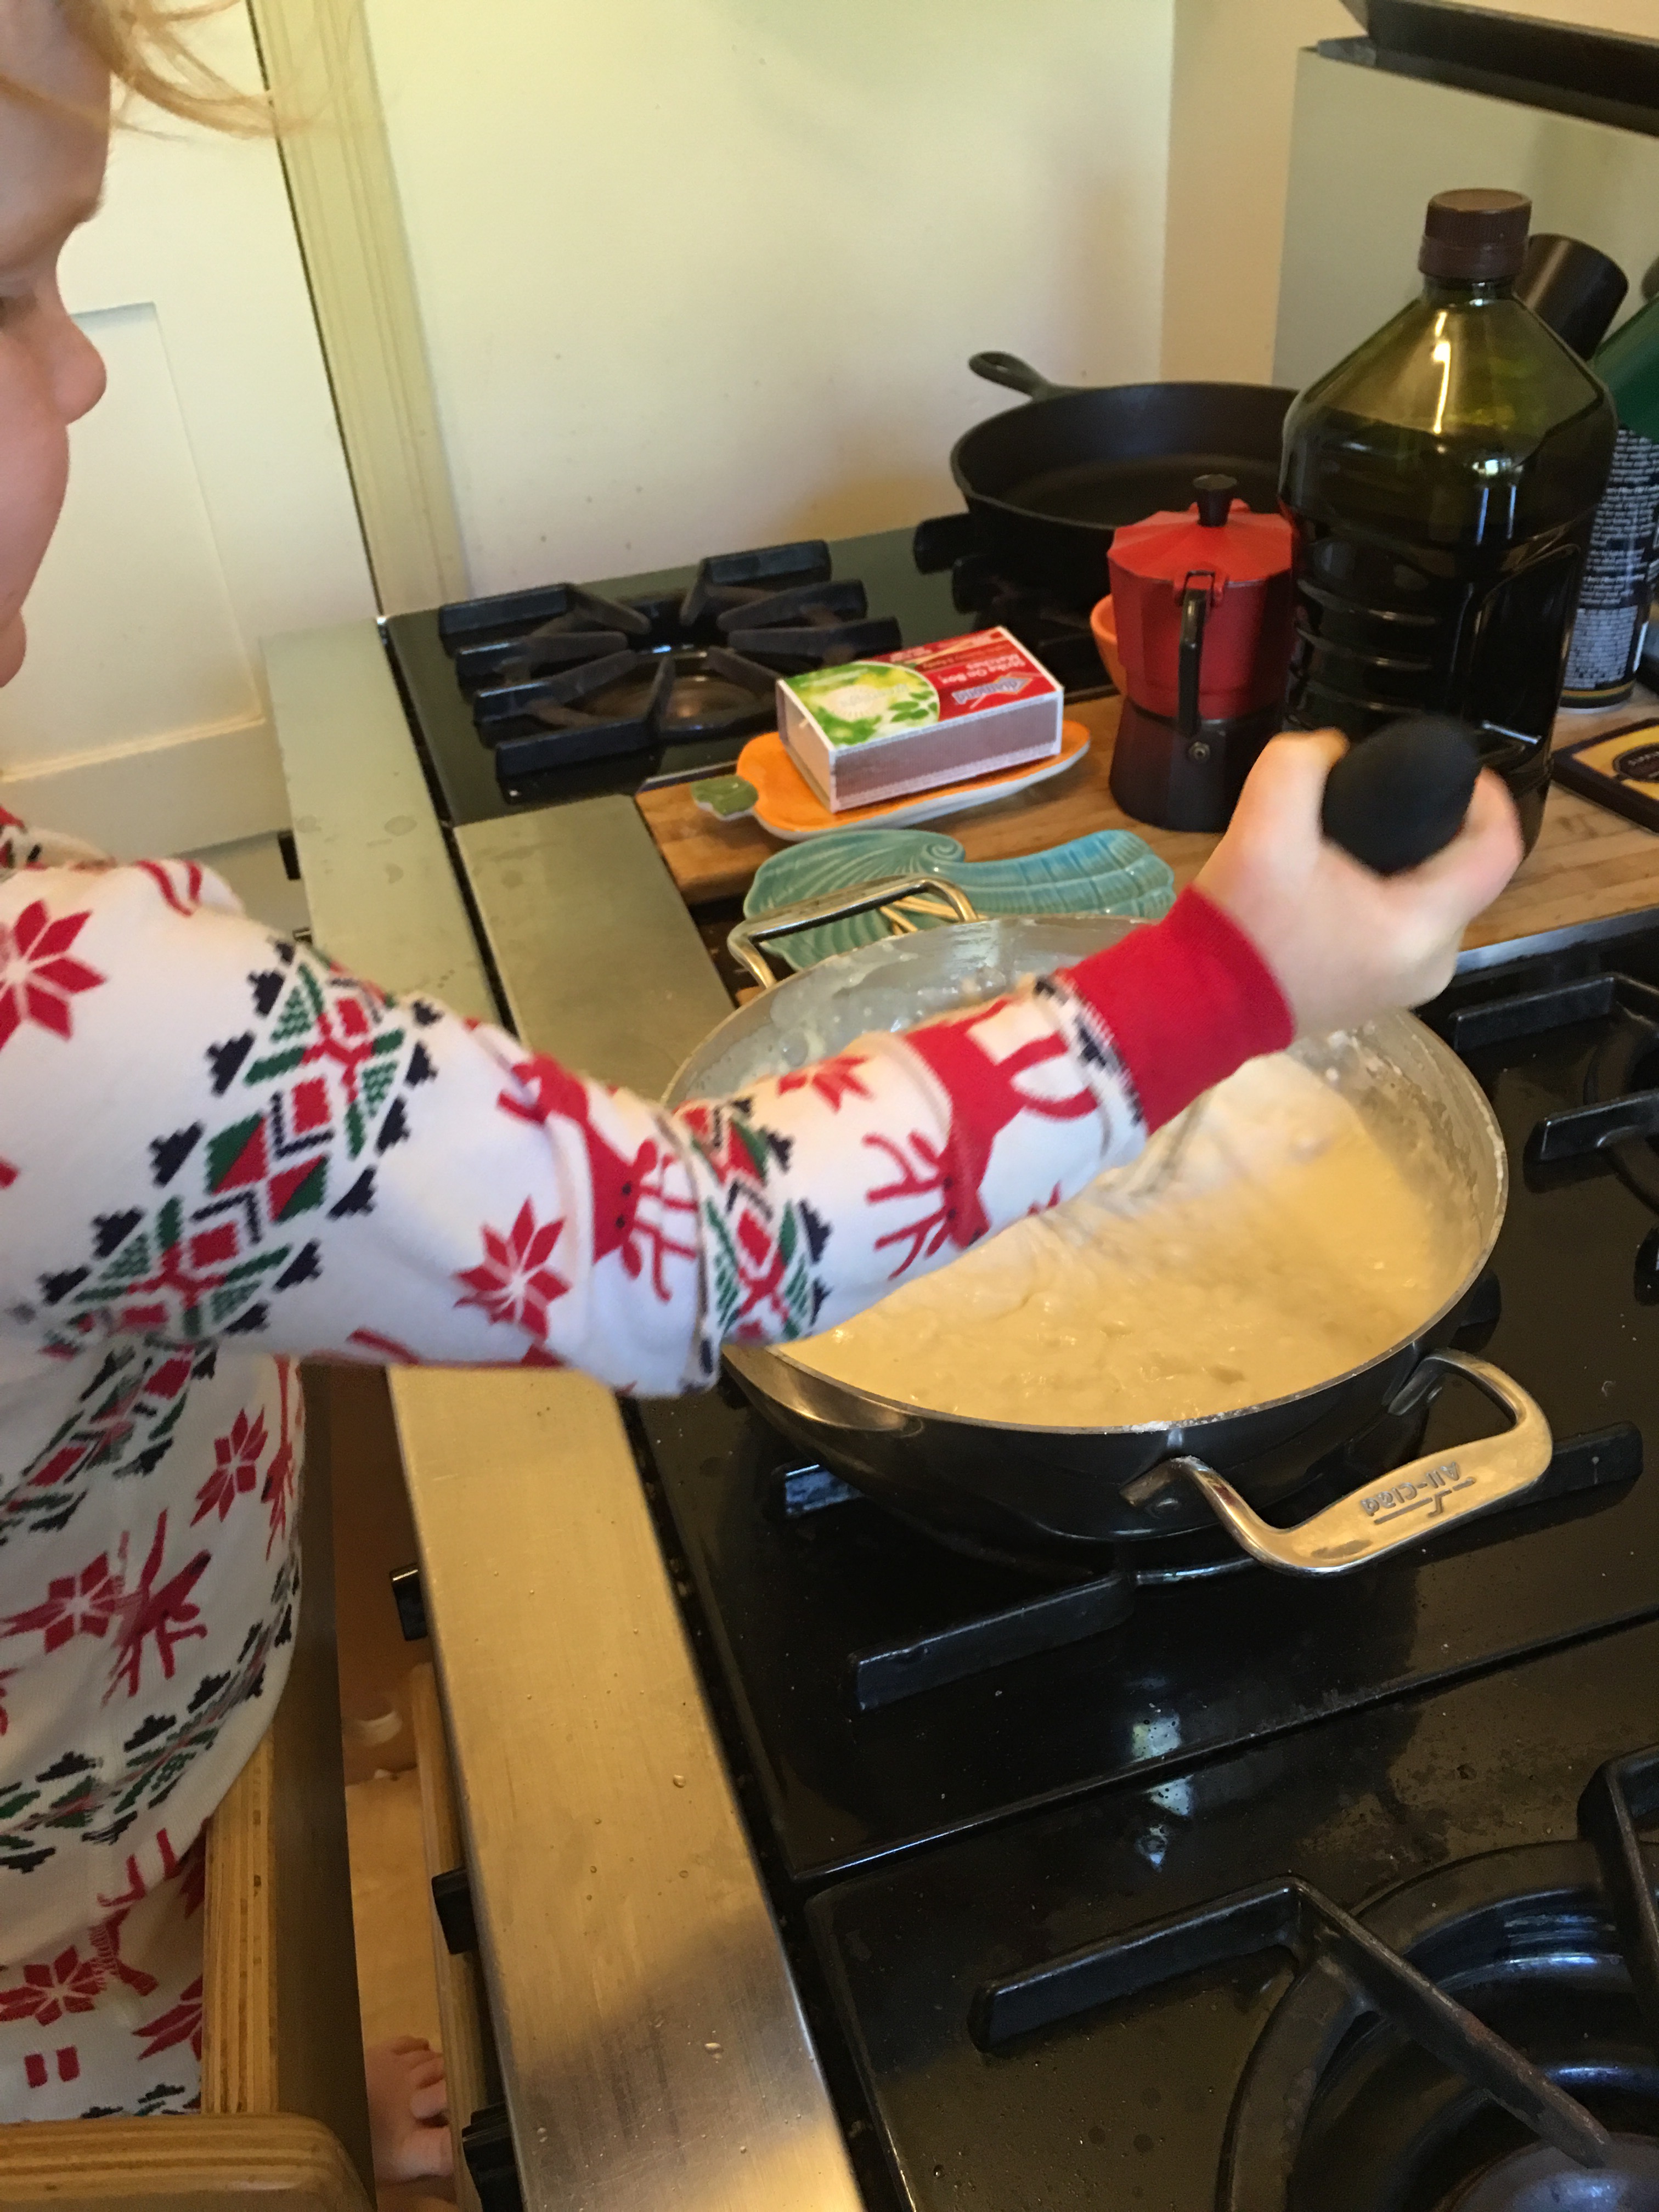
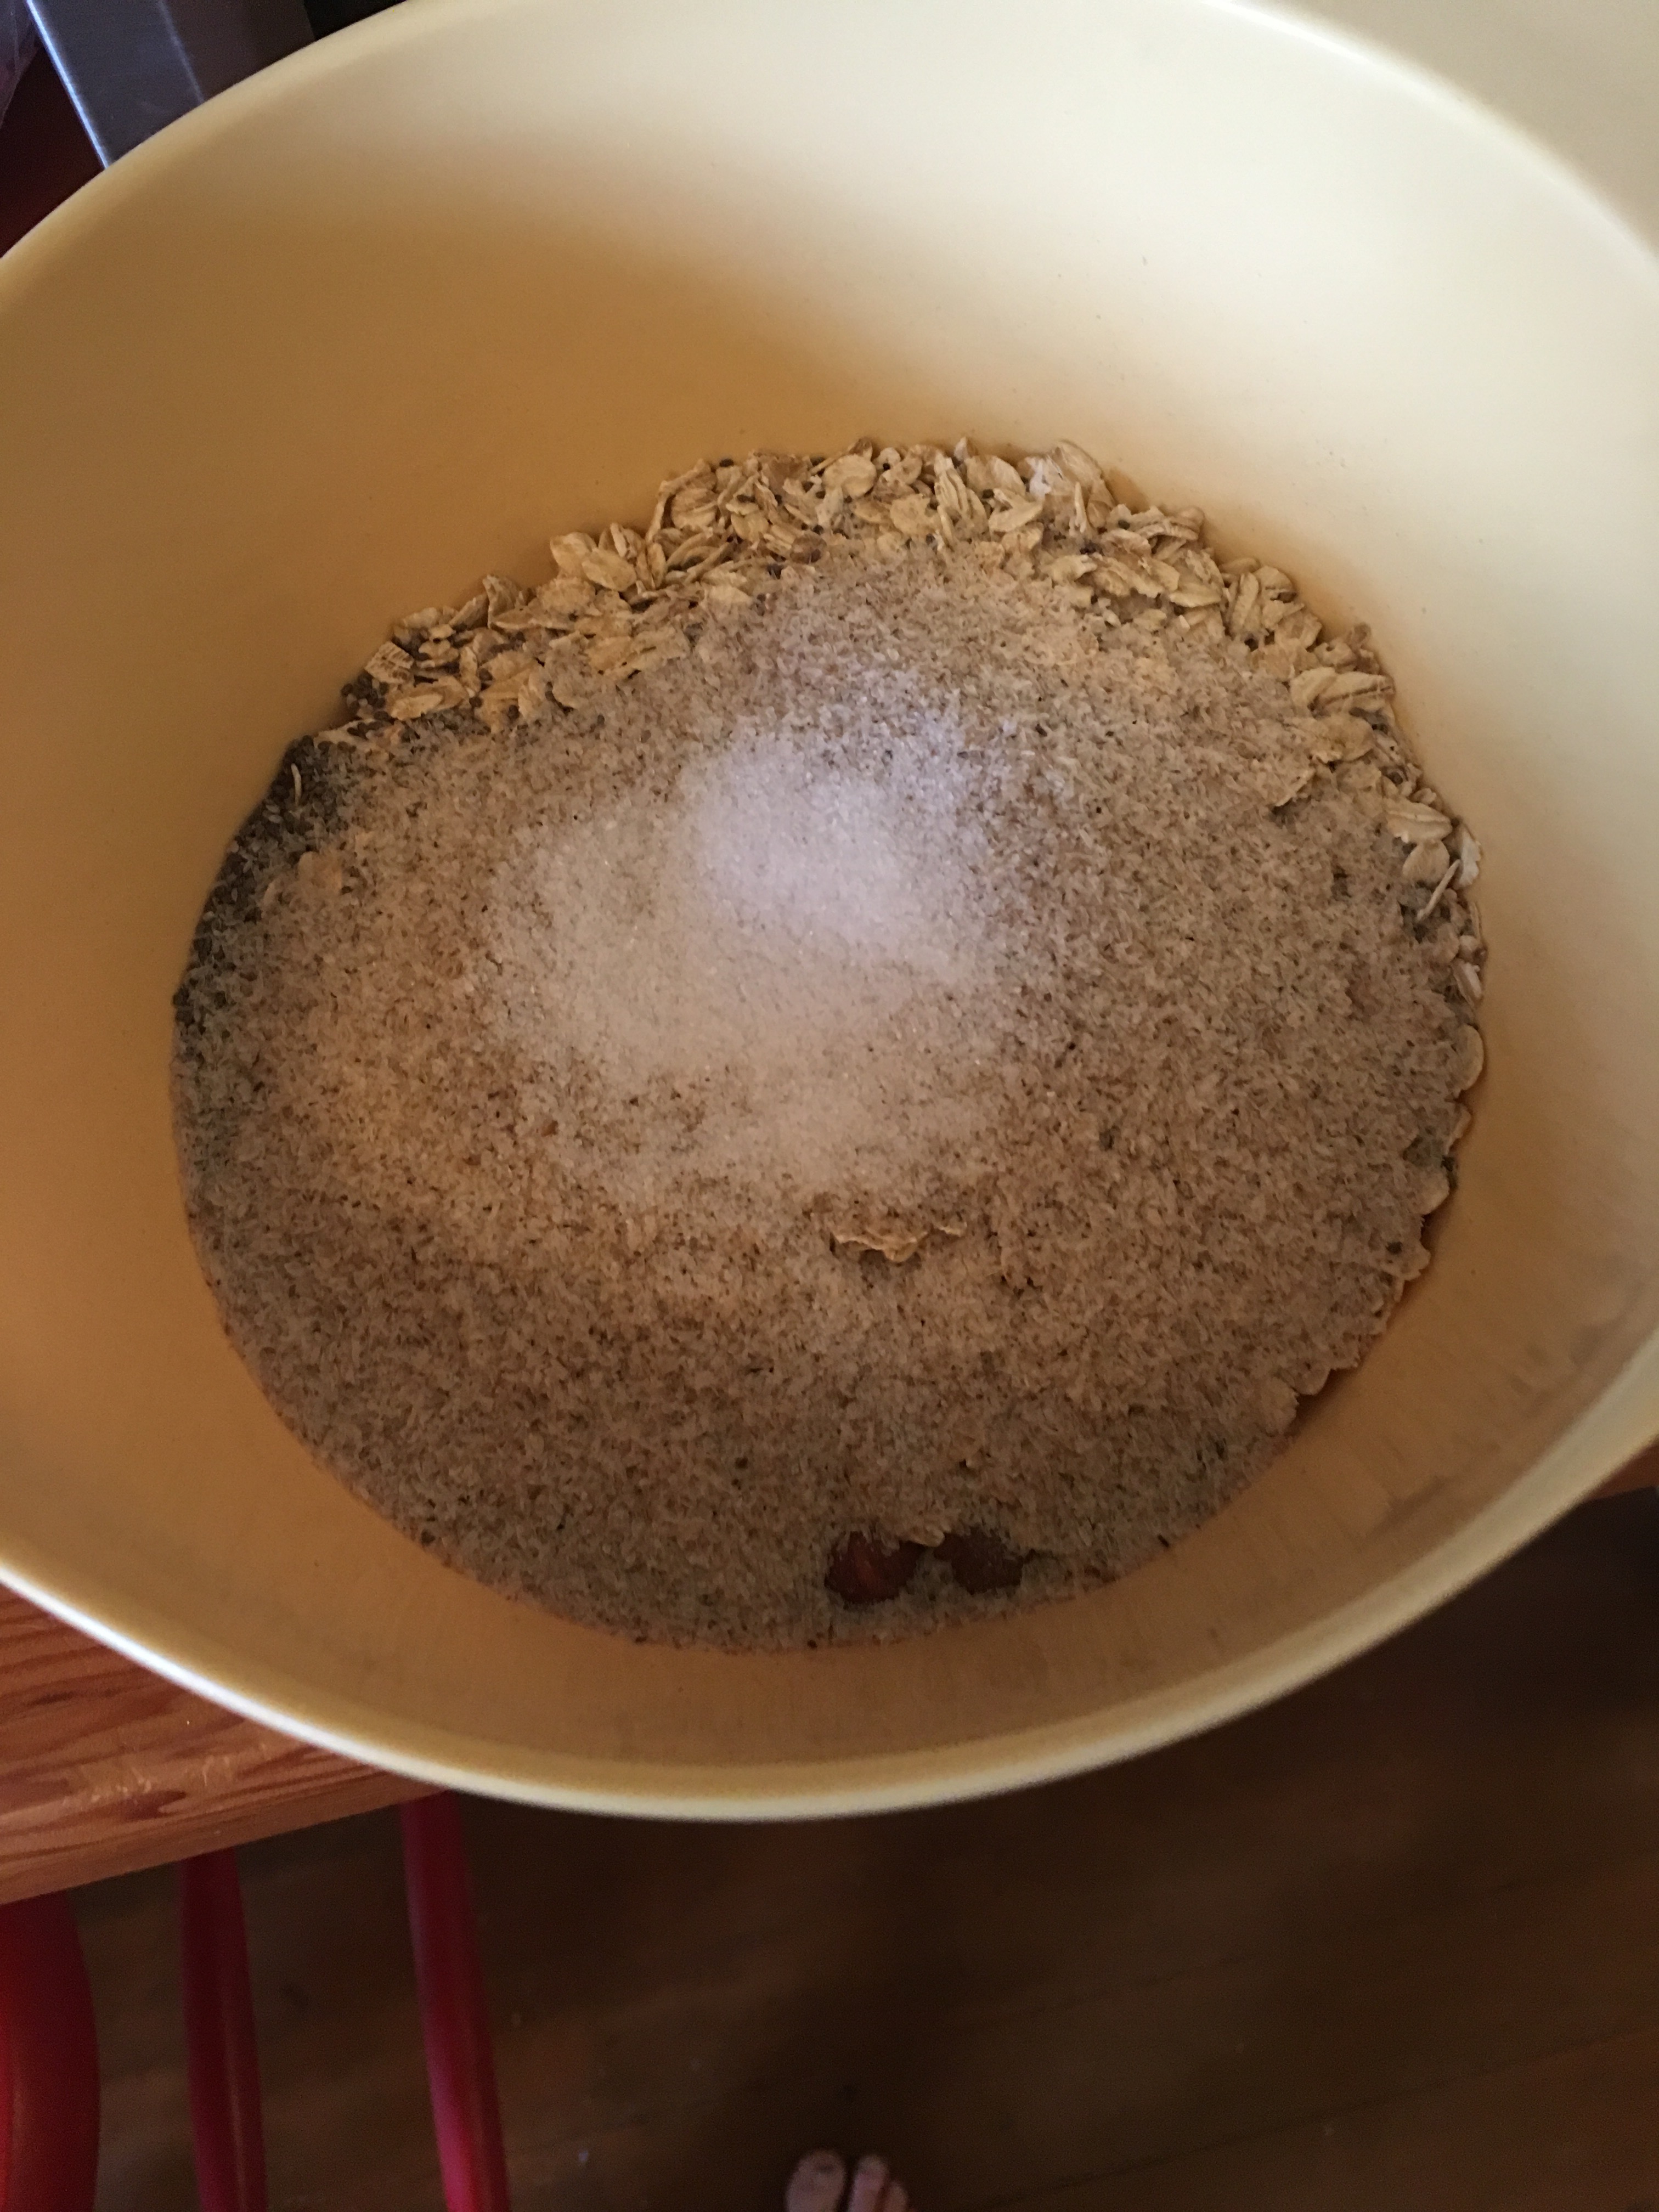
 Because I try to avoid excessive grains when doing a reset, I also make a loaf of this bread.   


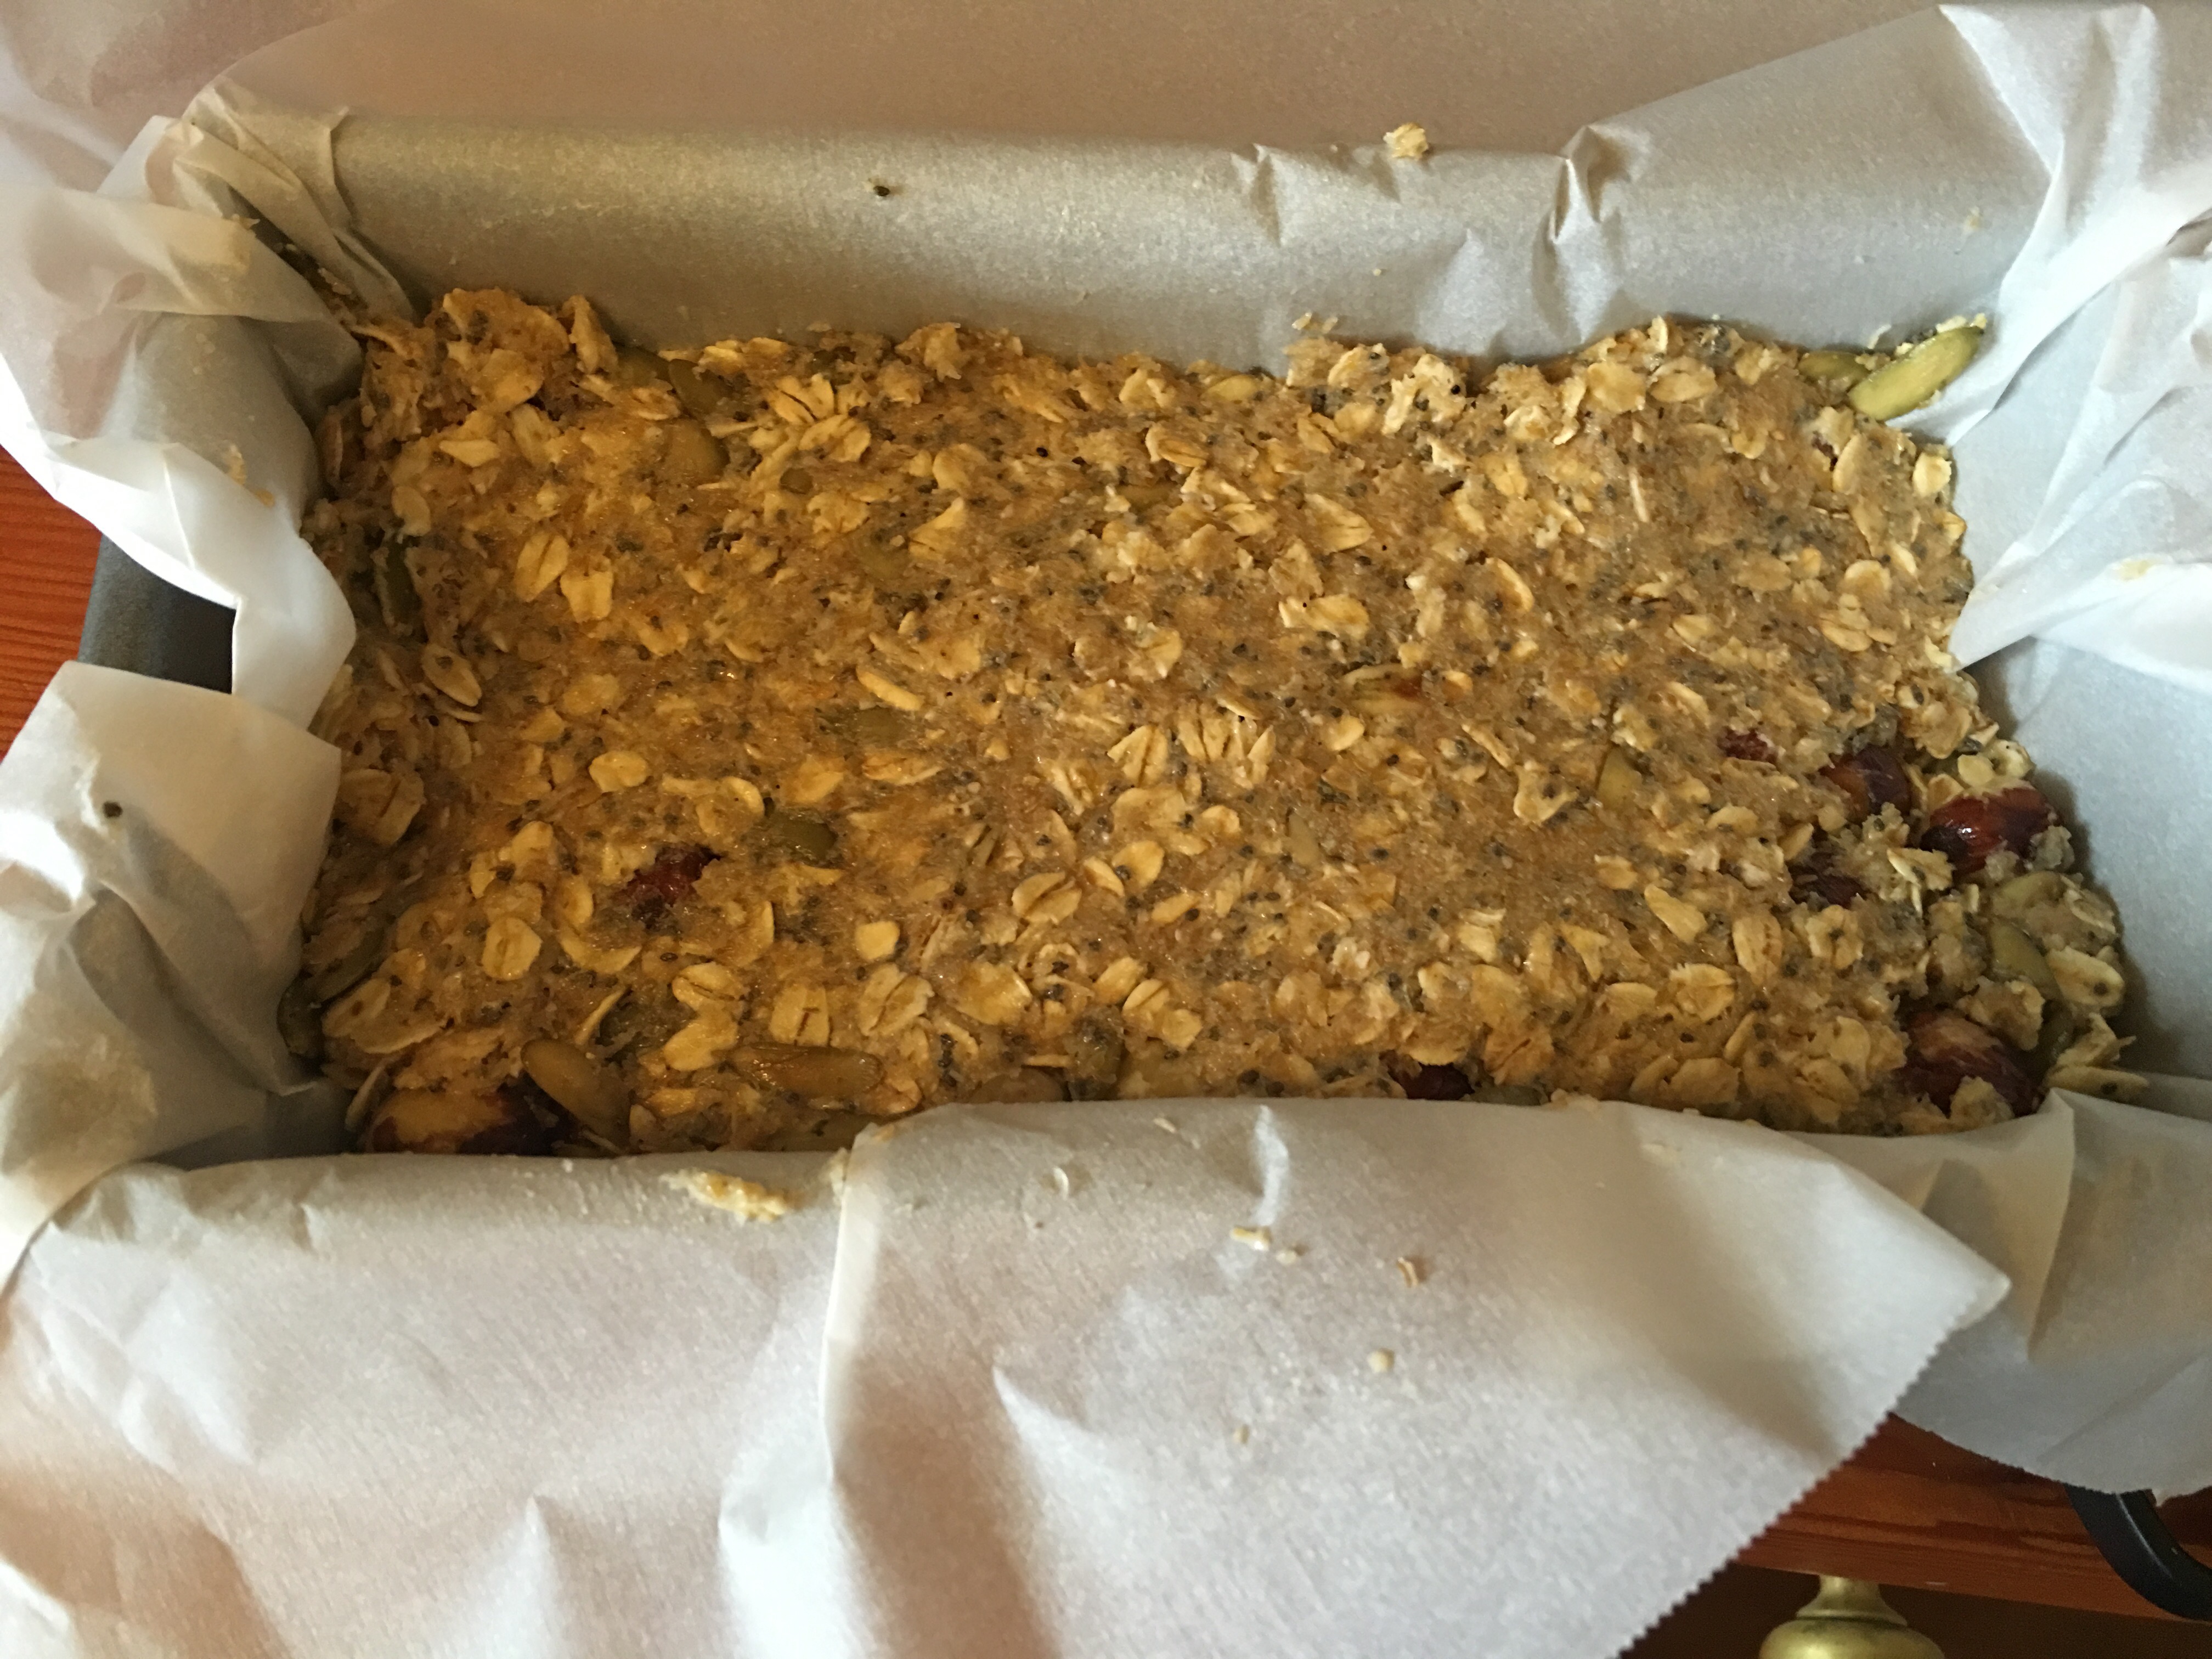
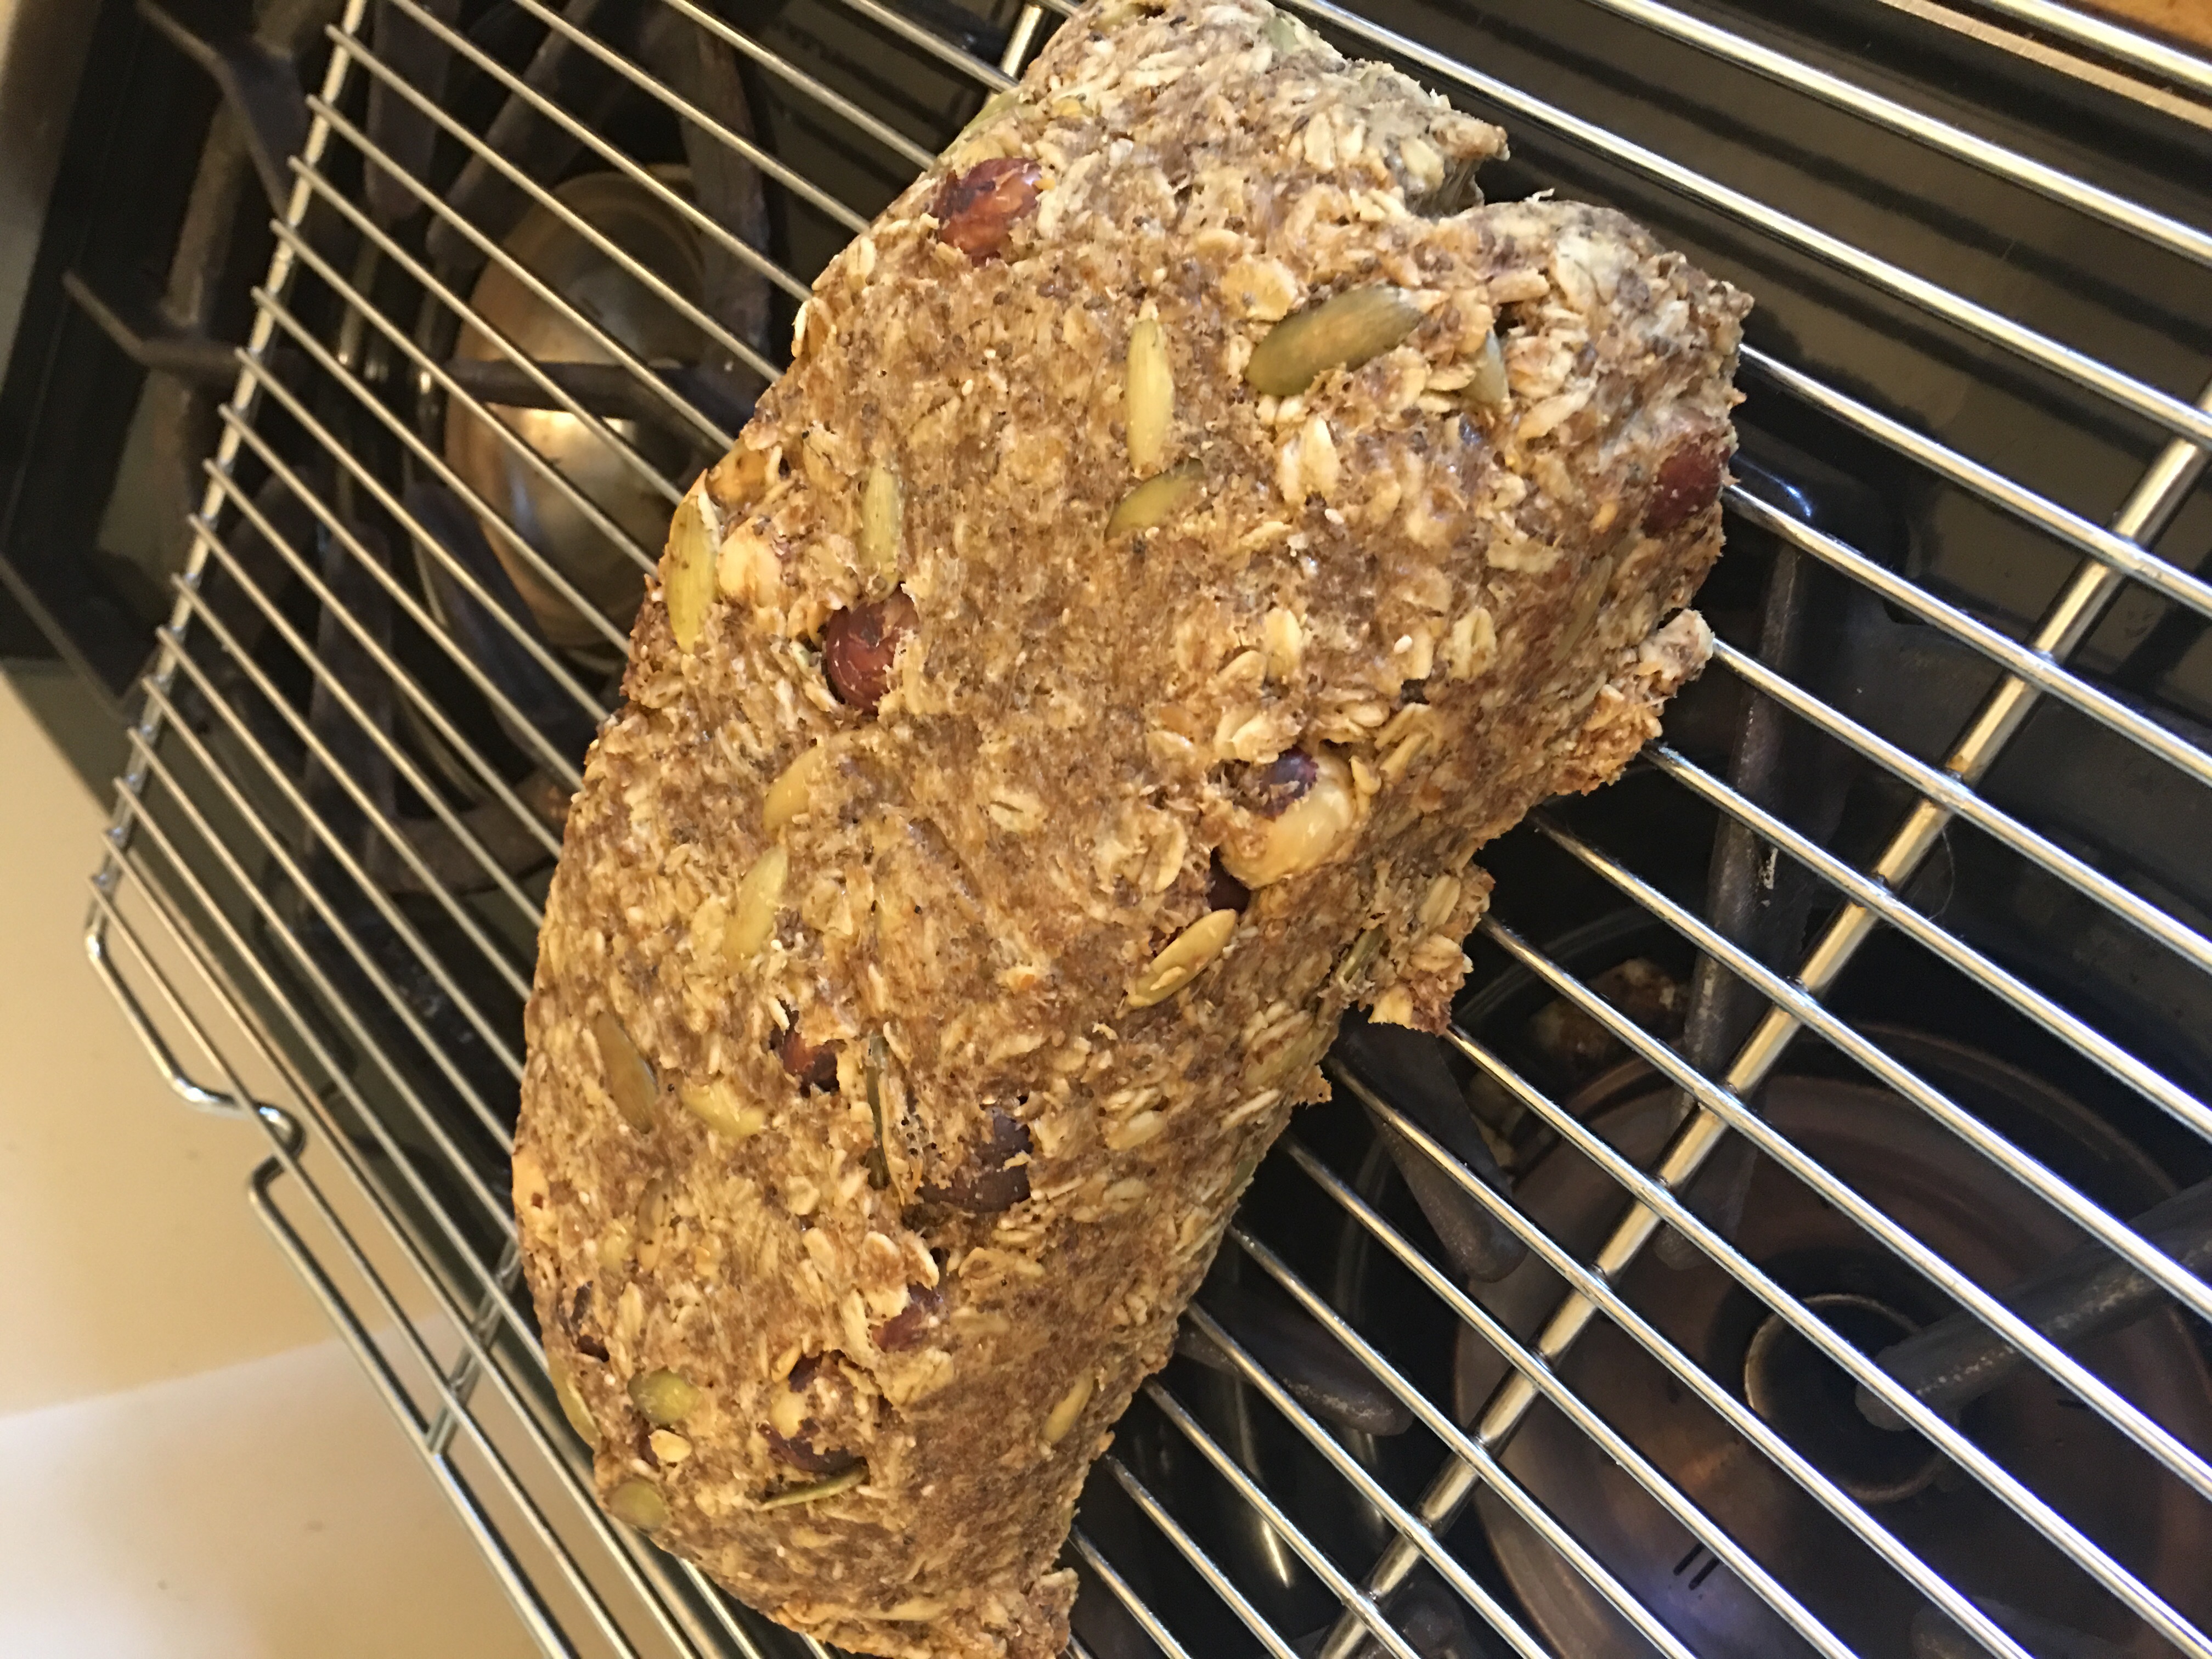
 It is dense, chewy, and tasty, a great side for soup or base for avocado toast. I still limit myself to 1-2 pieces of this a day to keep with my commitment to variety, so it lasts a nice long time, sliced in the freezer and ready to toast.

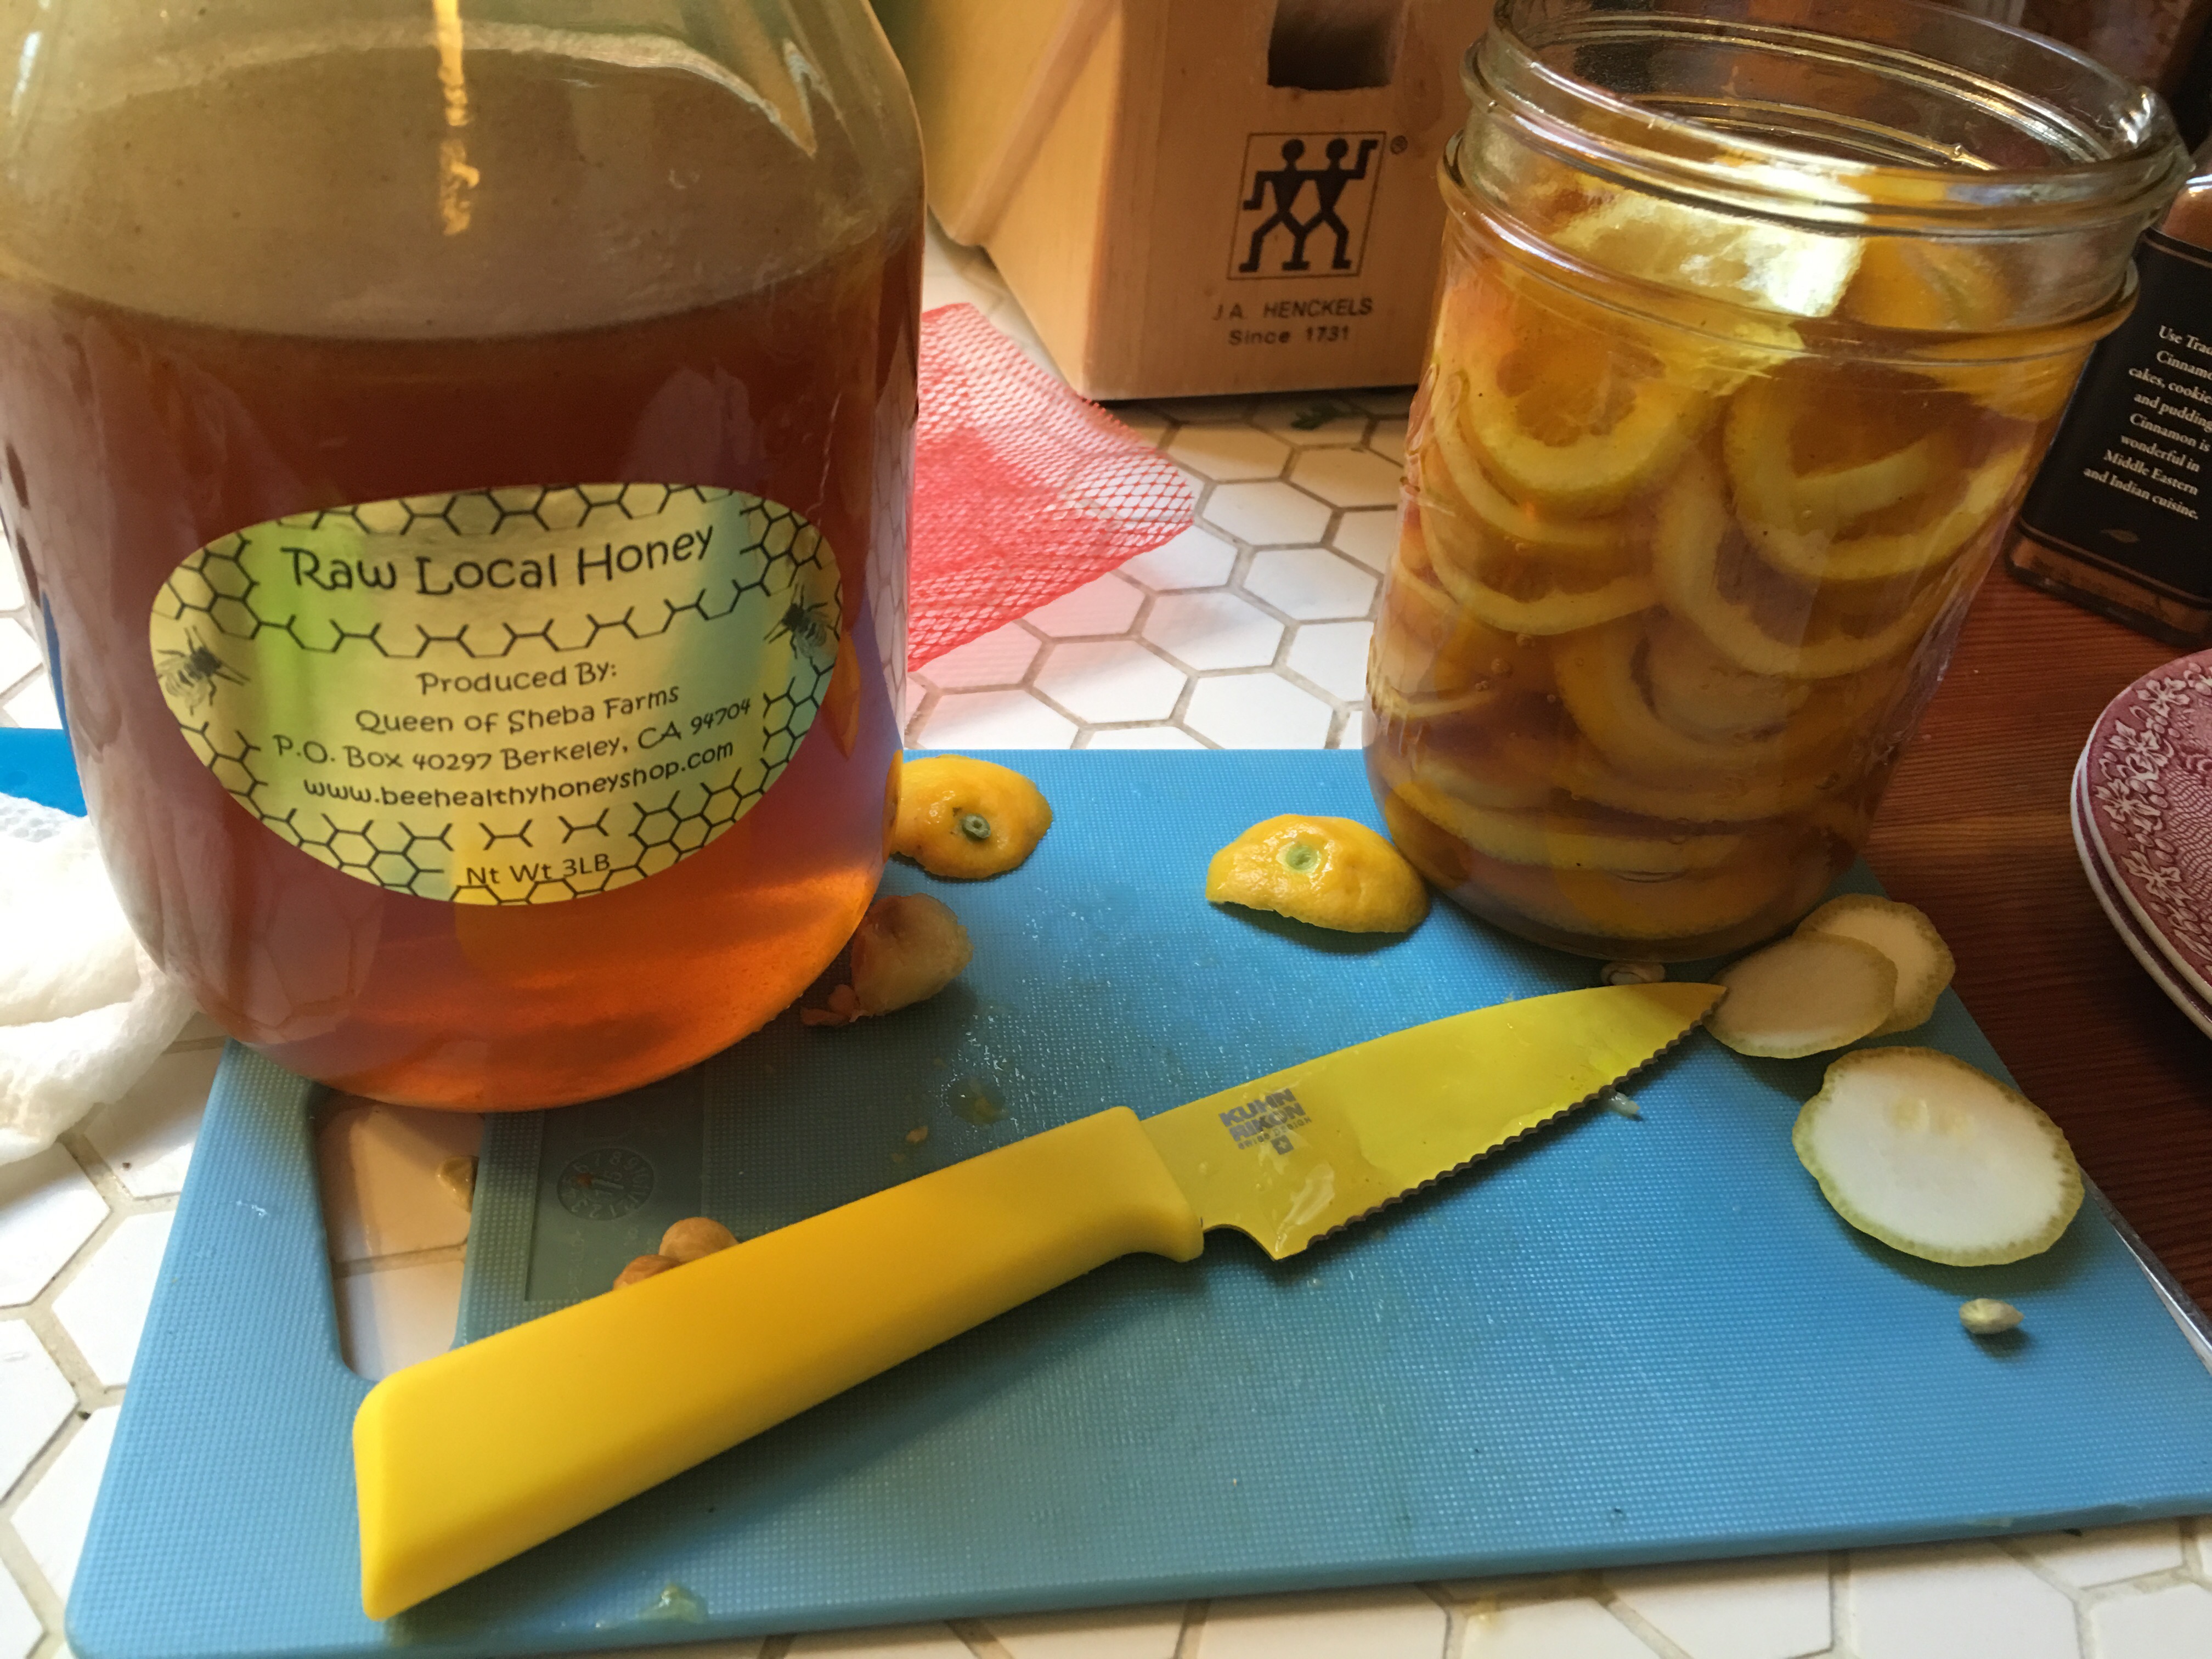
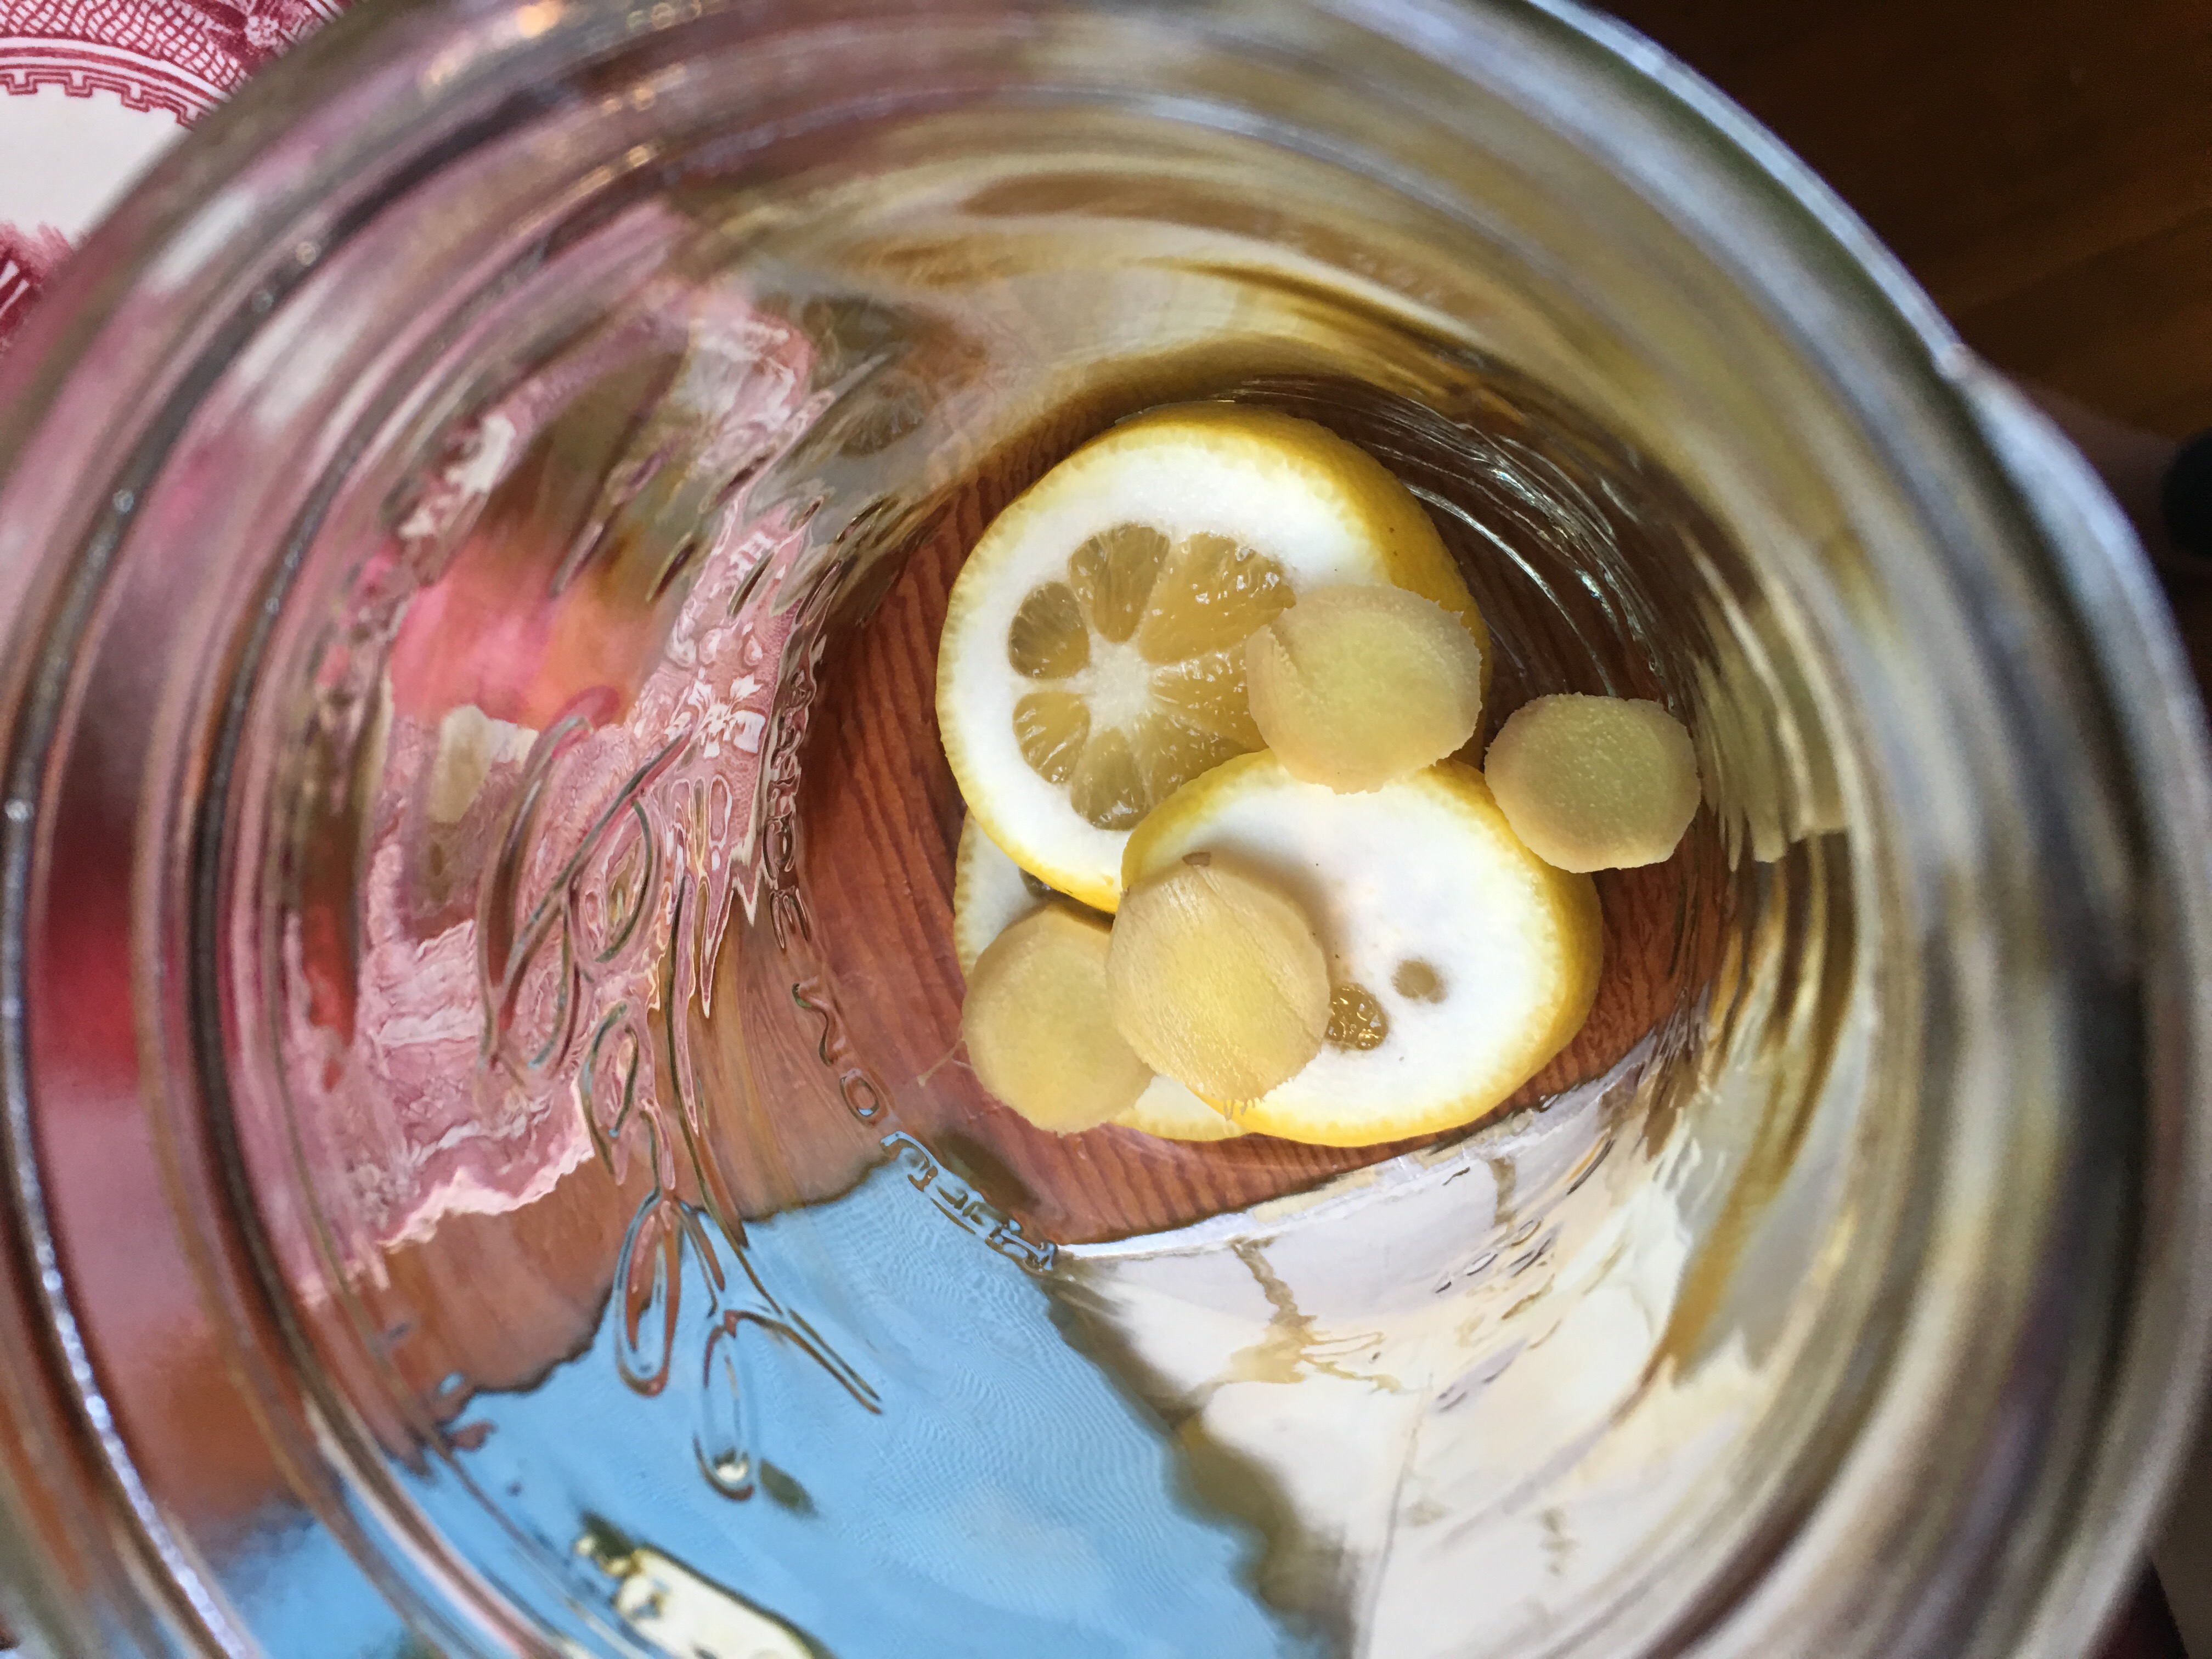
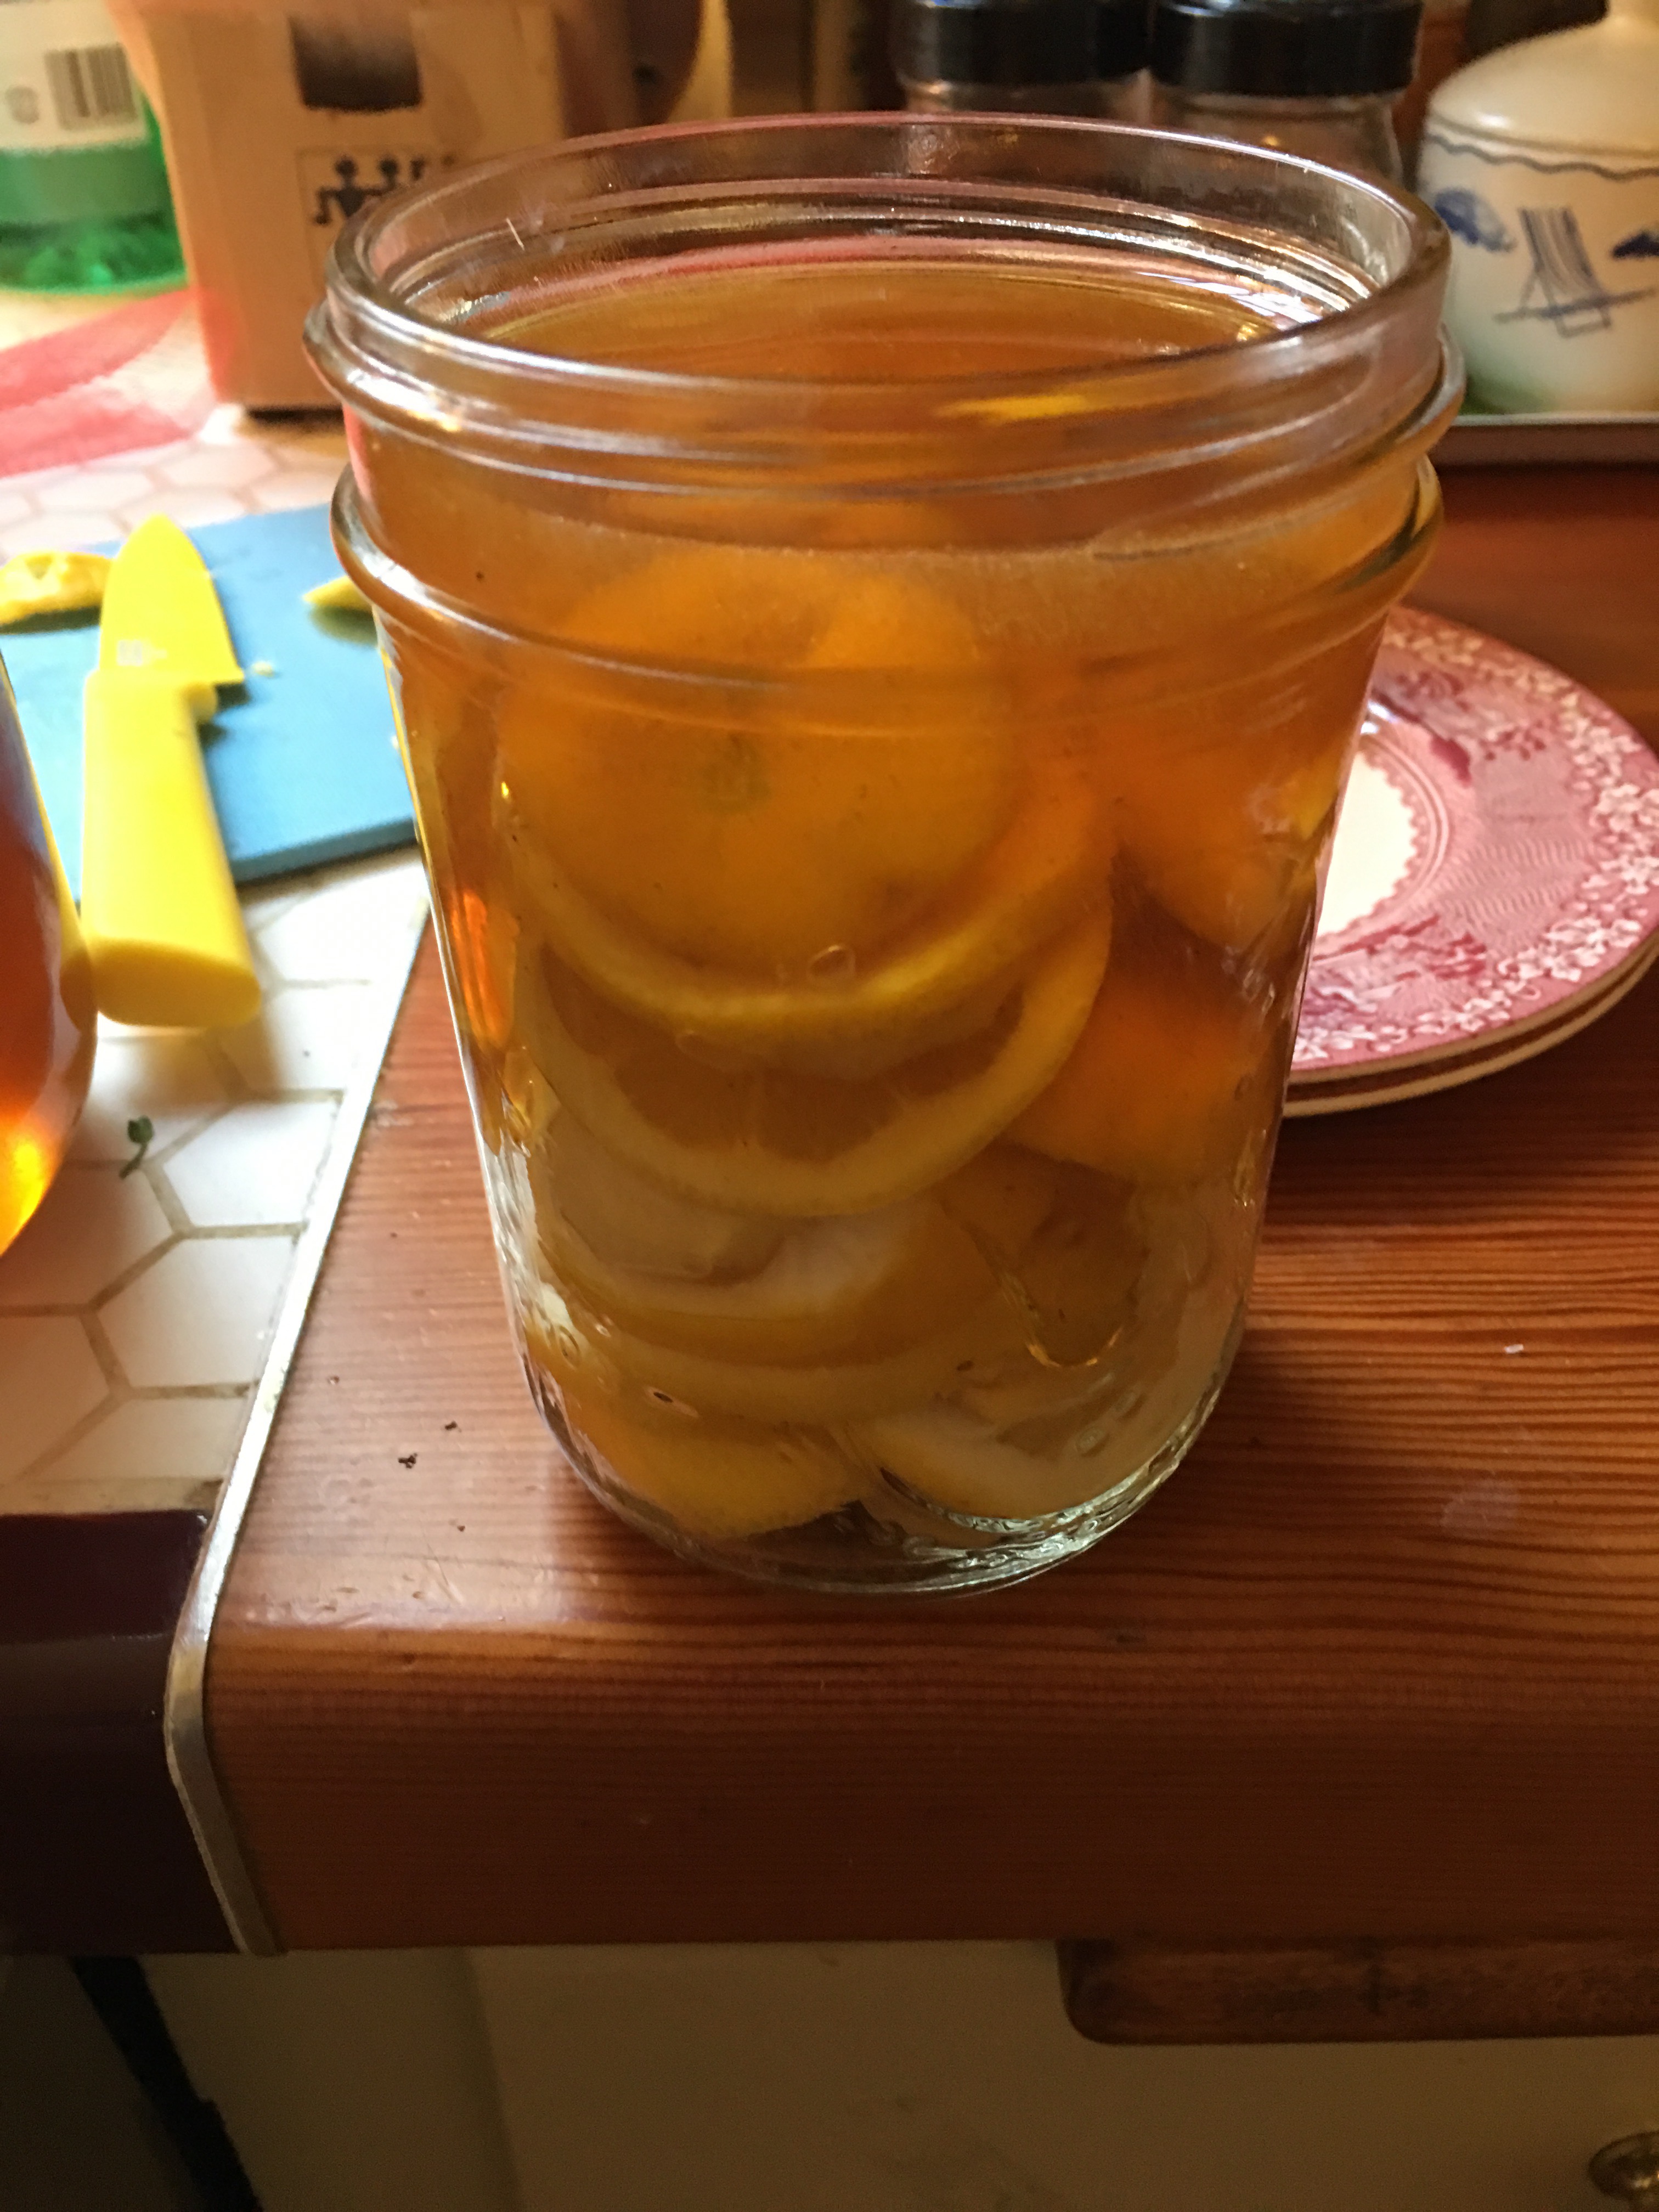
I also hard boiled a few eggs for quick protein, and cold-brewed a pitcher of hibiscus herbal tea for sweet-drink cravings. So far my first day is going to plan- time to drink some water!

A Week of Mindful Meals

  
I understand why ideas like “detoxing” and “eating clean” have gotten a bad rap. I’m not a big fan of vilifying any particular food, even processed or fast food- moderation in all things works best for me, personally. That said, after the holidays, vacation, or birthday indulgence(I’m looking at you, cheese cake and fudge!) I feel and look a lot better when I practice a week or two of concentrated, mindful eating. For me that means taking it easy on grains, dairy, coffee(my best friend!), and sweets. But I prefer to think about what I can eat more of rather than what is “forbidden,” so I also challenge myself to get as many vegetables in each meal as I can, and make a special effort to drink enough water. That way it is a fun challenge to come up with delicious, satisfying menus that put an emphasis on nutrient dense, fresh foods. This week, as I work on hitting the reset button for myself,  I’ll share a few of my favorite mindful eating meals and strategies for making good food easy when you have lots of other stuff that needs doing!

For me, success eating mindfully comes from focusing on a few things

  1. Protein at every meal- helps me feel full and happy. Beans and soy don’t agree with me, so in my world that means lean animal protein and nuts/protein rich veggies
  2. Healthy fats at each meal- olive oil, nuts, and avocados are a go.
  3. Real food only- no artificial sweeteners, shakes, protein powders etc, just stuff that is made of actual food.
  4. Variety- no eating the same thing more than one meal a day, eggs once, nuts once, animal protein once. My gut and brain are both happier without too much repetition.
  5. Eat every 2-3 hours to keep level blood sugar and avoid craving quick, sugary food.
  6. Planned water breaks before and between meals.
  7. Preparation- lots of seasonal vegetables cooked and ready to eat or warm up in the microwave, so even when my kids are distracting me or I’m in a rush, I have no excuse to down buttery toast crusts and leftover brown sugar oatmeal for breakfast.
  8. Eat with the sun- breakfast first thing and last meal before sunset to let my digestive system rest overnight and avoid sleepy-time snacking.

This is not the advice of a health expert or registered dietician, just a busy mother’s way of eating mindfully for increased health and energy (not to mention glowier skin and less jiggle around the middle, though those aren’t the main objectives). Let’s go!

    Frog Fantasies, Amphibian Dreams

    I grew up in New York City, so all of my childhood dreams involved being in nature and discovering/catching small wild animals for pets. I remember once a naturalist on a field trip told us that salamanders and newts can be found under fallen logs. I turned over *every* log I saw after that. Flash forward 30 years to parenthood, living in Berkeley, turning over a stump in our yard and finding a SALAMANDER! Suffice it to say I was way more excited than my children.

    When we moved in to our house there was a lily pond with gold fish in our garden. With three children to care for and no gardening experience, I had no idea what to do with it. The goldfish passed on(I never saw a corpse so I’m blaming raccoons), and I started dreaming of having a frog pond instead. Because frogs and salamanders in the yard? My parenting work would be done.

    So last year when a friend told us about a neglected reflecting pool in a nearby park that had become a home to frogs and tadpoles, the kids and I went to take a look. We captured a bunch of tiny frogs, polliwogs and tadpoles, acclimated them to the water in our pond and set them free. We saw them for a week or two, then nothing! But I had faith they would return in the spring. And just a few days ago we heard it- nocturnal amphibian music coming from the yard- a frog came back! So of course we had to visit the reflecting pool and bring him some friends.  


     What’s amazing this year is that we went early enough to bring home the beginning of the life cycle in our little plastic carrier- eggs, tiny tadpoles, slightly larger ones and one mature frog.  

          
     We’ll keep the little guys in our habitat to watch them grow into polliwogs, then let them go in the pond in the hope that some of them will hang around, or come back to us next spring.

    My daughter the donut

      
    My middle daughter just performed in her kindergarten play – an adaptation of the book The Big Orange Splot. She was in the cupcake house, where everyone had a sweet tooth, and decided she wanted to dress like a donut. I loved the idea and immediately started trying to figure out how to make it happen. She had lots of good ideas, the best one being that the costume be made of an inflatable swim ring with fabric cover to make it look like a donut. She also wanted donut bracelets. So I broke out the brown and gold polar fleece I bought for something years ago, and set about tracing the swim ring and drawing a donut bracelet pattern. 

     I serged the outside edges together, then turned it right side out and blanket stitched the inner circle together, leaving a spot for stuffing and then stitching up the rest of the way! I did the same with the big donut, but stitched it shut directly around the swim ring, making a slit for the inflation valve to poke out. 

     I hand-stitched on straps she could tie halter-style around her neck to keep it from slipping off.  


    We cut a bunch of multi-colored felt “sprinkles”, which i thought would naturally cling to the fleece. 

      I was wrong and they came flying off when she danced, causing a bit of a distraction for the other kids- live and learn! 

    All of the children were comfortable and happy on stage, and the show was so charming and sweet. The teachers did a beautiful job of making the kids feel supported, and the children obviously had fun and worked hard to learn their lines and dances by heart. A second-grade friend was outside to congratulate my daughter after the show- hurrah! 


    Birthday Fudge

      
    In addition to our ugly cheesecake for my daughter’s family birthday, there was a need for treats to distribute at her school birthday celebration. She has classmates with nut, wheat, and egg allergies, and I wanted to make something the most children could enjoy. So we decided on nut-free, easy chocolate fudge, with sprinkles, of course!

    Easy Fudge

    1. 1, 14oz can sweetened, condensed milk(I used the organic stuff from TJ’s-annoyingly seasonal so I stock up when they have it around Thanksgiving)
    2. 3 cups chocolate chips(or peanut butter chips or butterscotch or white chocolate, as you like)
    3. Pinch salt 
    4. 2 tsp vanilla extract
    5. Optional toppings 

    Mix chocolate chips, milk, and salt together and melt over a stove, or in 30 minute increments in the microwave, stirring until smooth and glossy. Pour into a 8 or 9″ pan lined with parchment paper. Smooth into an even thickness. Add sprinkles or other toppings while still warm and soft.  

     Place in refrigerator until solid, cut into pieces with a sharp knife or pizza cutter. 

    Keep chilled until you serve it to a bunch of happy kids! 


    Ugly Cakes and Handmade Gifts

    My firstborn just turned 8! In our house that means an ugly (but delicious, I swear) homemade cake and a breakfast birthday party. My daughter requested a cheesecake, which I’ve never made before. I used this recipe, but with organic ingredients, and subbing cherry pie filling for raspberries on top. True to form, it came out of the oven ugly! 

     And got even uglier after removing the springform pan rim and chilling 

    We prettied it up a teeny bit with cherry pie filling and candles on top 


    Once it was sliced and on plates, no one cared how it looked!  

    My daughter’s big gift was an American Girl doll that we gave her as soon as it arrived in the mail last week, but I still wanted her to have a few things to open on her actual birthday. Last night I made her a simple wrap skirt out of fabric we dyed last summer, and a matching one for her doll, who she has named Alexandra. 


    One Hundred Bunnies

    Today is my middle daughter’s 100th day of kindergarten. Of course we had plenty of notice about their 100th day celebration, to which each child brings a collection of 100 objects, but didn’t get started on hers until last night. Project 100 bunnies(origami ones, that is). Thankfully I stockpile pretty paper every time I visit Daiso, and I know the steps of an origami bunny by heart. Double good fortune: my second-grader decided to lend a hand and learned how to make them too! 

     Where we left off last night… 

     This is what 88 bunnies looks like 

     Folding bunny 100!

    I made a little photo tutorial if you would like to make some bunnies too. Easter is right around the corner, after all!

    Step 1: fold to make a triangle and unfold, repeat to make two diagonal folds   


    Step 2

    Fold in half to make a rectangle, unfold and repeat to make two more creases 


    Step 3 is a bit fiddly- the photos explain better than words, but start with folding a triangle, and pinching where all the creases meet in the center, then fold that into a double-layered triangle. 


    Step 4- fold the point of one layer up to meet the center point of the triangle, and repeat 

       
    Step 5 I’ll let the photos speak!   

     Step 6: Use these folds to make little pockets- observe 


    Step 7: Flip over and observe 


    Magic Health Elixir

    This flu season has been rough, health-wise for my usually hardy kids- intestinal bugs, an ear infection, sore throats, runny noses, and the cough that won’t quit. I like to have a jar of this on hand for soothing sore throats and clearing coughs and sinuses. This is by no means my idea, but in case you haven’t tried it- lemon, ginger, honey tea syrup!   

       Lemon, Ginger, Honey Elixir

    1. 2-3 lemons
    2. 4-5 inch ginger root, peeled
    3. 1-2 cups honey(raw and local are ideal

    Slice your lemons and ginger into thin circles and take turns layering in jar 

    When jar is full almost to the top with layered lemon and ginger, slowly pour honey over, allowing it to drizzle down between the layers and fill all the empty space. 

     
     Cover and refrigerate for up to two months(if it lasts that long!). Scoop out a big spoonful and stir into a mug of hot water for soothing tea, or take a teaspoonful of just the syrup to coat a sore throat or help a persistent cough. I shouldn’t have to tell any moms out there never to give honey to an infant under 12 months, right?

    Doh!

    I stopped buying play doh 4 years ago, in favor of homemade no-cook doh. Mostly because of how expensive those little canisters are relative to how quickly kids mix the rainbow colors to greige and leave it to turn into sharp little crumbles on the ground. My son(not coincidentally 4 years old) found an ancient tiny canister of yellow play doh and was fascinated by the bright color and smooth (if rubbery with age) consistency. He asked for more, which inspired me to try the cooked play doh recipe on Tinkerlab. We had a weavil-infested bag of flour in the freezer for just such a purpose, and I buy salt and cream of tartar in bulk at The Berkeley Bowl for similar reasons!

     
    We mixed it all together off the stove.  

     Then we stirred and stirred and stirred, and once it broke my old wooden spoon in half(seriously) I knew it was probably the right consistency, and plopped it onto a sheet of waxed paper for kneading. 

     I divided it into four balls and kneaded in food coloring and a drop of lavender essential oil for yummy smell(which I wouldn’t do if my kids hadn’t encountered it before, or if they were doing the initial knead, as undiluted it can be a skin irritant!) 

     It turned out pastel, and I suspect gel food coloring or liquid water colors might give more vibrant hues 

     All of the kids, except the very smallest, had a blast, and so did I. I don’t think you ever really get too old for Play Doh


    Super Yummy Slow Cooker Pork

    I love my slow cooker for one thing: golden bone broth or stock made with a chicken carcass and veggie scraps. I keep wanting to find other things that are equally good, but the slow cooker chili and bean soup recipes don’t appeal at all. When I saw this Momofuku Pork recipe, I realized right away it could be adapted to the slow cooker. The result was, according to my eldest daughter, “the best pork I’ve ever had!” We had it plain with sides of asparagus and green beans, but it would be great on a chopped salad, in a wrap, tossed into soup…the only mistake I made was not getting a big enough piece of meat!

    Slow Cooker Pork

    1. 1 pork shoulder roast, 3-5 lbs
    2. 1T salt per pound
    3. 1T sugar per pound

    Rub pork with salt and pepper, wrap with plastic and let rest in fridge at least 8 hours 

     After rest, place roast and accumulated juices in slow cooker, cover and place on low for 7 hours  
     While still in slow cooker, use two forks to gently shred meat.  

     Cover and reset to high for an additional hour to cook down juices and carmelize the meat a bit(you can also spread out on a pan and broil for 15 minutes for color). Devour!