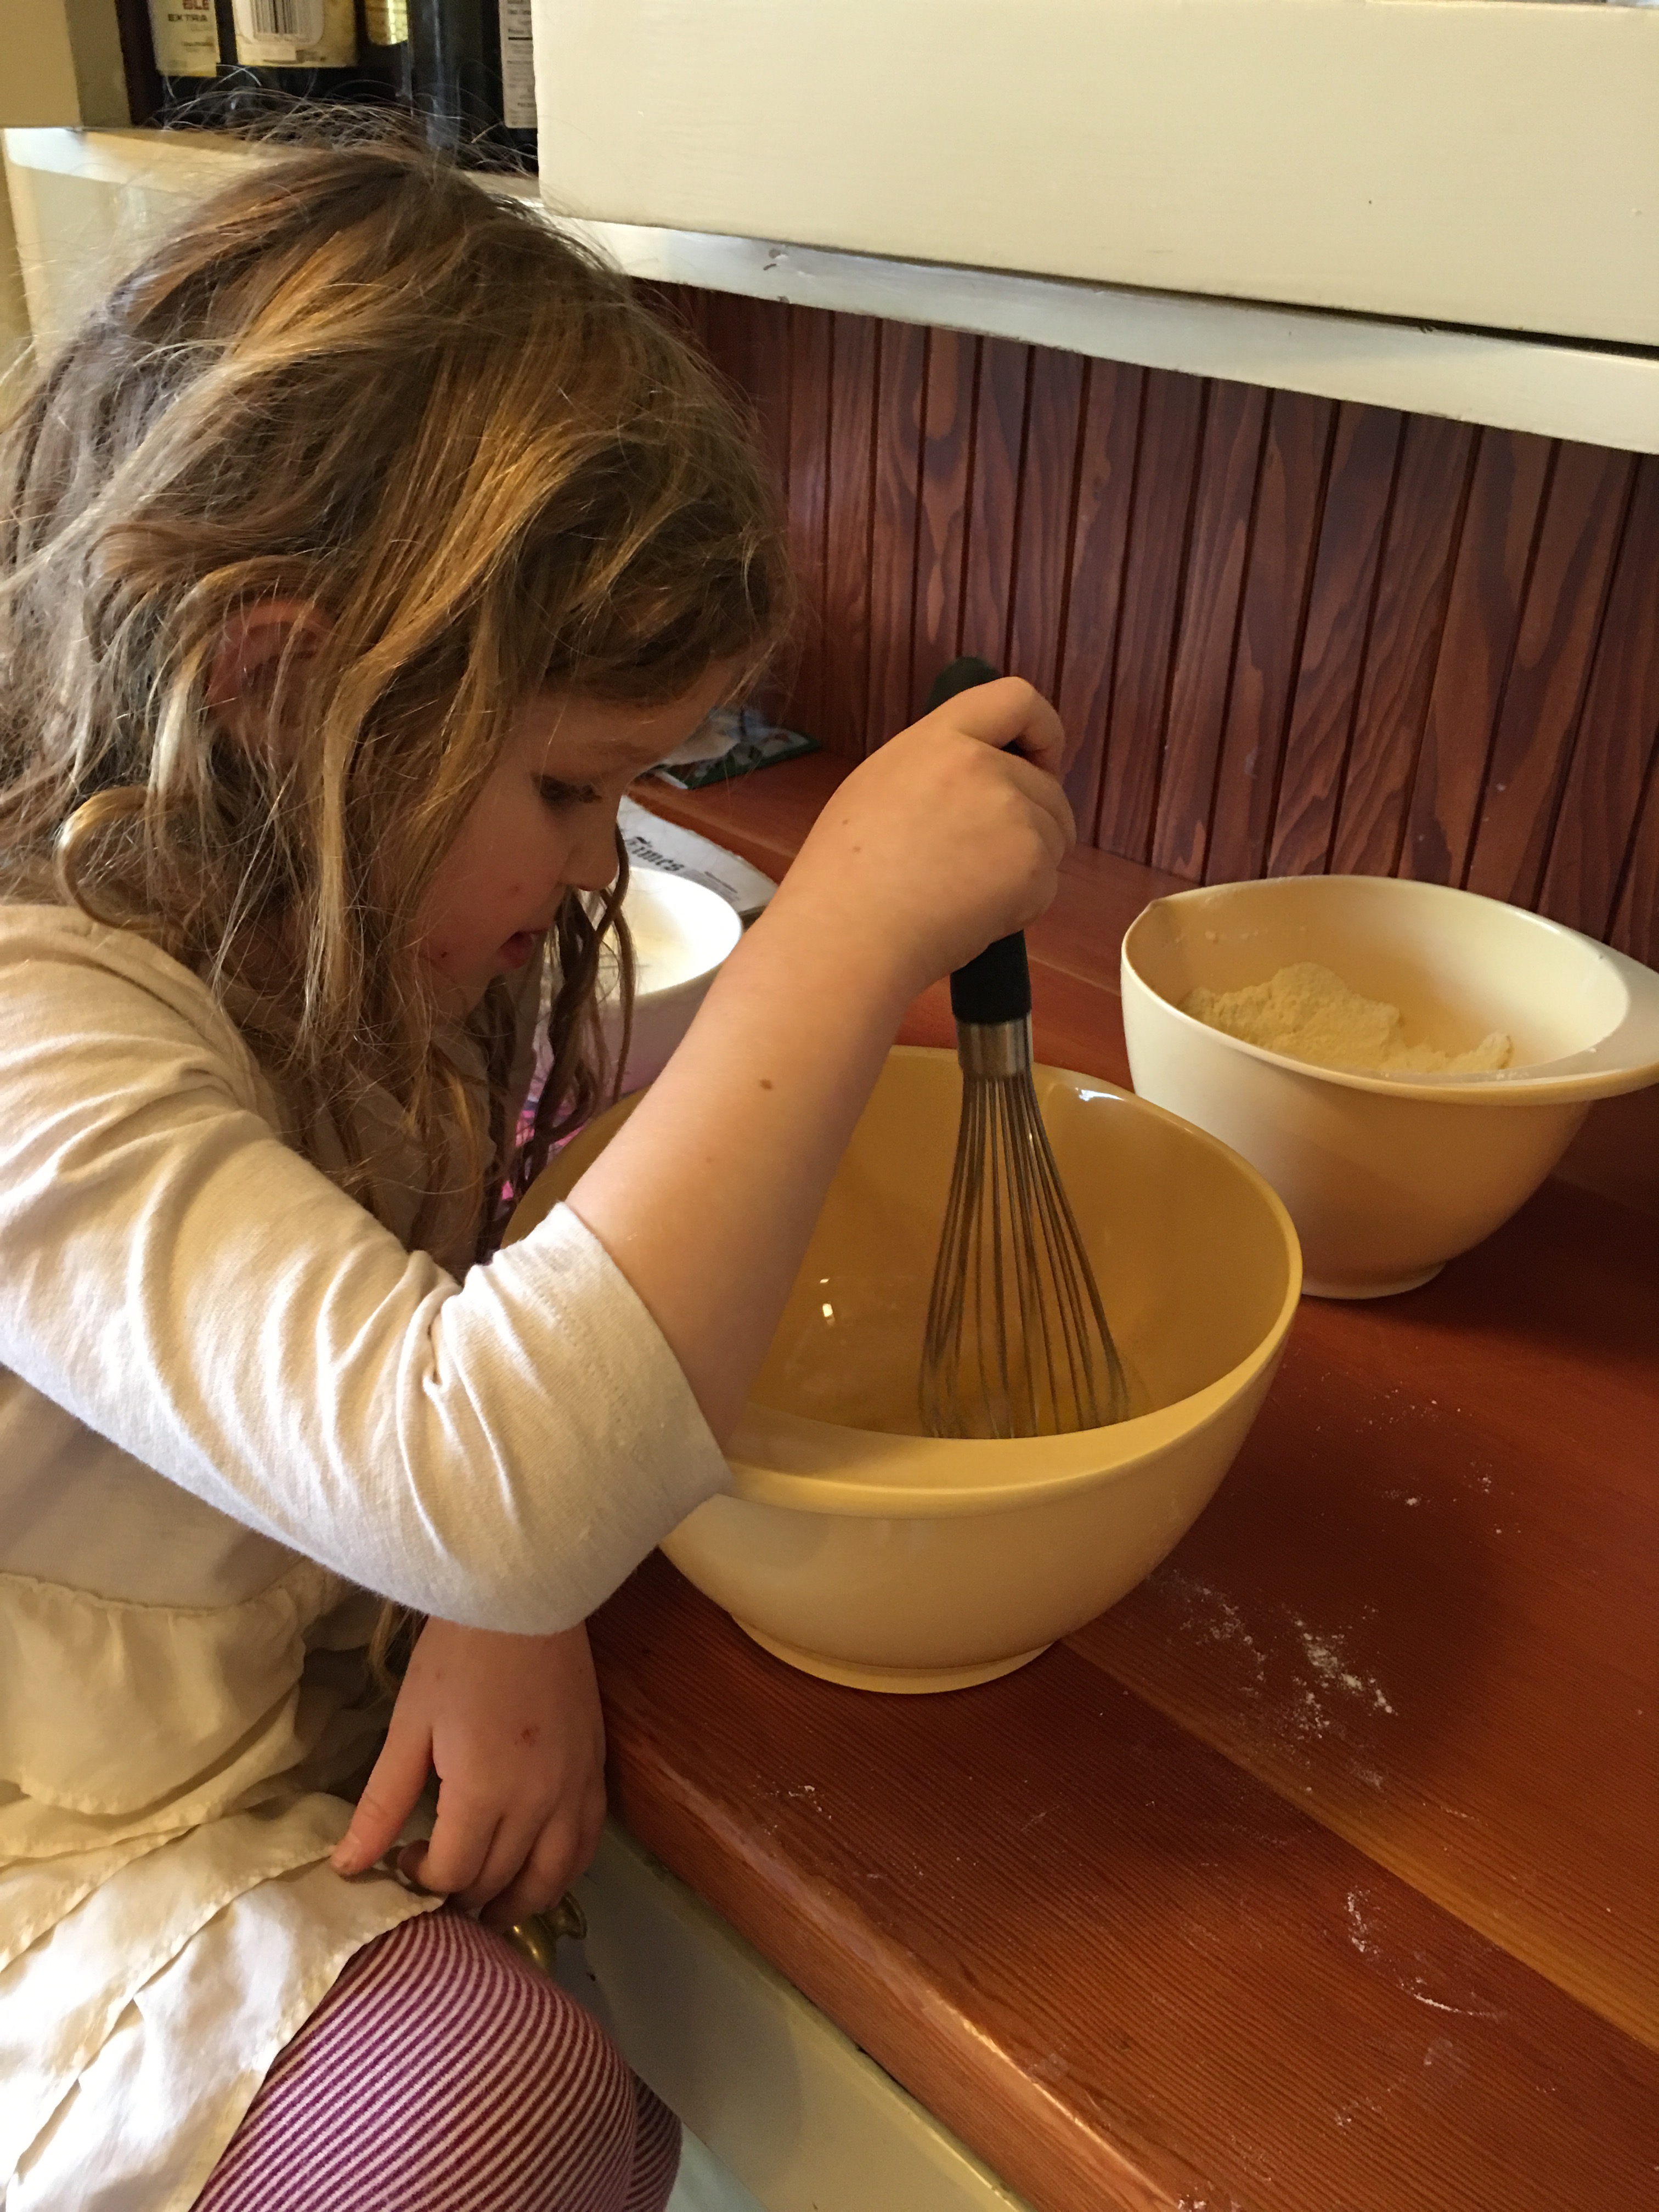
My eight-year-old hopped in the car at pick up and said, “I’m hungry for Aunt Katie’s cornbread! Can we make some when we get home?” And you know I’m always happy to answer yes to any question that involves baking, so we got home and got started!
 My sister’s recipe is easy, delicious, and the number one reason I bought a cast iron skillet as a 20-something.
 As I always do, I’ve tinkered a bit with her original recipe, but it will always be Katie’s Cornbread to me!
Katie’s Skillet Cornbread
- 1 cup all purpose flour
- 1 cup corn flour (you can use corn meal, but finely ground corn flour makes for a more moist, cake-like bread)
- 1 T baking powder
- 1 tsp salt
- 3 T sugar
- 1/4 cup oil
- 2 eggs
- 1& 1/4 cup buttermilk (or milk with 1T lemon juice stirred in if you haven’t got buttermilk)
- 1/2 tsp baking soda
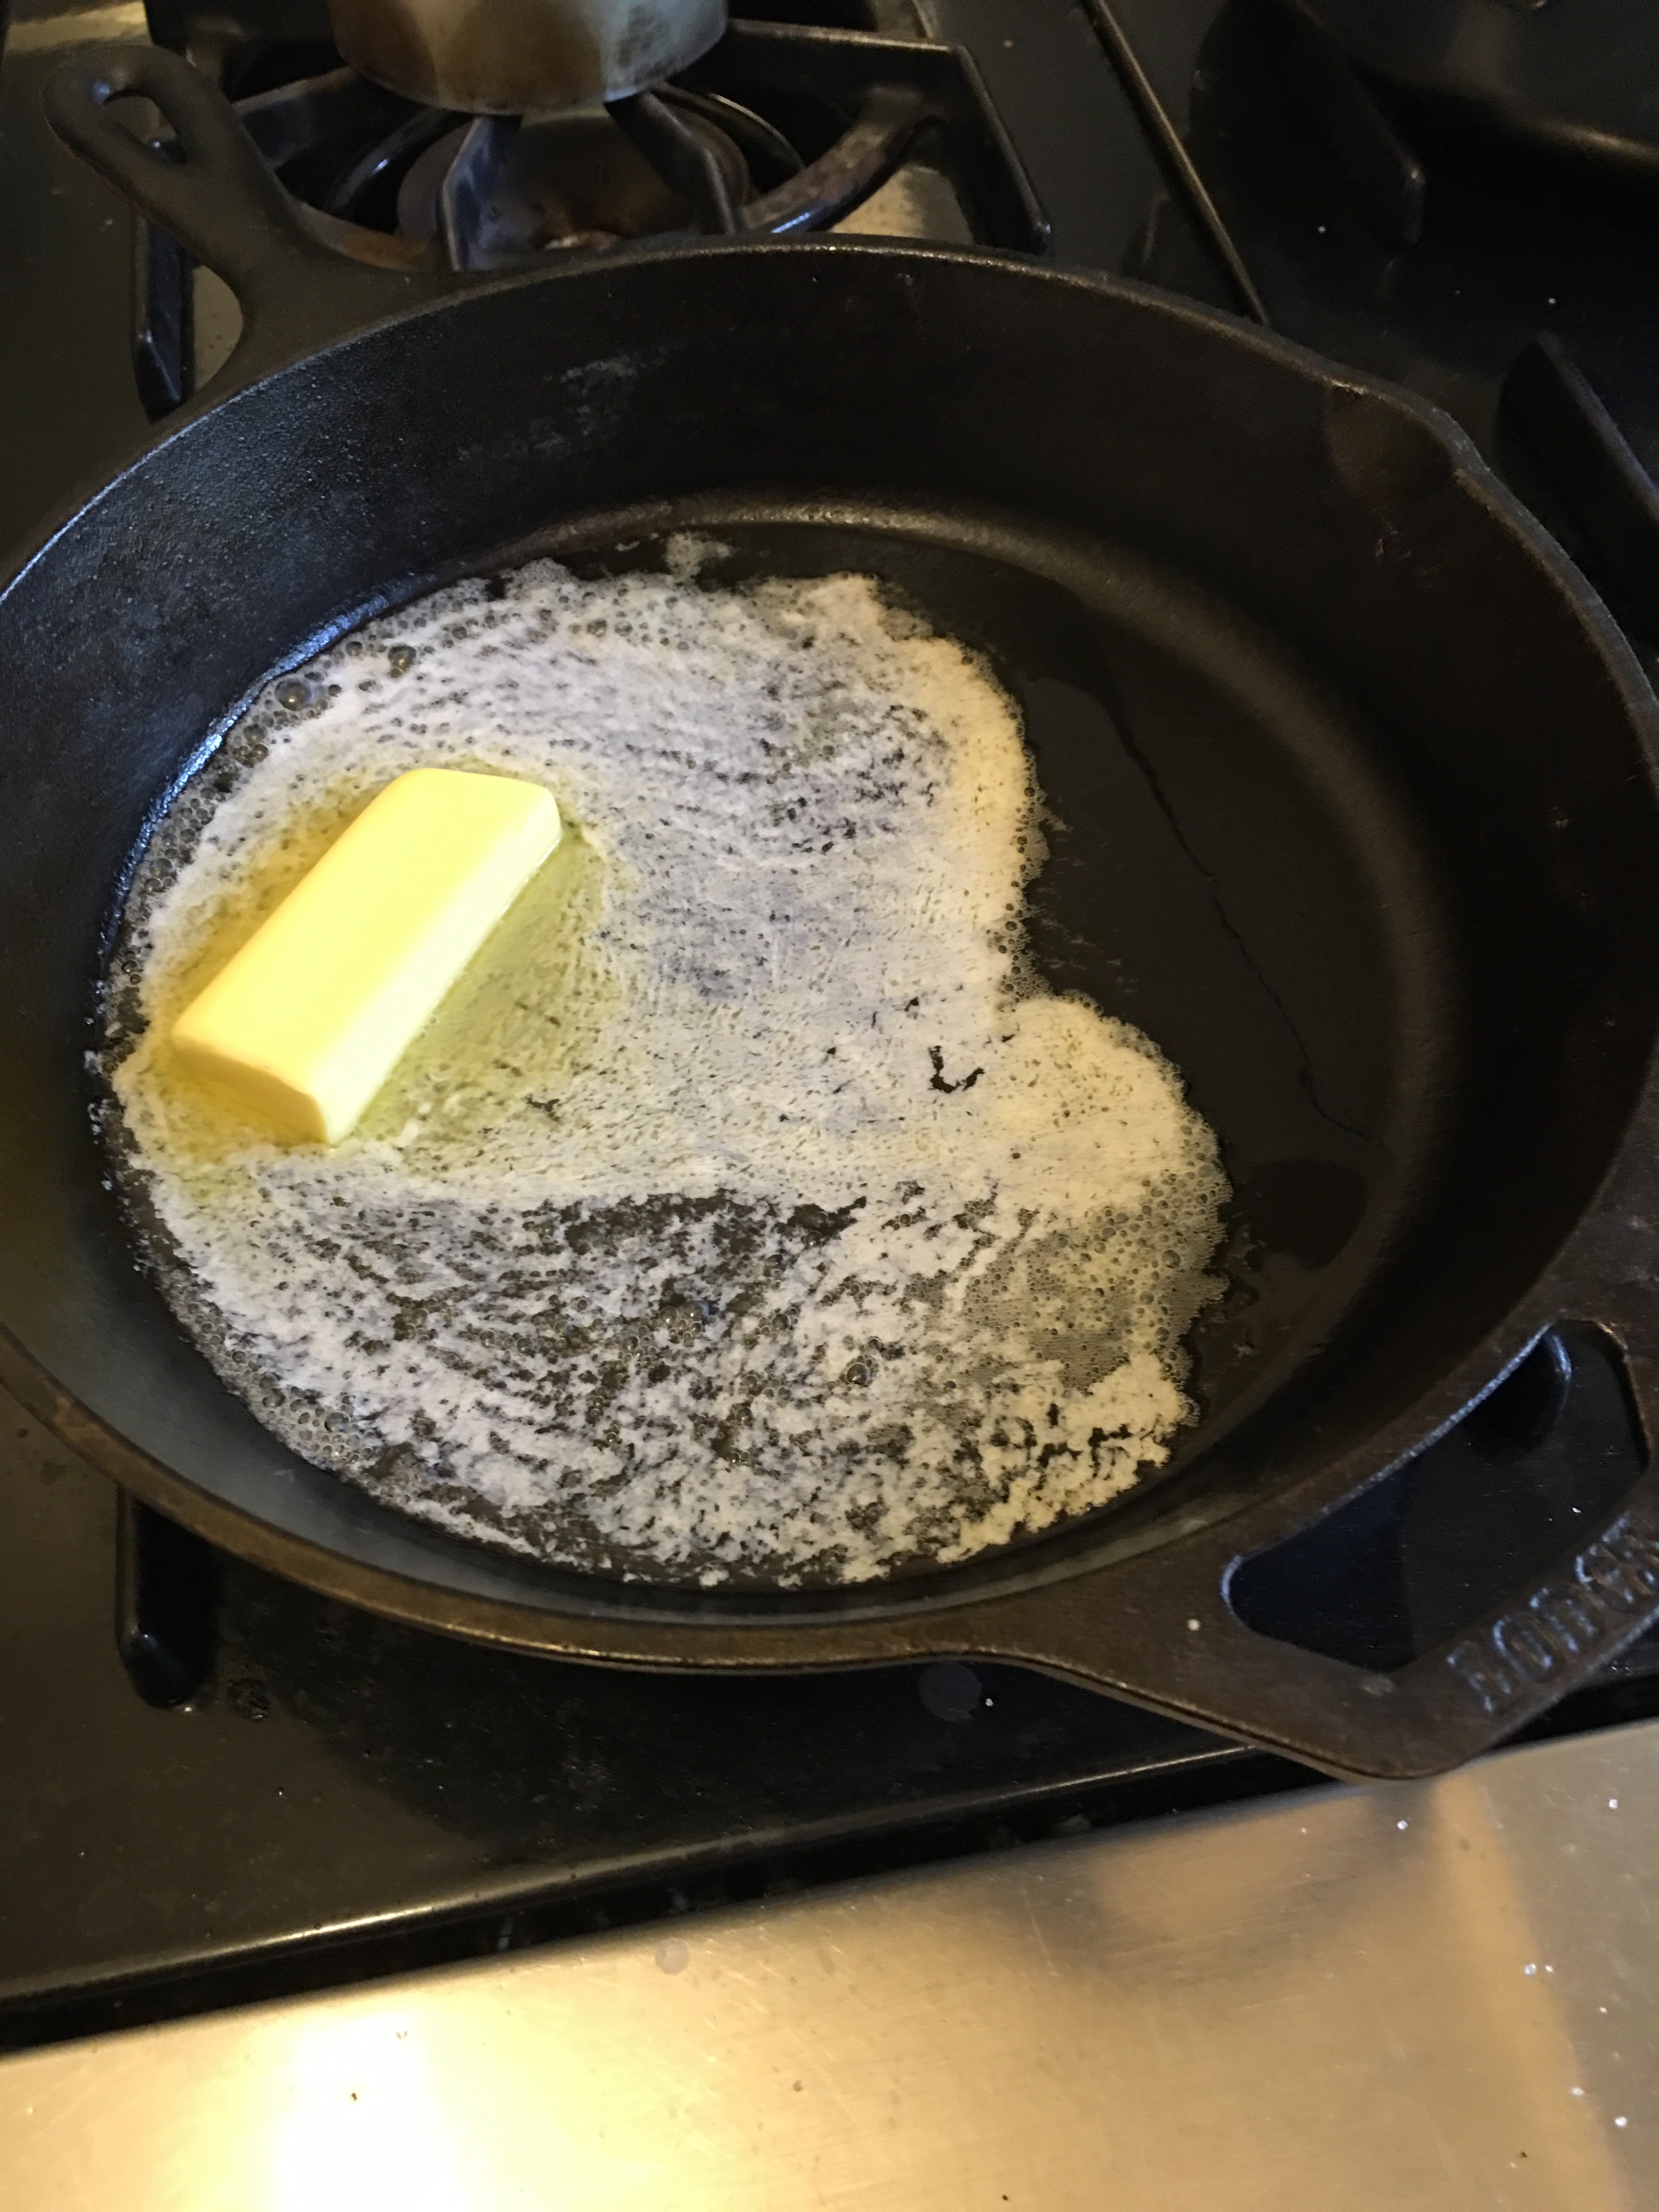
- 4T butter
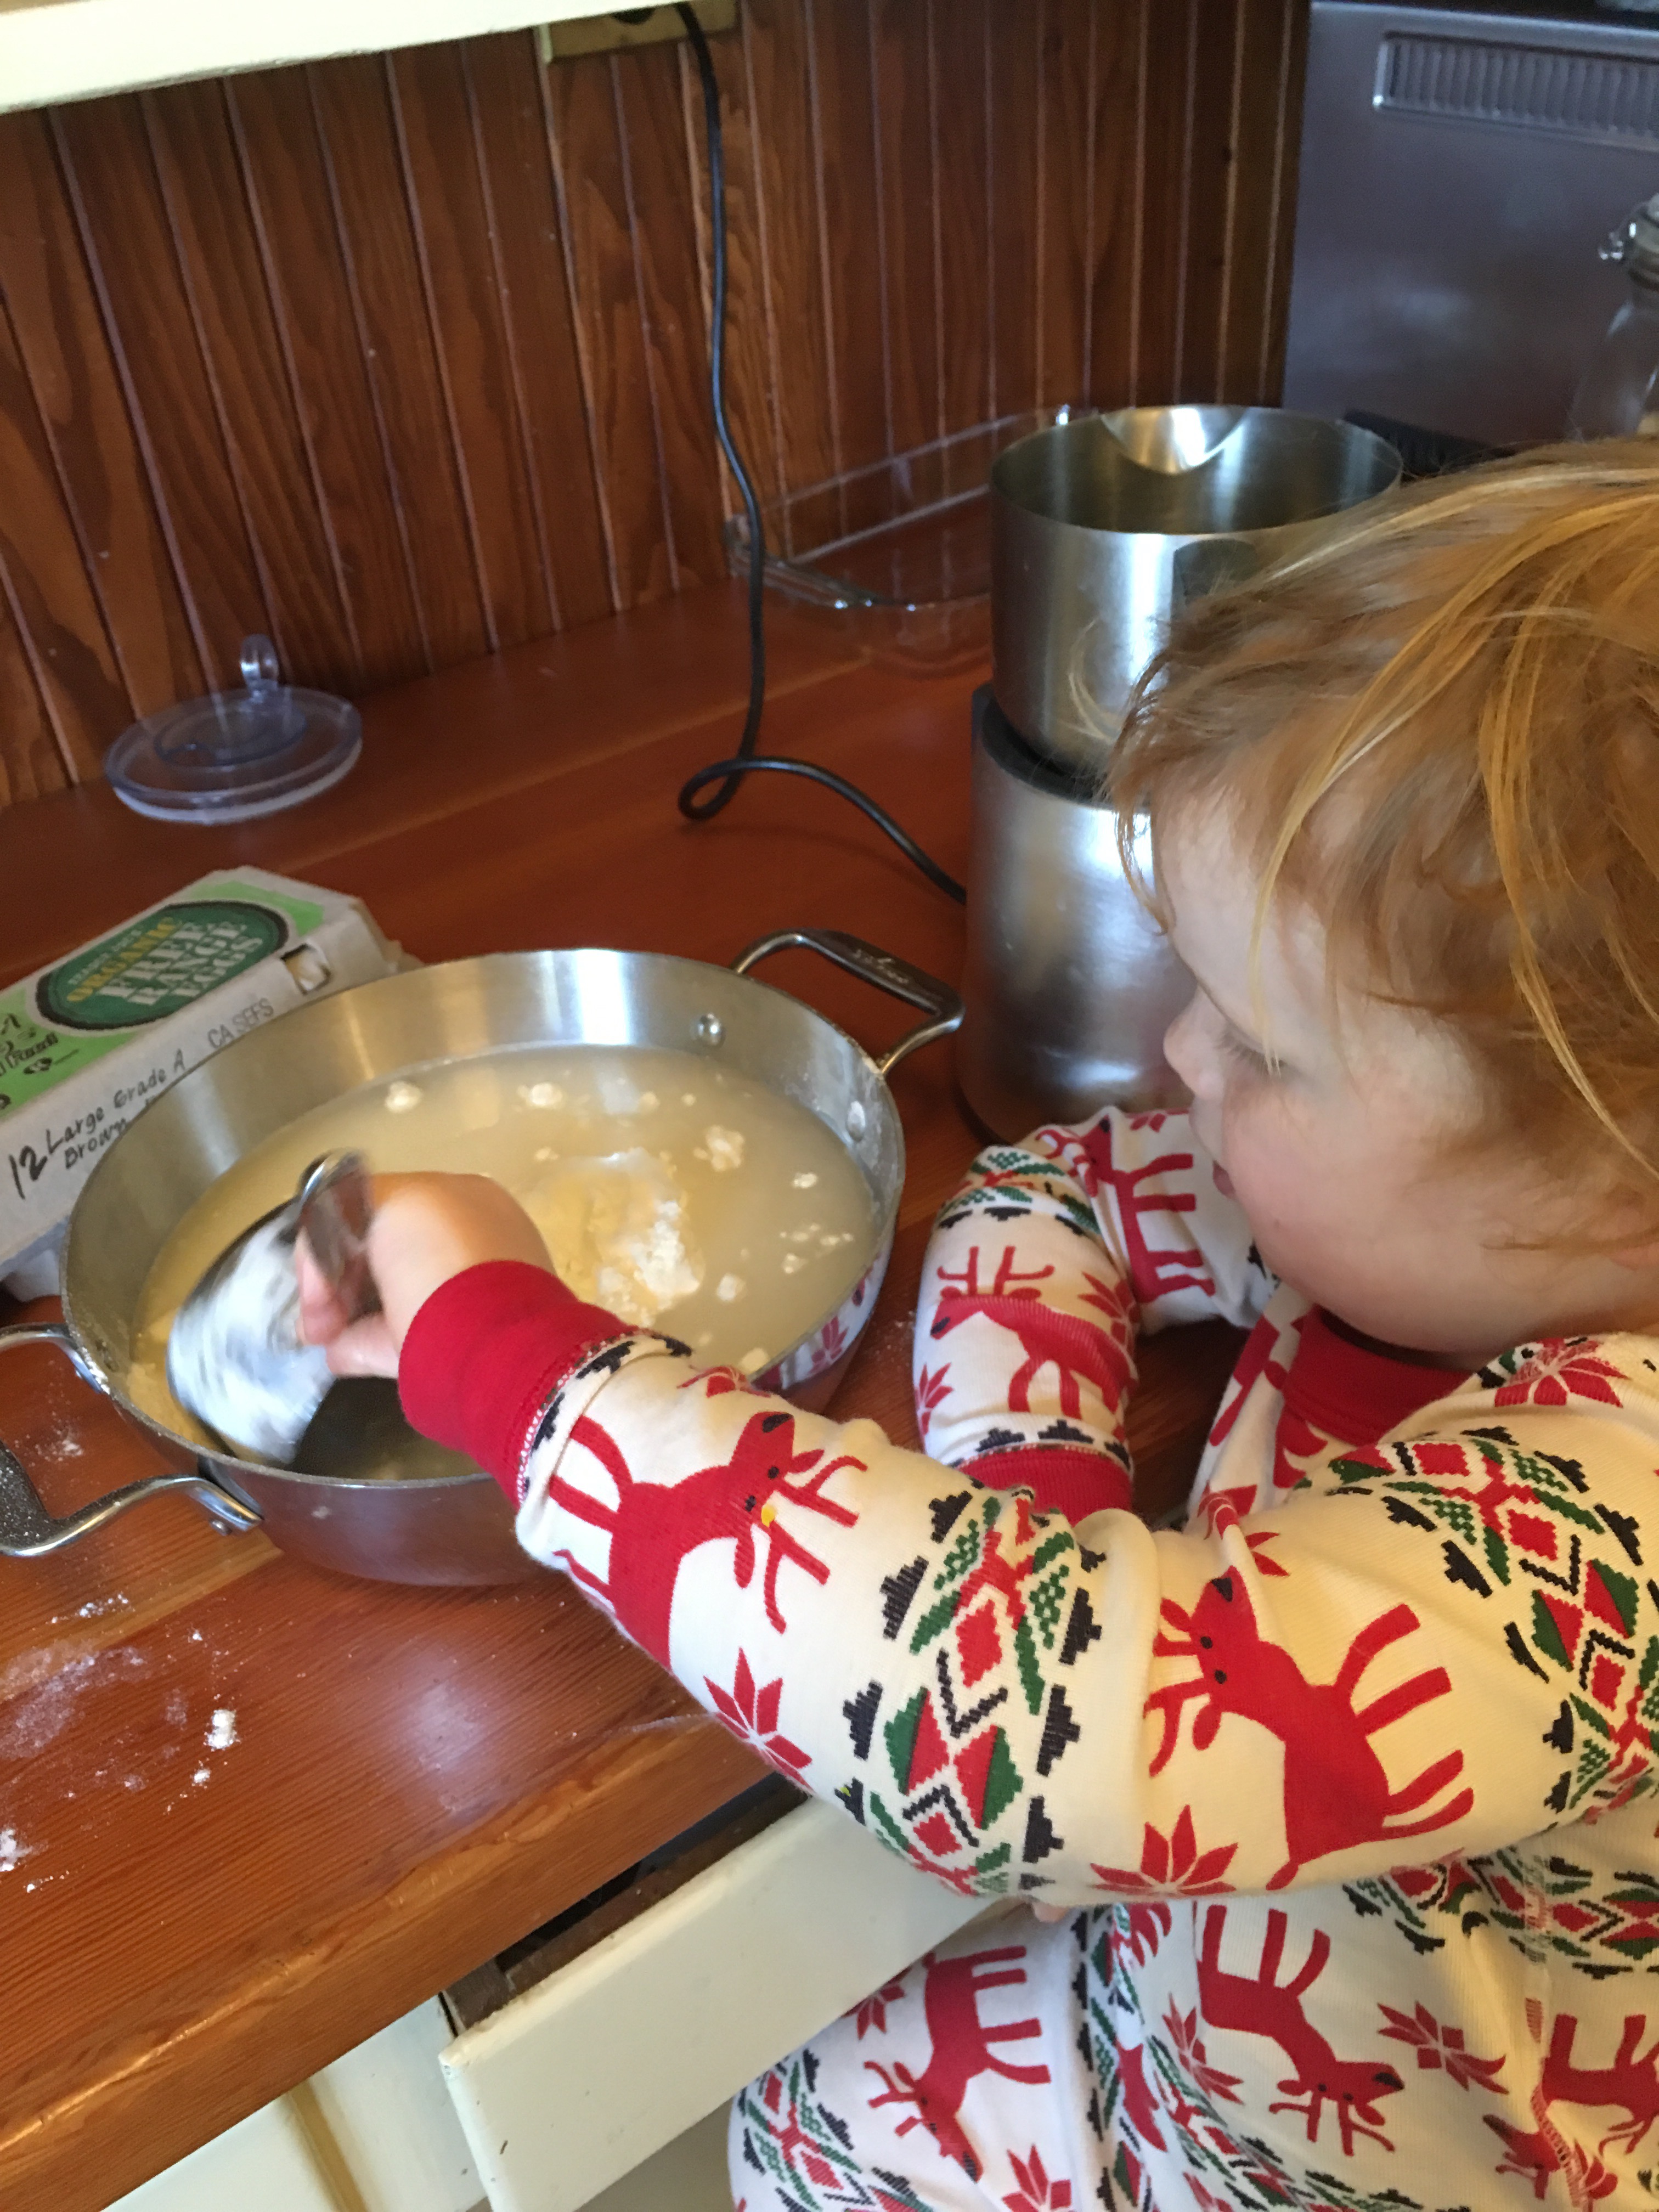
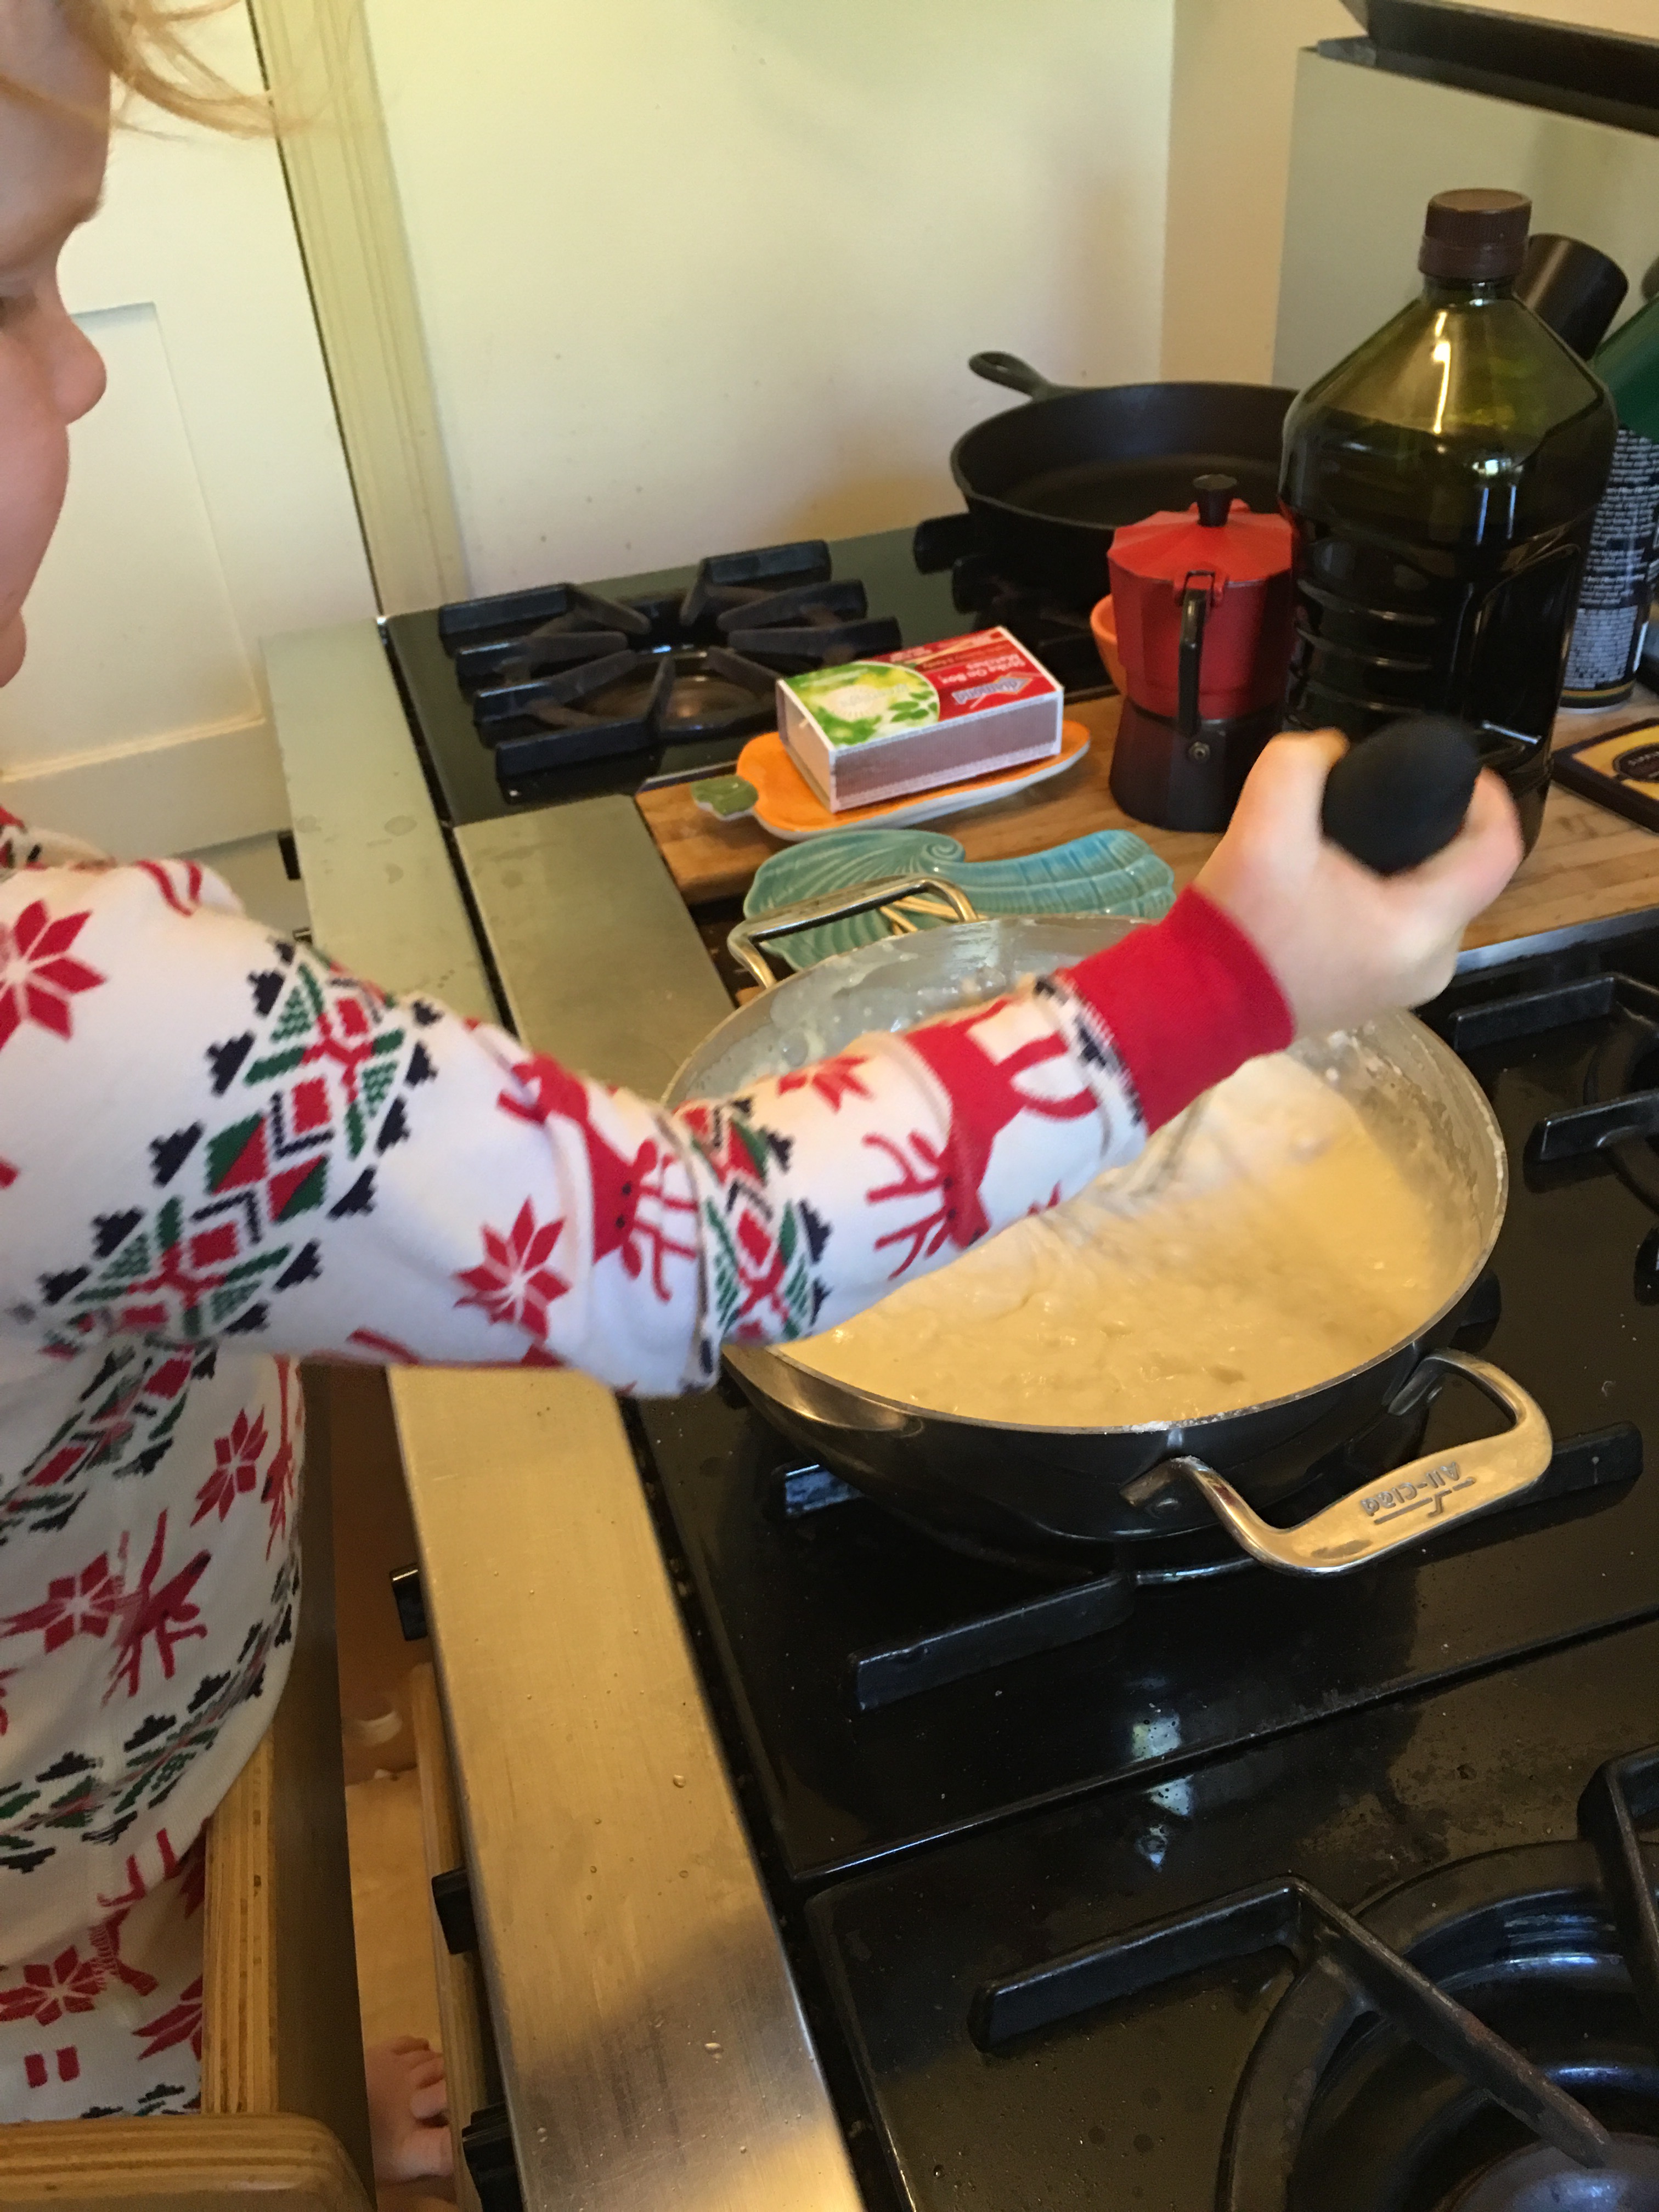
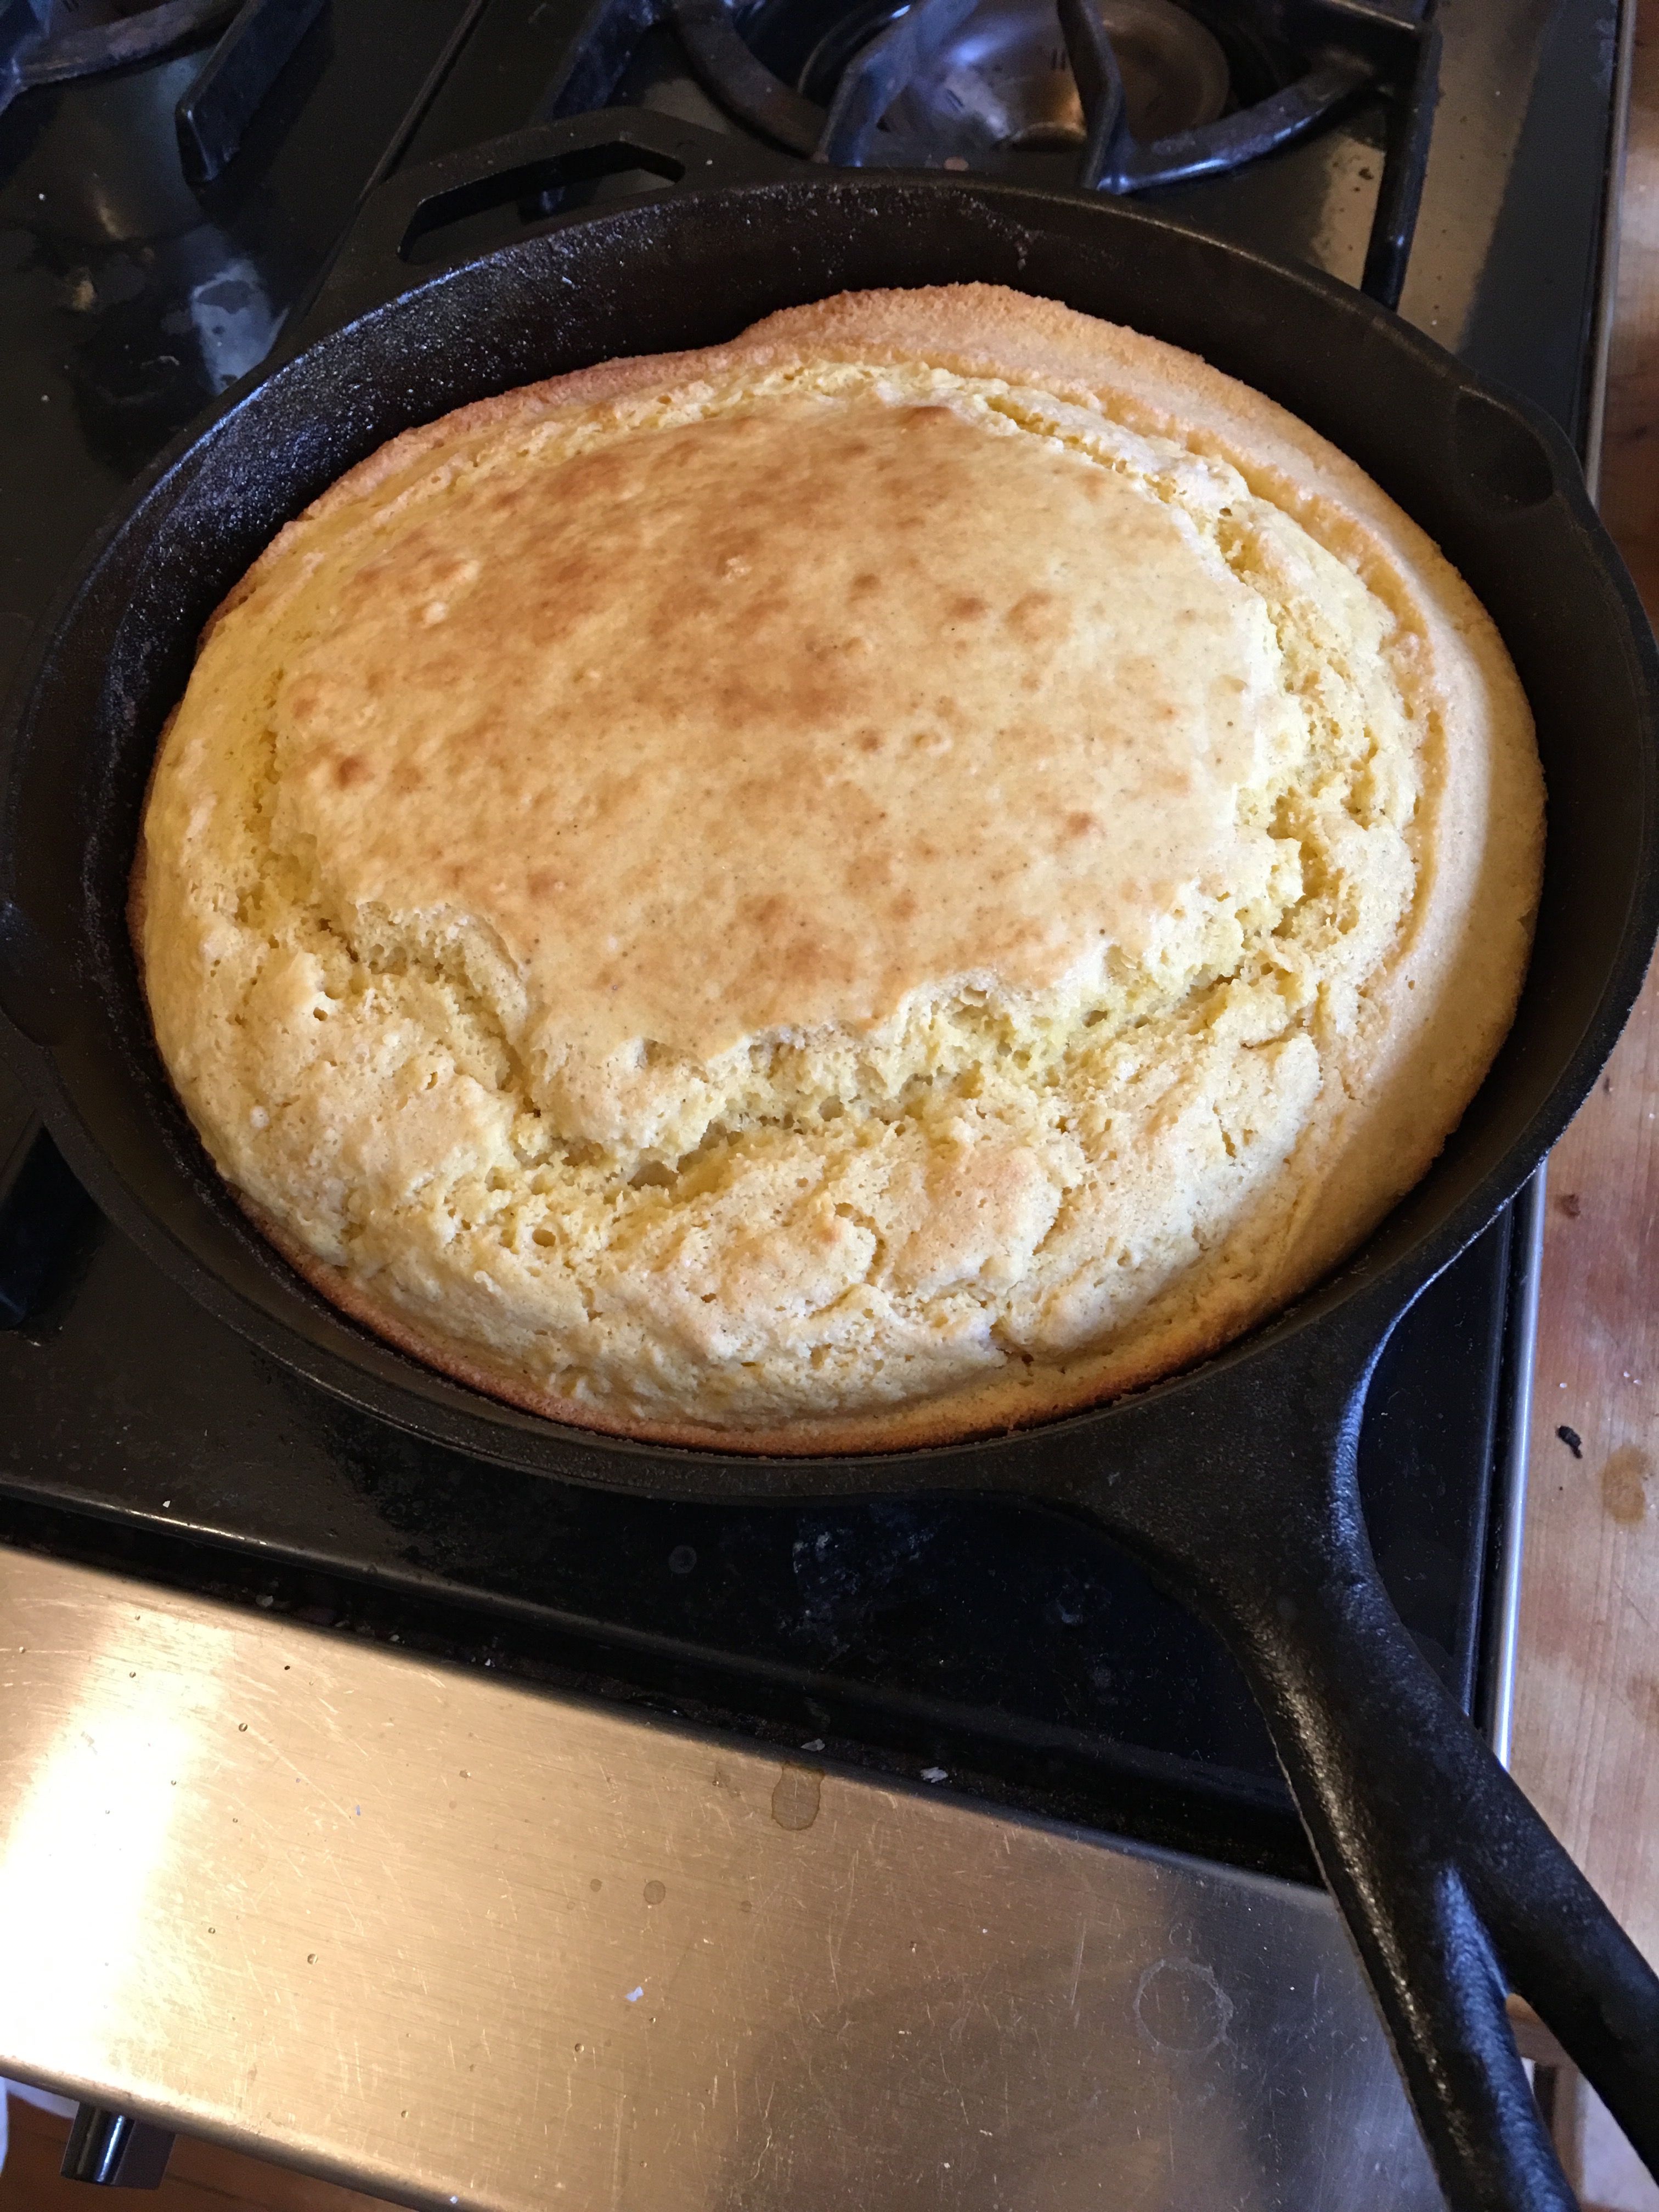
Pre-heat oven to 400. Stir baking soda into buttermilk in a small bowl and set aside. Whisk together 2 flours, baking powder & salt in a medium bowl. In a large bowl whisk together eggs, sugar, and oil. Whisk in buttermilk mixture. Add dry ingredients and stir with a spatula or wooden spoon until just combined. It will still be lumpy. Melt butter in a cast iron (or other ovenproof) skillet over medium-high heat until it foams. Swirl it around to coat the sides of the pan. Pour in batter and transfer pan to hot oven. Bake for 20-25 minutes until golden brown.
It is plenty buttery for me right out of the skillet, but the kids like an extra slab of pasture butter melted on top.
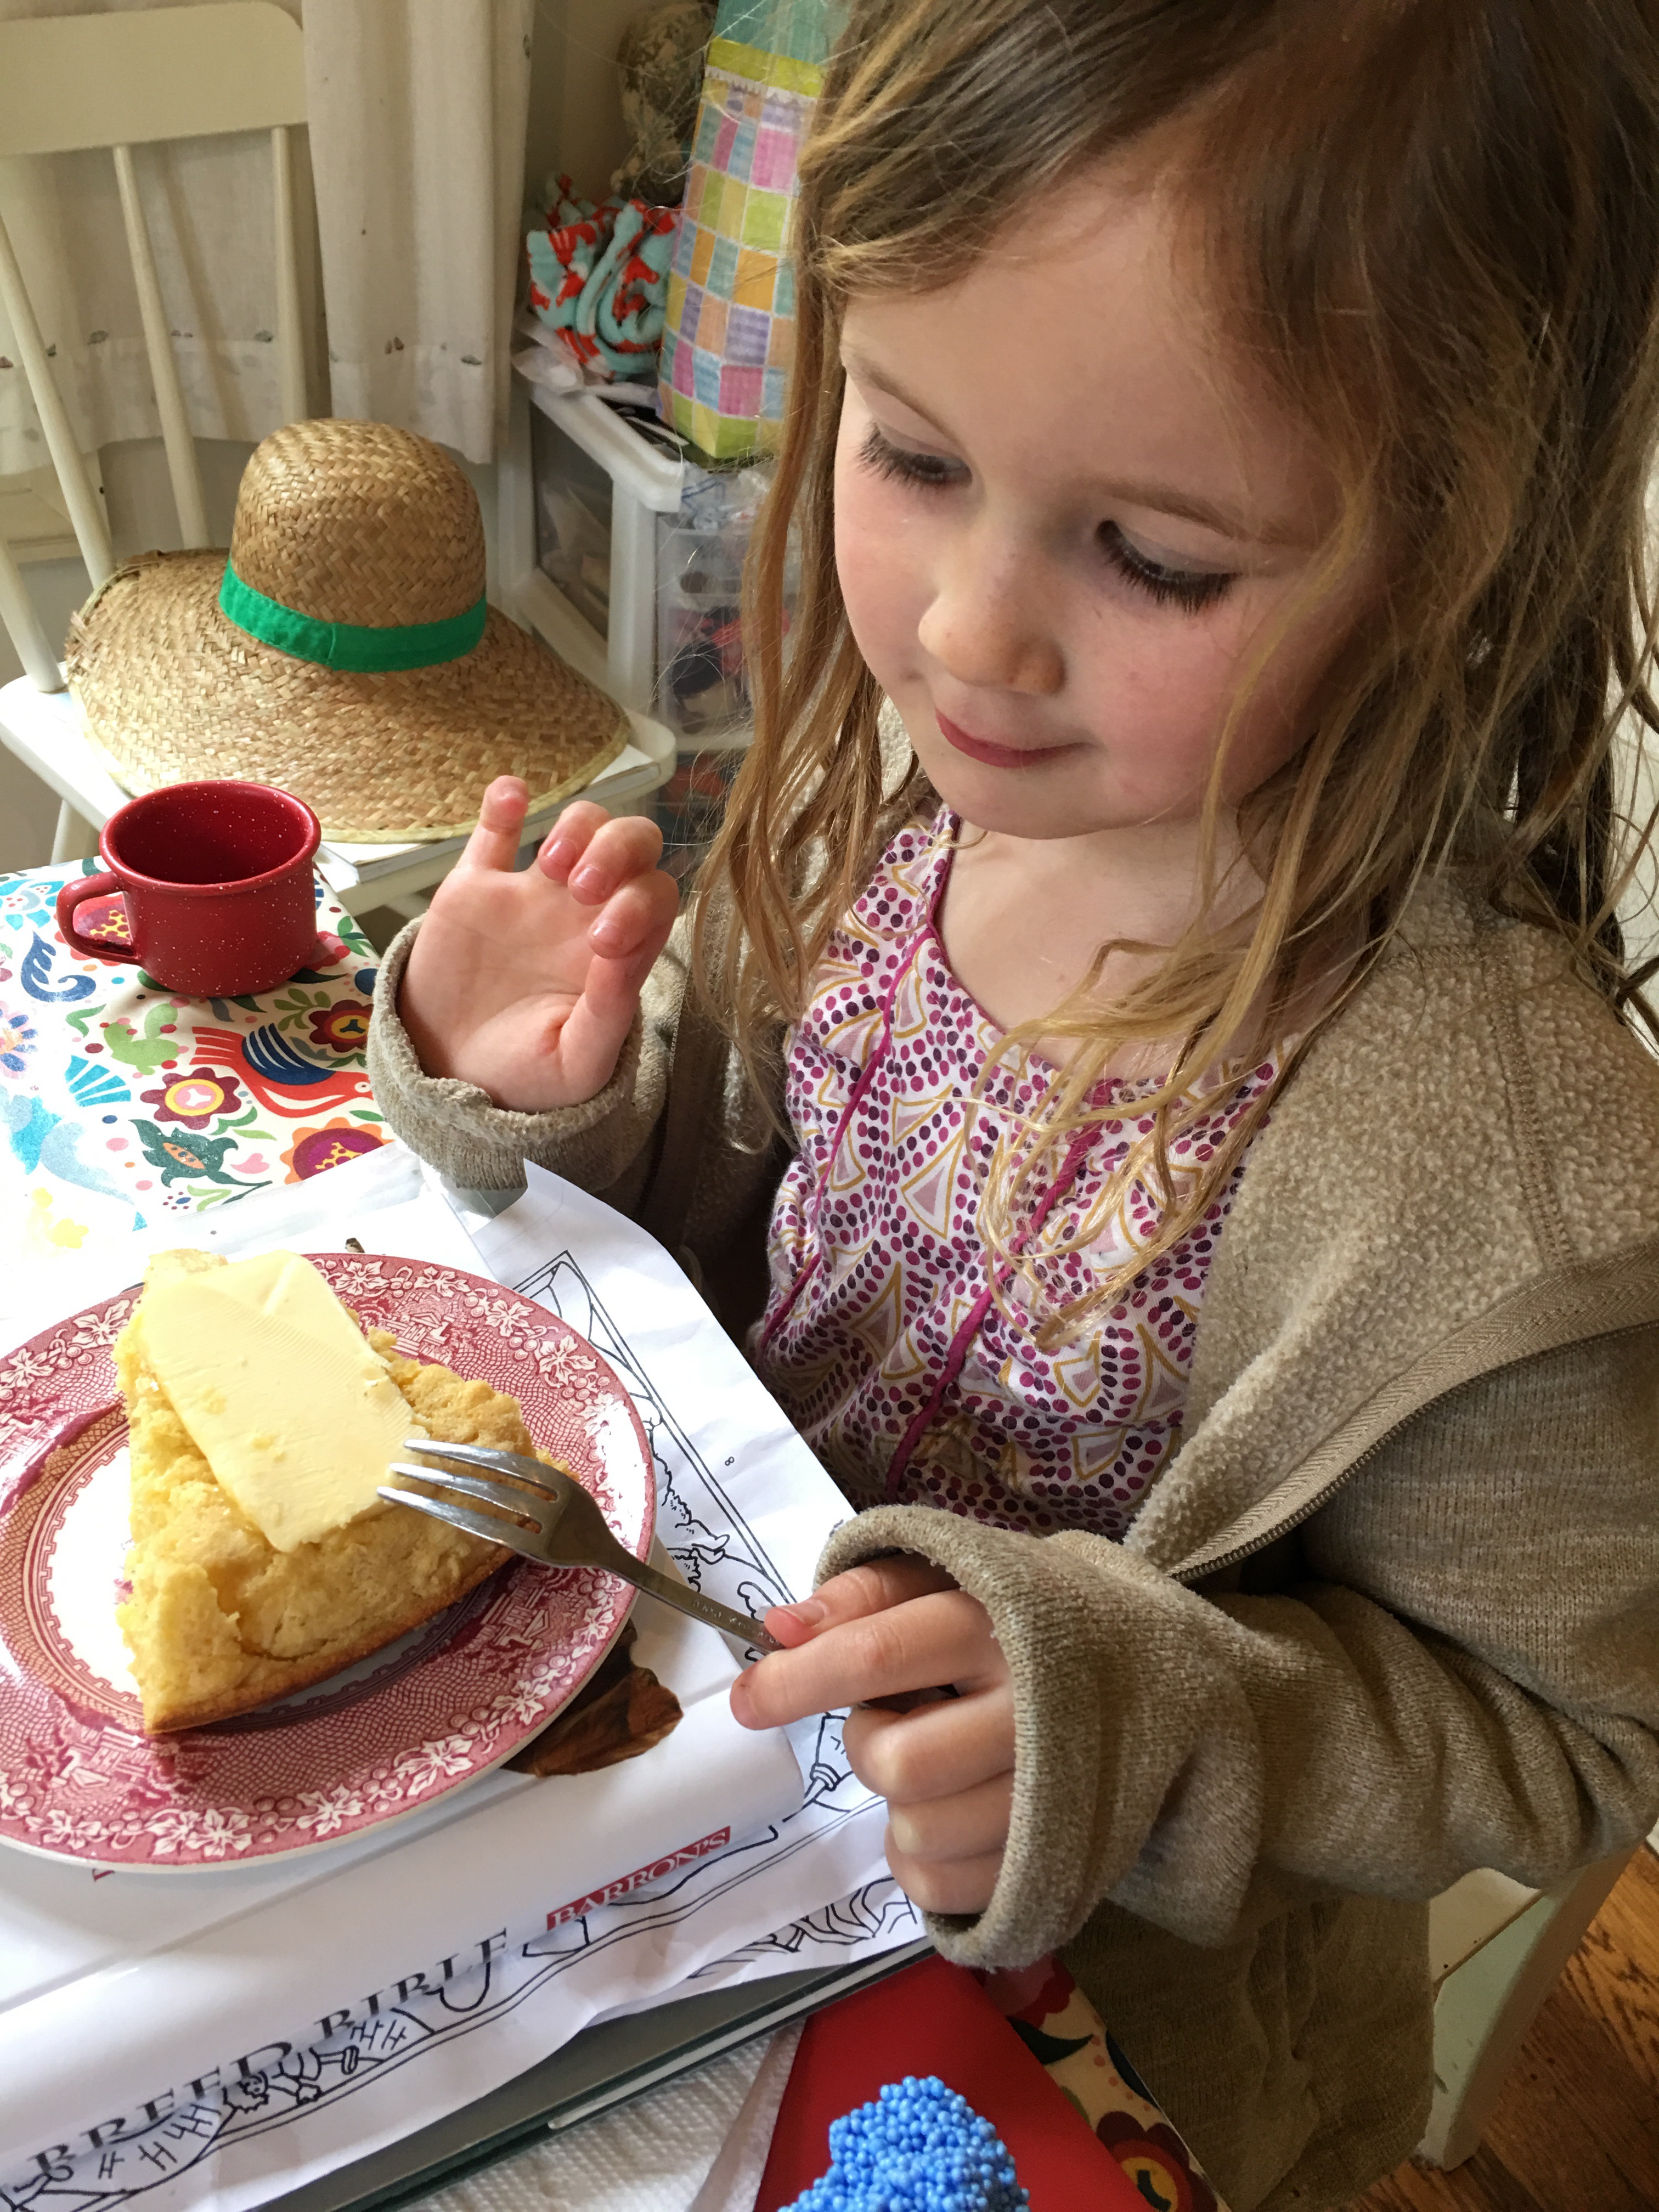 She said it hit the spot!